Hey there! If you’re looking to make your WordPress website smarter and more interactive, integrating a custom GPT (Generative Pre-trained Transformer) can be a game-changer. Think of it as giving your site a virtual assistant that can answer questions, generate content, or even help with customer support—all tailored to your needs. The good news is, with the right plugin, adding this powerful AI tool is easier than you might think. Whether you’re a developer or a non-techie, this guide will walk you through the essentials of embedding a custom GPT into your WordPress site without breaking a sweat.
Benefits of Using Custom GPT in Your WordPress Site
So, why should you consider adding a custom GPT to your WordPress site? Well, the perks are pretty incredible and can really elevate your website’s capabilities. First off, it provides a more personalized experience for your visitors. Instead of static content, your site can interact dynamically, answering questions or guiding users based on their inputs. This makes your site feel more engaging and user-friendly.
Another big win is saving time and resources. With a GPT-powered chatbot or content generator, you can automate routine tasks like answering FAQs, assisting with product recommendations, or even creating blog drafts. This means less manual work and more focus on what truly matters—growing your business.
Plus, a custom GPT can boost your SEO. By generating fresh, relevant content regularly, your site becomes more attractive to search engines. It can also help you craft compelling copy, meta descriptions, or social media posts that draw more visitors.
Lastly, integrating GPT creates a competitive edge. It shows your audience you’re using the latest tech to serve their needs better. Whether you’re running an eCommerce store, a blog, or a service site, a tailored AI assistant can differentiate you from competitors who rely solely on traditional content and support methods.
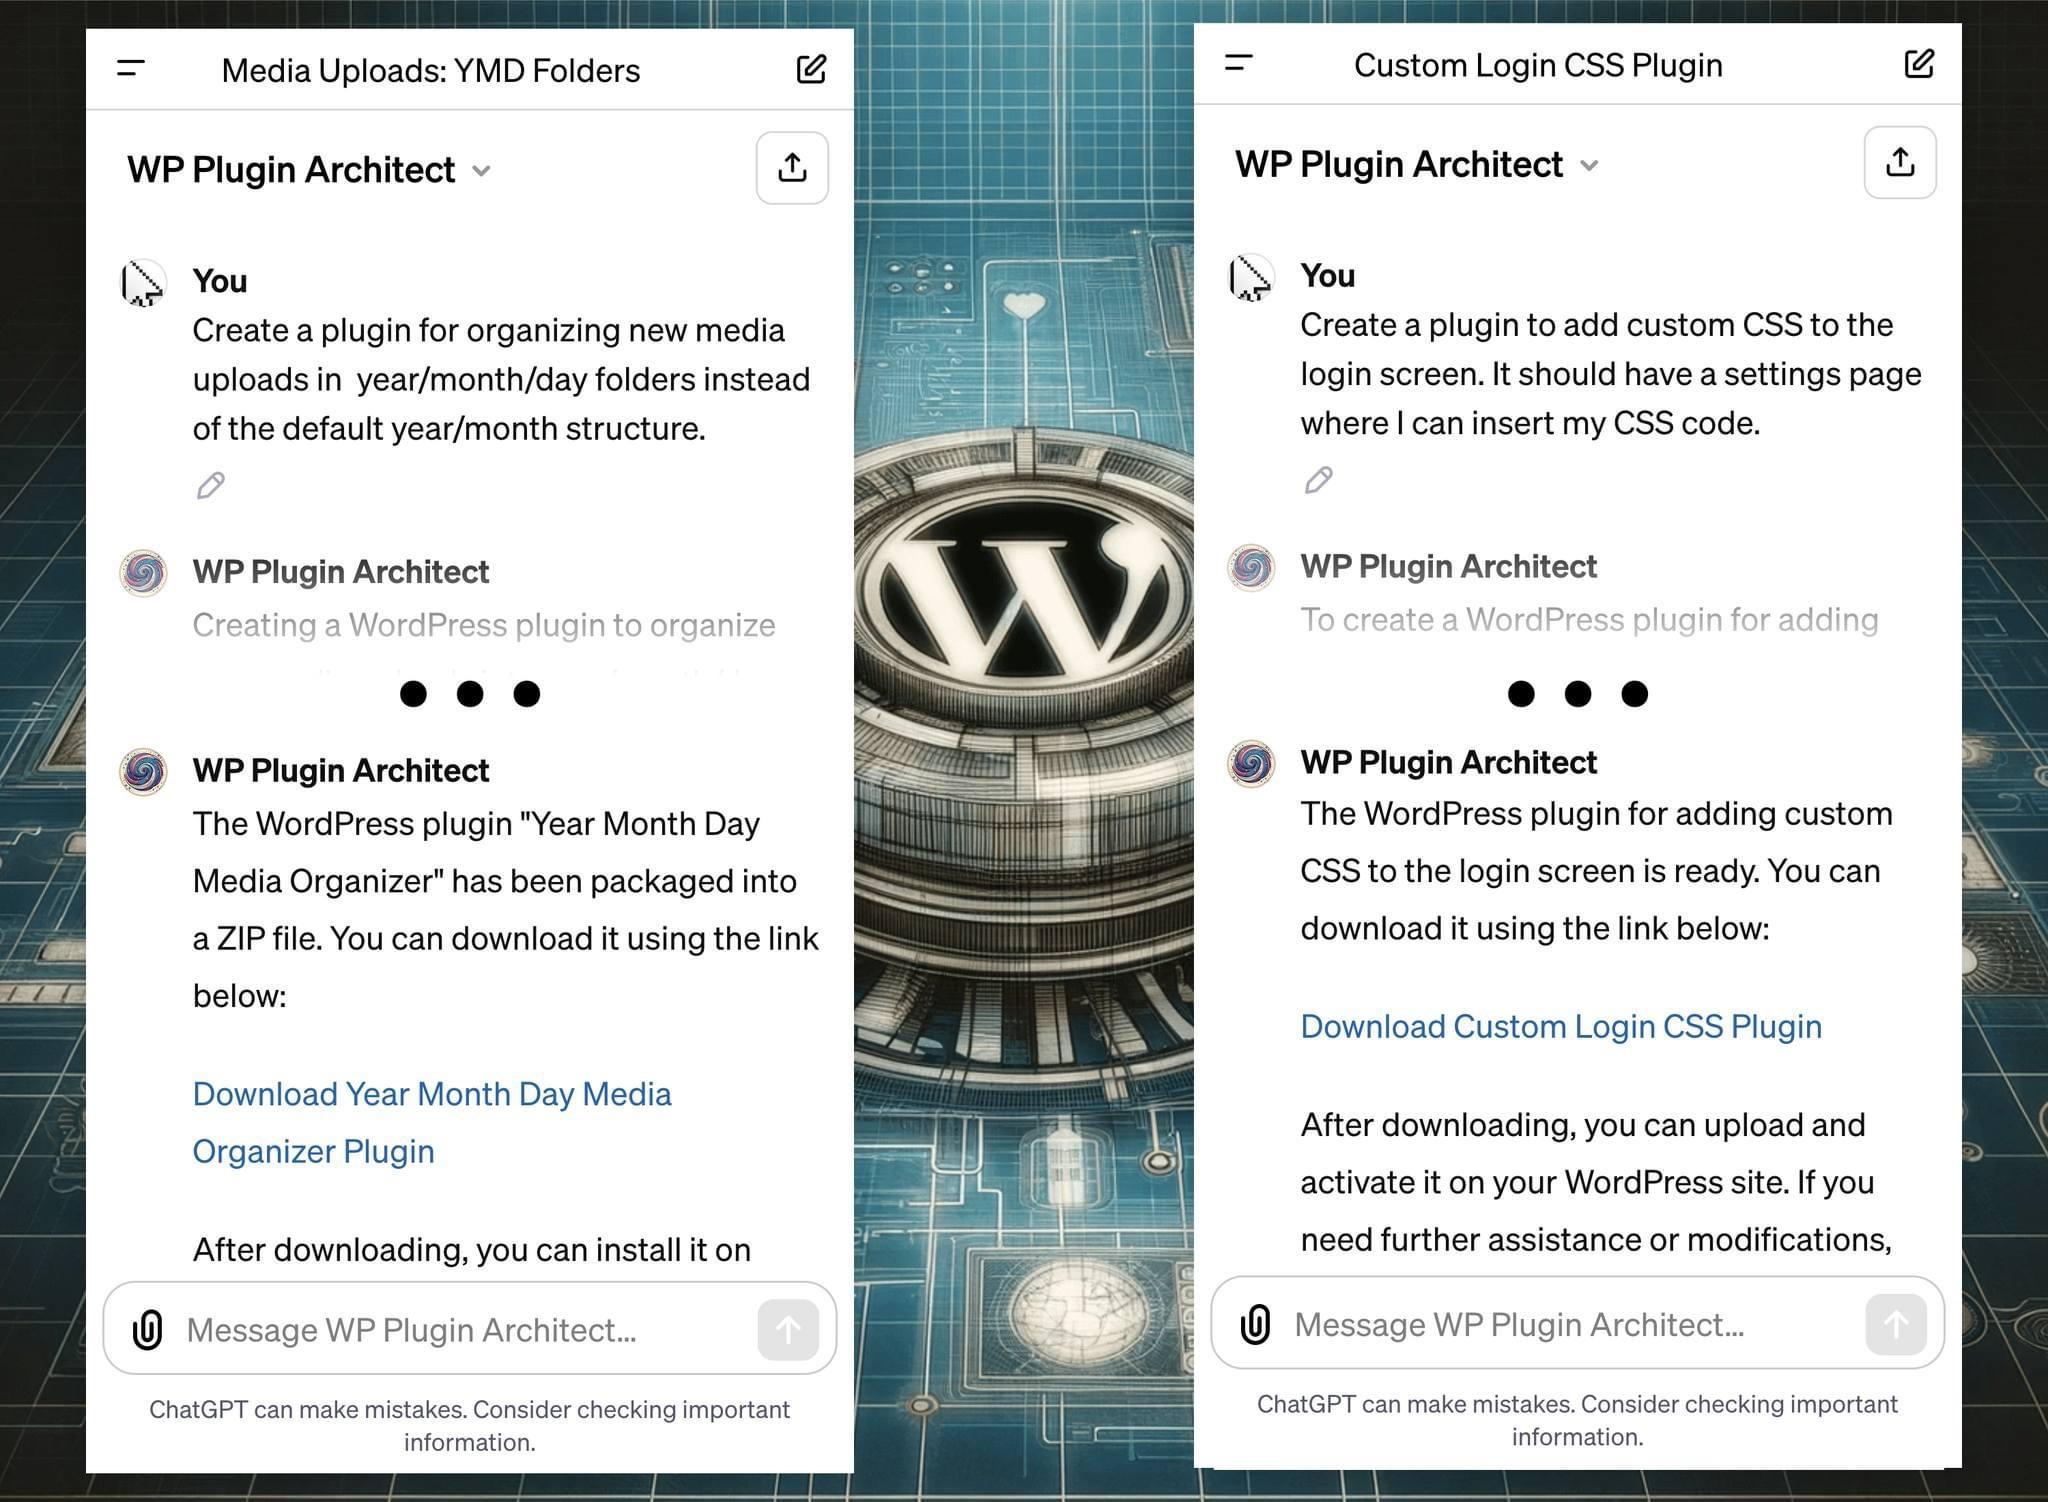
3. Choosing the Right Plugin for Embedding Custom GPT
When it comes to adding a custom GPT (like ChatGPT or other AI-powered chatbots) to your WordPress site, selecting the right plugin is a crucial first step. There are quite a few options out there, and not all of them are created equal. So, how do you pick the best one for your needs? Let’s walk through some key factors to consider.
Compatibility and Updates: Make sure the plugin is actively maintained and compatible with your current version of WordPress. An outdated plugin can cause security issues or break your site.
Features and Customization: Look for a plugin that offers the features you need—whether that’s simple chatbot integration, advanced customization options, or support for specific GPT models. Some plugins come with built-in AI training, while others allow API integrations.
Ease of Use: You don’t want a plugin that’s overly complicated to set up. User-friendly interfaces and clear documentation make your life easier, especially if you’re not a developer.
Support and Community: Check if the plugin has good support options—like a dedicated support team, active forums, or comprehensive documentation. A vibrant community can also be a lifesaver when troubleshooting issues.
Here are some popular plugins you might consider:
- WP Chatbot by MobileMonkey: Great for simple chatbot integration with AI features.
- AI Engine by WPCode: Offers extensive options for customizing AI responses and supports GPT models via API.
- Custom GPT Integration (via API): Some plugins are more flexible, allowing you to connect directly to OpenAI’s API for a tailored experience.
In essence, take your time to review the plugin options, read user reviews, and even test a few if possible. The right plugin will make embedding your custom GPT seamless and ensure a smooth experience for your visitors.
4. Step-by-Step Guide to Installing and Configuring the Plugin
Now that you’ve chosen the perfect plugin, it’s time to get it up and running on your WordPress site. Don’t worry—this process is straightforward, and I’ll guide you through each step.
Step 1: Install the Plugin
- Log in to your WordPress admin dashboard.
- Navigate to Plugins > Add New.
- In the search bar, type the name of the plugin you selected (e.g., “AI Engine”).
- Find the plugin in the list, click Install Now, and then activate it once the installation completes.
Step 2: Obtain API Keys from OpenAI (or your preferred GPT provider)
Most custom GPT integrations require API credentials. Here’s how to get them:
- Visit OpenAI’s platform and sign up or log in.
- Navigate to API Keys in your dashboard.
- Create a new API key and copy it—you’ll need this for configuration.
Step 3: Configure the Plugin Settings
- Go to Plugins > Installed Plugins and find your newly installed plugin.
- Click on Settings or Configure (depending on the plugin).
- Enter your API key into the designated field.
- Adjust any additional settings—such as response behaviors, chatbot appearance, or specific prompts—to match your site’s style and needs.
Step 4: Add the Chatbot to Your Website
This step varies depending on the plugin, but generally, you have a few options:
- Using a shortcode: The plugin may generate a shortcode (like [chatbot]) that you can insert into pages or posts.
- Adding a widget: Go to Appearance > Widgets and drag the chatbot widget to your sidebar or footer.
- Embedding via PHP or blocks: Some plugins offer blocks or PHP snippets for more advanced placement.
Step 5: Test Your Chatbot
Once everything is set up, visit your site and test the chatbot. Ask it questions, tweak the settings if needed, and ensure it responds as expected. Making adjustments here will help optimize the user experience.
And there you go! With these steps, you’ll have your custom GPT integrated into your WordPress site, ready to engage visitors and provide valuable AI-powered interactions.
5. Customizing GPT Responses for Your Website Needs
Once you’ve successfully embedded GPT into your WordPress site, the next step is making sure it fits your unique needs. After all, not every website has the same goals or audience, so customizing how GPT responds can really make a difference in user experience.
Start by understanding what kind of responses you want GPT to generate. Are you aiming for friendly customer support, informative blog comments, or maybe engaging product descriptions? Clarifying this helps you tailor GPT’s behavior effectively.
Most plugins allow you to tweak parameters like:
- Temperature: Controls randomness. Lower values (e.g., 0.2) make responses more focused and conservative, while higher ones (e.g., 0.8) encourage creativity.
- Max tokens: Limits the length of GPT’s replies, ensuring they stay concise or detailed as needed.
- Prompt Engineering: Adjust the prompts you send to GPT. For example, instead of just asking “Tell me about our services,” you might say, “As a friendly assistant, explain our services in a simple, engaging way.”
Many plugins offer a settings panel where you can input custom prompts, define tone and style, or even set different behaviors depending on page context. For instance, responses on your FAQ page might be more formal, while those in a chatbot widget could be casual and personable.
Another tip is to create a set of predefined prompts or templates that your site can use automatically. This ensures consistency in responses and saves time. For example, if you run an e-commerce site, you can have prompts like:
| Scenario | Prompt Example |
|---|---|
| Customer asks about shipping | “Explain our shipping options in a friendly manner.” |
| Customer inquires about product details | “Describe the features of our latest product in an engaging way.” |
Don’t forget to test your customized prompts thoroughly. Ask yourself, “Does the response meet my expectations?” and tweak the prompts or settings accordingly. Fine-tuning is an ongoing process, and small adjustments can significantly improve user satisfaction.
6. Best Practices for Maintaining and Updating Your GPT Integration
Embedding GPT into your WordPress site is just the beginning. To keep things running smoothly and ensure your AI-powered features stay effective, regular maintenance and updates are essential.
Here are some best practices to keep in mind:
- Monitor Performance and Responses: Keep an eye on how GPT is performing. Are responses relevant and helpful? Are users satisfied? Use analytics tools or user feedback forms to gather insights.
- Update Your Plugin and API Credentials: Plugin developers often release updates to improve functionality or fix bugs. Make sure you keep your plugin up-to-date via the WordPress admin dashboard. Also, periodically check your API keys for security and renew them if necessary.
- Review and Refine Prompts: Over time, you might notice responses becoming less aligned with your brand voice or goals. Regularly revisit your prompts and tweak them to maintain quality and relevance.
- Stay Informed About API Changes: OpenAI and other AI providers update their APIs periodically. Subscribe to their newsletters or developer forums to stay informed about new features, deprecations, or changes that could impact your integration.
- Implement User Feedback Loops: Encourage your visitors to share feedback on GPT responses. This can help you identify issues and areas for improvement.
- Backup Your Settings: Before making significant changes, back up your plugin settings and custom prompts. This way, if something goes wrong, you can restore your configurations quickly.
In addition, consider scheduling regular reviews of your AI integration. Ask yourself questions like:
- Are responses still aligned with our brand voice?
- Is GPT providing accurate and helpful information?
- Do we need to update prompts or parameters based on new offerings or changes?
By maintaining a proactive approach, you’ll ensure that your GPT-powered features continue to serve your website effectively, delight your users, and stay aligned with your evolving goals.
7. Troubleshooting Common Issues During Setup
Getting your custom GPT up and running on WordPress can sometimes come with a few hiccups. Don’t worry — many of these issues are pretty straightforward to resolve once you know what to look for. Here are some common problems users face and how to troubleshoot them:
1. Plugin Conflicts
If your GPT plugin isn’t working as expected, check for conflicts with other plugins. Sometimes, two plugins might try to use the same resources or scripts, causing errors.
- Solution: Temporarily deactivate other plugins and see if the issue persists. Reactivate them one by one to identify the culprit. Consider switching to plugins that are well-rated and regularly updated.
2. API Key Errors
A common mistake is entering an incorrect or expired API key. Without a valid key, the GPT model won’t function properly.
- Solution: Double-check your API key in the plugin settings. Make sure there are no extra spaces or typos. If your key has expired, regenerate a new one from your OpenAI account.
3. Slow Response Times
If your GPT responses are lagging or timing out, it could be due to server issues or heavy traffic.
- Solution: Check OpenAI’s status page to see if their servers are experiencing outages. You might also consider increasing timeout settings within the plugin or optimizing your website’s performance.
4. Styling and Display Problems
If the GPT responses aren’t displaying correctly or look out of place, it’s likely a CSS conflict or customization issue.
- Solution: Inspect the elements using your browser’s developer tools. Adjust CSS styles if needed, or reach out to the plugin support for guidance on customizing the appearance.
5. Not Seeing Responses at All
If your site loads but you don’t see any GPT responses, make sure the shortcode or widget is correctly placed, and the plugin is active.
- Solution: Verify the shortcode syntax, ensure the plugin is activated, and check your API quota to ensure you haven’t hit usage limits.
Remember, most plugin issues can be resolved with a bit of patience and methodical troubleshooting. Don’t hesitate to consult the plugin documentation or support forums if you’re stuck. Troubleshooting might seem frustrating at first, but once you fix the issue, you’ll be able to enjoy the full power of your custom GPT on your WordPress site!
8. Enhancing User Experience with Custom GPT Features
Now that your custom GPT is set up and running smoothly, it’s time to make it shine for your visitors! Enhancing user experience (UX) isn’t just about flashy design — it’s about making interactions seamless, helpful, and engaging. Here are some tips to maximize the potential of your custom GPT features:
1. Personalize the Chat Experience
People love feeling like they’re interacting with a human. Use the plugin’s customization options to:
- Set friendly, approachable prompts
- Include your brand’s tone and voice
- Offer personalized responses based on user input
2. Implement Context-Aware Conversations
If your plugin supports it, enable context retention so the GPT remembers previous messages during a session. This makes conversations more natural and less robotic.
- Benefit: Users don’t have to repeat information, leading to quicker and more satisfying interactions.
3. Use Custom Prompts and Fine-tuning
Leverage custom prompts to guide GPT responses tailored to your niche. Whether it’s tech support, product recommendations, or educational content, fine-tuning helps GPT deliver more relevant answers.
- Tip: Experiment with different prompts and review responses to find what works best.
4. Add Multimedia and Interactive Elements
Enhance responses with images, links, or buttons to make interactions more engaging. For example:
- Embed images within responses for visual explanations
- Include quick reply buttons for common questions
- Link to relevant pages or products directly in the chat
5. Create a User-Friendly Interface
Design your chat window to be accessible and unobtrusive. Consider:
- Positioning prompts for easy access
- Customizing colors and fonts to match your site’s branding
- Adding clear instructions or guides for first-time users
6. Monitor and Gather Feedback
Regularly review interactions to see what users find helpful or confusing. You can:
- Use analytics tools to track usage patterns
- Ask users for direct feedback via surveys or prompts
- Refine prompts and responses based on this feedback
By thoughtfully customizing your GPT features and paying attention to user interactions, you create a more engaging, efficient, and satisfying experience for your visitors. Remember, the goal is to make AI feel like a helpful assistant — approachable, knowledgeable, and attentive to your audience’s needs. Happy customizing!
Conclusion and Final Tips for Successful Integration
Embedding a custom GPT into your WordPress site can significantly enhance user engagement and provide personalized experiences. To ensure a smooth and effective integration, keep the following tips in mind:
- Choose the Right Plugin: Select a reputable plugin that supports your GPT model and offers the features you need, such as API integration, customization options, and user management.
- Secure Your API Keys: Always keep your API credentials confidential and implement security best practices to prevent unauthorized access.
- Test Thoroughly: Before going live, test the chatbot extensively to identify and fix any issues related to responses, loading times, or compatibility.
- Optimize User Experience: Customize the chatbot’s appearance and behavior to match your website’s branding and ensure intuitive interactions.
- Monitor and Improve: Regularly review user interactions and feedback to refine responses and improve the chatbot’s performance over time.
By following these guidelines and choosing the right tools, you can seamlessly integrate a powerful custom GPT into your WordPress website, providing value to your visitors and elevating your online presence. Remember, successful integration is an ongoing process that benefits from continuous testing, optimization, and user feedback.