If you’re looking to give your WordPress website a unique touch, custom icons are a fantastic way to do it. Instead of sticking with default icons or stock images, custom icons help your site stand out and better represent your brand or content. Whether you’re adding social media icons, navigation symbols, or decorative elements, customizing icons can enhance the overall look and feel of your site. Plus, it’s easier than you might think—there are plenty of plugins, tools, and techniques that make it simple to upload and manage your own icons. Let’s dive into what makes custom icons so valuable and how to start using them effectively.
Why Adding Alt Text to Custom Icons Matters for Accessibility and SEO
Adding alt text to your custom icons isn’t just a good practice—it’s essential. Alt text provides a textual description of what the icon represents, making your website more accessible to everyone, including users who rely on screen readers. Imagine someone with visual impairments trying to navigate your site; descriptive alt text ensures they understand what each icon does or signifies.
Beyond accessibility, alt text also plays a significant role in SEO. Search engines can’t interpret images or icons visually, but they do read the alt text. By including relevant, descriptive alt text, you help search engines understand your content better, which can improve your site’s visibility in search results. For example, instead of generic descriptions like “icon,” use specific phrases like “Facebook social media icon” or “Download brochure icon” to give context.
Here are some quick tips for writing effective alt text:
- Be specific and descriptive
- Avoid keyword stuffing—keep it natural
- Keep it concise but informative
- Don’t duplicate alt text across multiple icons
In summary, adding meaningful alt text to your custom icons is a simple step that boosts your website’s accessibility and helps improve your SEO efforts. It’s a win-win for both your visitors and your search engine rankings!
3. Preparing Your Custom Icons for Upload
Before you start uploading your custom icons to WordPress, it’s important to get them ready so they look great and work smoothly on your site. Think of this step as packing your suitcase — you want everything to be organized and optimized.
First off, consider the format of your icons. The most common and web-friendly formats are SVG and PNG. SVGs are fantastic because they’re vector-based, meaning they scale perfectly on any screen size without losing quality. PNGs are great for more detailed or raster images, especially if you need transparency.
Here are some quick tips for preparing your icons:
- Optimize file size: Use tools like TinyPNG or SVGOMG to reduce the size of your icons. Smaller files load faster, which is great for user experience and SEO.
- Ensure transparency: If your icon needs to blend seamlessly into different backgrounds, make sure it has a transparent background (PNG or SVG with transparent background).
- Name your files clearly: Use descriptive, SEO-friendly filenames like social-facebook.svg instead of generic names like icon1. This helps with organization and accessibility.
Next, think about accessibility. You’ll want to add descriptive alt text for each icon — this is what screen readers will read aloud, helping visually impaired visitors understand your site. Keep your alt text concise but descriptive enough to convey the icon’s purpose, like Facebook logo icon or Download icon.
Finally, test your icons locally if possible. Open them in your browser to ensure they display correctly and look as expected. If you’re using SVGs, check that they render properly across different browsers. This small step can save you headaches later.
4. Step-by-Step Guide to Uploading and Adding Custom Icons in WordPress
Now that your icons are prepped, let’s walk through the process of uploading and adding them to your WordPress site. Whether you’re using a plugin or manually embedding icons, I’ll cover the easiest methods so you can choose what works best for you.
Method 1: Using a Plugin (Recommended for Ease)
- Install and Activate a Custom Icon Plugin: Plugins like SVG Support or Iconify make handling custom icons simple. Just go to your WordPress dashboard, navigate to Plugins > Add New, search for your preferred plugin, then install and activate it.
- Upload Your Icons: Most plugins provide an interface to upload SVGs or other icon formats. Follow the plugin’s instructions to add your icons to the media library or a dedicated icon library.
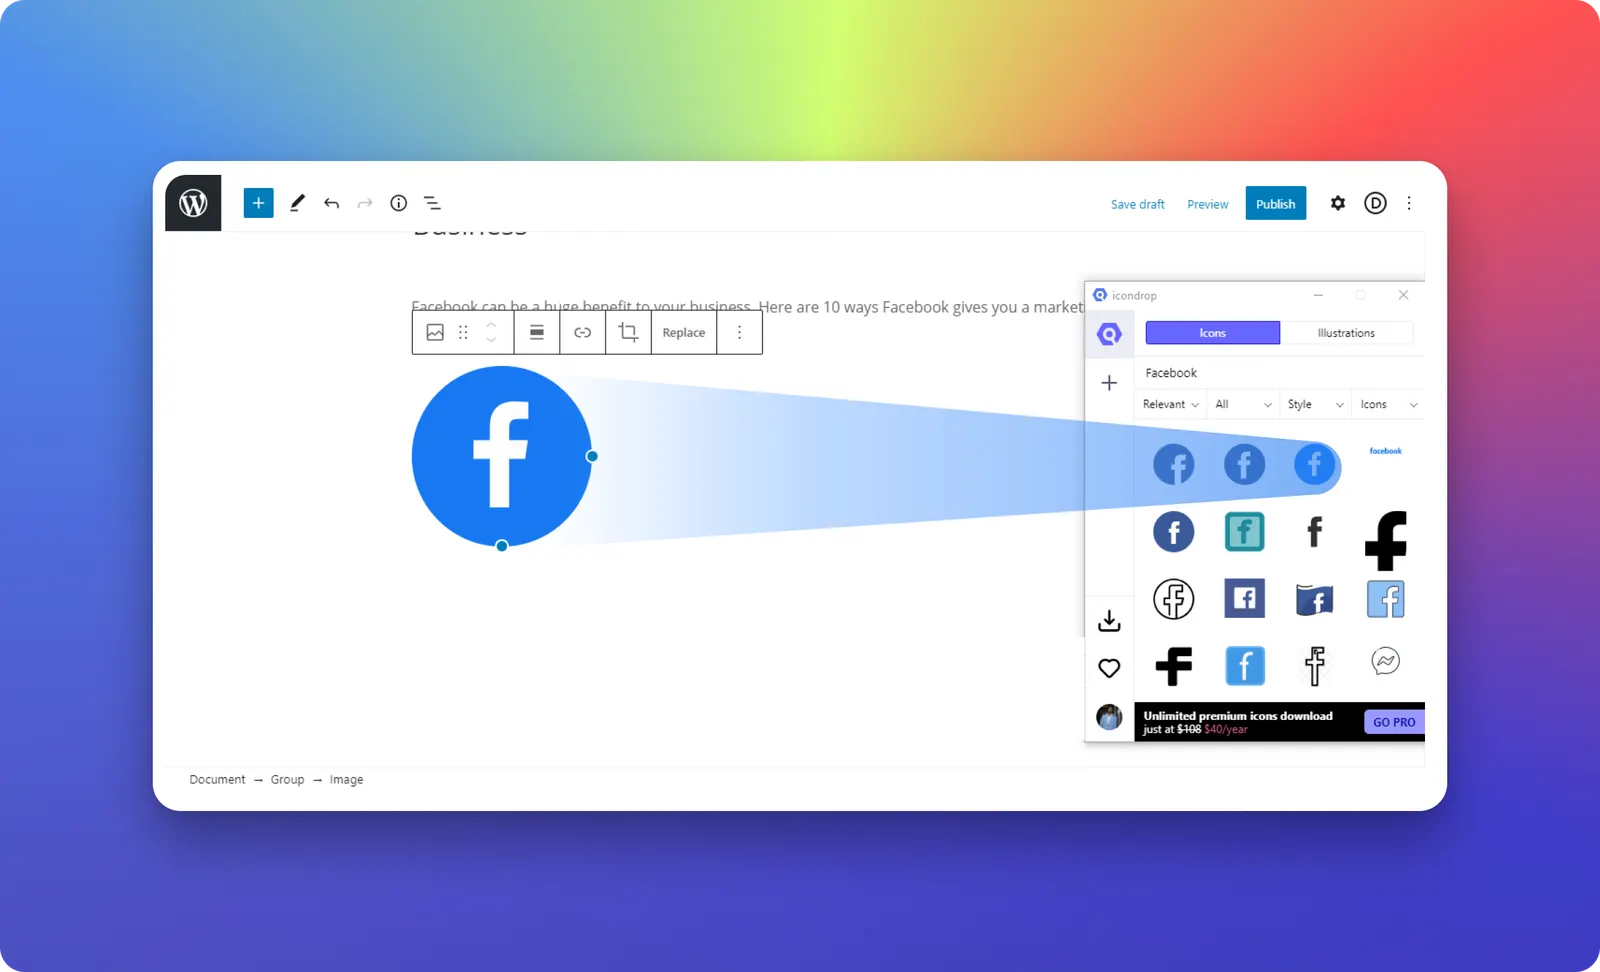
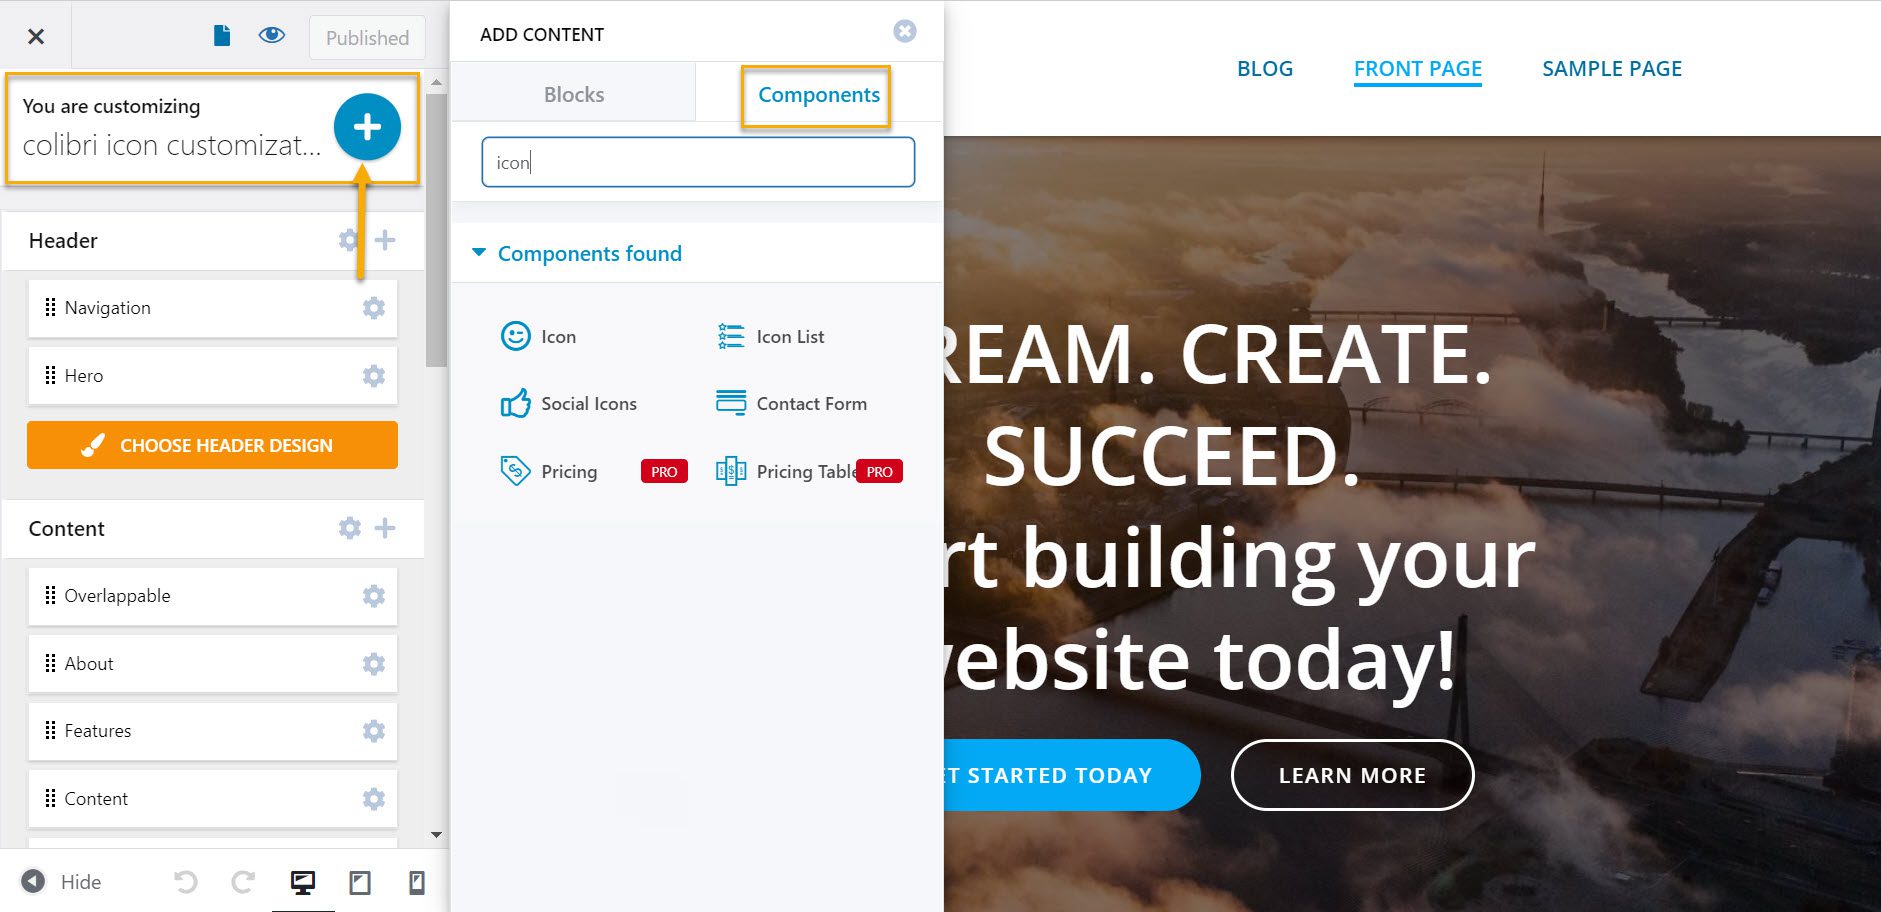
- Insert Icons into Your Content: Once uploaded, you can usually add icons via a block or shortcode provided by the plugin. For example, some plugins give you an icon picker in the editor, making it super straightforward.
- Add Alt Text: When inserting the icon, look for options to add descriptive alt text or ARIA labels. This ensures accessibility and improves SEO.
Method 2: Manually Uploading and Embedding Icons
- Upload Your Icons to the Media Library: In your dashboard, go to Media > Add New. Drag and drop your icon files or use the upload button.
- Copy the URL of the Uploaded Icon: After uploading, click on the icon to view its details, then copy the URL link.
- Insert Icons into Posts or Pages: Use the Image Block in the Gutenberg editor. Paste the URL in the block and add your alt text in the block settings.
- Alternatively, Embed SVGs Directly: For SVGs, you can embed the code directly into your post or use a plugin that allows inline SVGs (like SVG Support). To do this, open your SVG file in a text editor, copy the code, and paste it into a Custom HTML block in WordPress. Remember to add role=”img” and aria-label attributes for accessibility.
Final Tips
- Test your icons: Preview your site on different devices and browsers to make sure icons display correctly and the alt text is functioning as expected.
- Keep backups: Save copies of your icons and their configurations in case you need to re-upload or troubleshoot later.
- Stay consistent: Use a unified style and size for your icons across your website for a professional look.
Adding custom icons with proper alt text not only boosts your site’s visual appeal but also enhances accessibility and SEO. With these simple steps, you’re well on your way to creating a more engaging and user-friendly website!
5. How to Add Alt Text to Your Custom Icons in WordPress
Adding alt text to your custom icons might seem like a small step, but it’s incredibly important for accessibility and SEO. Alt text provides a description of the image for users who rely on screen readers, and it also helps search engines understand what your images are about. So, how exactly do you add alt text to your custom icons in WordPress? Let’s walk through the process together.
First off, it depends on how you’ve added your custom icons. If you’re using a plugin or a page builder, the steps might vary slightly, but the general concept is the same. Here’s a simple way to do it if you’re uploading images directly into your media library:
- Upload your custom icon to the WordPress Media Library. You can do this by going to Media > Add New in your WordPress dashboard.
- Click on the uploaded icon to view its attachment details.
- On the right-hand side, you’ll see a field labeled Alt Text. Here, enter a descriptive phrase that accurately describes the icon’s purpose or appearance. For example, if your icon is a magnifying glass for search, you might write Search icon.
- Once you’ve added the alt text, click Update or Save.
If you’re inserting your icons directly into posts or pages, you can also add alt text through the block editor:
- Select the image block containing your custom icon.
- In the block settings on the right, find the Alt Text field.
- Type in your descriptive alt text here.
- Update or publish your post/page to save the changes.
For icons added via custom code or using icon fonts, adding alt text isn’t as straightforward because they’re often embedded with <i> or <svg> tags. In these cases, you should include an aria-label or aria-hidden attributes to ensure screen readers can interpret them correctly. For example:
<svg role="img" aria-label="Search icon"> ... </svg>This way, your icons are accessible, and screen readers can convey their purpose to users. Remember, always aim for clear, concise descriptions that make sense in context.
6. Tips for Optimizing Custom Icons for Better Website Performance
Custom icons can really enhance your website’s look, but if not optimized properly, they can also slow down your site. Nobody wants visitors to bounce because your pages load too slowly. So, here are some friendly tips to keep your icons lightweight and your site fast.
1. Use Vector Graphics (SVGs) When Possible
SVG (Scalable Vector Graphics) are perfect for icons because they’re resolution-independent, meaning they look sharp on any screen size or device. Plus, SVG files are typically smaller than high-resolution images like PNGs or JPEGs. To optimize:
- Save your icons as SVG files.
- Use tools like SVGO or SVGOMG to minify your SVG code, removing unnecessary metadata.
2. Use Icon Fonts or Inline SVGs for Reusability
Instead of uploading multiple image files, consider icon fonts or inline SVGs. They load quickly and can be styled easily with CSS. Example:
<svg class="icon" aria-hidden="true">...</svg>3. Compress Your Image Files
If you’re using PNG or JPEG icons, compress them to reduce file size. Tools like TinyPNG or Compress JPEG can help you shrink images without losing quality.
4. Use Lazy Loading
Implement lazy loading for images so that icons only load when they’re about to appear on the screen. WordPress 5.5+ has native support for lazy loading images. For custom icons, you can add loading="lazy" attribute:
<img src="icon.png" alt="Search icon" loading="lazy">5. Limit the Number of Icons
Be strategic. Use only the necessary icons and avoid cluttering your pages with too many images. This reduces HTTP requests and improves load times.
6. Cache and Serve via CDN
Hosting your icons on a Content Delivery Network (CDN) and enabling caching can drastically speed up load times for visitors around the world. Many hosting providers include CDN options or you can use services like Cloudflare.
7. Regularly Audit and Update Icons
Periodically check your website’s performance and update your icons if you find larger or outdated files. Keeping your assets optimized ensures your site remains fast and user-friendly.
By following these tips, your custom icons will not only look great but also contribute to a faster, more efficient website. Remember, small optimizations add up to a big difference in user experience!
7. Common Issues and Troubleshooting When Adding Custom Icons
Adding custom icons to your WordPress site can really enhance its visual appeal and user experience, but sometimes you might run into a few hiccups along the way. Don’t worry—most issues are straightforward to troubleshoot once you know what to look for. Here are some common problems and how to fix them:
Icon Not Displaying
If your custom icon isn’t showing up on your site, check the following:
- File Path and URL: Ensure that the icon file is correctly uploaded to your server or media library and that the URL you’re referencing in your code is correct.
- File Format: Use web-friendly formats like SVG, PNG, or JPEG. SVGs are popular for icons because they scale well without losing quality.
- CSS Selectors: Double-check that your CSS selectors target the exact element you want to style. Sometimes a typo or specificity issue can prevent your icon from appearing.
Icons Not Responsive or Scaling Properly
If your icons look blurry or don’t resize well on different devices, consider:
- Using SVGs: SVG icons are vector-based, so they scale perfectly on all screen sizes.
- Setting Width and Height: Use CSS to define max-width and height properties instead of fixed pixel sizes to ensure responsiveness.
Alt Text Not Showing or Not Read by Screen Readers
Alt text is vital for accessibility. If it’s not appearing or isn’t being read properly:
- Check the HTML: Make sure that your
altattribute is correctly added within the<img>tag. - Use Descriptive Text: Write clear, concise descriptions that accurately convey the icon’s purpose.
- Test with Screen Readers: Use tools like NVDA or VoiceOver to verify that your alt text is being read aloud properly.
Performance Issues or Slow Loading
If your site loads slowly after adding custom icons:
- Optimize Icon Files: Compress SVGs and images to reduce file size.
- Use Caching: Leverage caching plugins or server-side caching to speed up delivery.
- Limit Number of Icons: Avoid excessive use of large images, which can bloat your page load time.
Browser Compatibility Problems
Not all browsers handle SVGs and custom icons the same way. To ensure broad compatibility:
- Test Across Browsers: Check your site on Chrome, Firefox, Safari, and Edge.
- Use Fallbacks: Provide fallback images in PNG format for browsers that don’t fully support SVGs.
By keeping these points in mind and systematically troubleshooting, you’ll be able to resolve most issues that come up when adding custom icons. Patience and attention to detail go a long way!
8. Additional Plugins and Tools for Managing Custom Icons
While adding custom icons manually works well, there are plenty of plugins and tools that can make managing icons easier and more efficient. Here’s a rundown of some popular options you might want to consider:
Icon Management Plugins
- Better Font Awesome: If you’re using Font Awesome icons, this plugin simplifies integrating and customizing their icons. It offers a user-friendly interface for selecting and inserting icons without touching code.
- SVG Support: This plugin allows you to upload SVG files directly to your media library and embed them in your posts or pages. It also enables inline SVG rendering, giving you greater control over styling.
- Iconify: A versatile plugin that supports a wide range of icon sets (Font Awesome, Material Design, etc.). It provides a simple way to insert icons via shortcode or block editor blocks.
Design and Icon Creation Tools
- Canva: A user-friendly online design tool that makes creating custom icons easy—even if you’re not a designer. Export your icons as SVG or PNG for use on your site.
- Figma: A powerful design tool for creating and editing vector graphics. Great for designing custom icons from scratch or customizing existing ones.
Optimization and Performance Tools
- SVGOMG: An online SVG optimizer that reduces file size without losing quality. Perfect for streamlining your SVG icons.
- ImageOptim or TinyPNG: Tools for compressing PNG and JPEG icons to improve site load times.
Additional Tips for Managing Icons
- Organize your icons: Keep all your custom icons in a dedicated folder within your media library or theme directory for easier management.
- Use consistent naming conventions: This makes it easier to find and update icons later.
- Leverage version control: If you’re working on a theme or custom code, keep track of icon versions for easier updates and rollbacks.
Choosing the right tools can significantly streamline the process of adding and managing custom icons on your WordPress site. Whether you prefer plugins, design tools, or optimization helpers, there’s a solution out there to fit your workflow and skill level. Happy icon-ing!
9. Best Practices for Using Custom Icons Effectively on Your Website
Using custom icons on your WordPress site can really make your website stand out and improve user experience. But, to get the most out of them, it’s important to follow some best practices. Let’s dive into what you should keep in mind when adding custom icons to ensure they’re both functional and visually appealing.
Maintain Consistency
One of the key factors is consistency. Choose a style that matches your website’s overall design — whether it’s flat, line, filled, or shaded icons. Mixing different icon styles can make your site look disjointed. Keep the color palette and icon size uniform across your pages to create a cohesive look.
Optimize for Accessibility
Including clear alt text for each icon is essential. Not only does this improve SEO, but it also helps users who rely on screen readers understand what each icon represents. For example, a shopping cart icon should have an alt text like Shopping Cart. Avoid vague descriptions—be specific and concise.
- Use descriptive alt text for all icons
- Ensure icons are distinguishable for all users
- Test with screen readers to confirm accessibility
Optimize Image Sizes
Large icon files can slow down your website. To keep your site fast, compress your icons without sacrificing quality. Use SVGs for vector-based icons—they’re scalable and lightweight. For raster images, choose appropriate resolutions and formats like PNG or WebP.
Use Appropriate Placement
Icons should enhance user navigation and understanding, not clutter the layout. Place icons where users expect them—like social media icons in the footer or call-to-action buttons near relevant content. Make sure they’re visible but not overwhelming.
Test on Multiple Devices
Responsive design is crucial. Test your icons on various screen sizes and devices to ensure they look good everywhere. Adjust sizes if necessary, so icons are easily clickable on mobile and clearly visible on desktops.
Leverage Icon Fonts or SVGs
Icon fonts like Font Awesome or SVG sprites are popular because they’re easy to customize with CSS. SVGs are especially great for custom icons—they’re scalable, lightweight, and can be styled directly with CSS for color, size, and hover effects.
10. Conclusion and Final Tips for Enhancing Your WordPress Site with Custom Icons
Adding custom icons with proper alt text isn’t just about aesthetics — it’s a smart way to improve your website’s usability, accessibility, and SEO. By following best practices, you ensure your icons serve their purpose effectively without compromising your site’s performance or accessibility.
Here are some final tips to keep in mind:
- Plan your icon set: Before diving in, decide on a style and stick with it across your site.
- Prioritize accessibility: Always include descriptive alt text and test with assistive technologies.
- Optimize for speed: Use SVGs when possible, and compress images for faster load times.
- Maintain consistency: Keep icon sizes, colors, and styles uniform to create a professional look.
- Test thoroughly: Check how your icons appear on different devices and browsers to ensure a seamless experience.
Remember, icons are more than just visual elements—they guide your visitors, communicate your message, and add personality to your website. With thoughtful implementation, custom icons can truly elevate your WordPress site and make it more engaging and accessible for everyone. Happy designing!