If you’ve ever visited a website and landed on a page that says “404 Not Found,” you know how frustrating it can be. These pages pop up when a link is broken, a page has been removed, or the URL is mistyped. While many sites use standard 404 pages that just show a simple message, customizing this experience can make your website feel more professional and user-friendly. In WordPress, creating a custom 404 page is a straightforward process that lets you craft a message, add helpful links, or even design a completely unique page that matches your site’s style. Today, I’ll guide you through creating a completely blank 404 page—perfect if you want a minimalist or highly controlled experience for your visitors.
Why Use a Blank 404 Page on Your Website
At first glance, a blank 404 page might seem odd—after all, isn’t the point to help visitors find what they’re looking for? Well, in some cases, a blank page can be a strategic choice. Here’s why you might consider using one:
- Minimal Distraction: A blank page removes any clutter, ensuring the visitor isn’t overwhelmed or confused by unnecessary messages or links. It’s a clean slate.
- Control Over User Experience: Sometimes, you want to prevent users from seeing standard messages or accidentally clicking on confusing links. A blank page can serve as a placeholder for custom scripts or redirects.
- Security and Privacy: In certain situations, hiding all information about the error can prevent competitors or malicious users from gaining insights into your site’s structure.
- Performance and Simplicity: A blank page loads very quickly and uses minimal resources. If you’re working on a site under construction or testing, a blank 404 can be an unobtrusive way to handle missing pages.
Keep in mind, though, that a blank page isn’t always the best user experience. It’s ideal for specific use cases, such as internal sites, testing environments, or when paired with redirects that guide users elsewhere. But if you decide it’s right for your website, creating a truly blank 404 page is simple and effective. I’ll show you how to do that step-by-step next!
3. Prerequisites and Tools Needed for Customizing Your 404 Page
Before diving into creating your blank 404 page, it’s important to make sure you have everything you need. Don’t worry—nothing too fancy, just some basic tools and access rights. Here’s a quick rundown:
- Admin Access to Your WordPress Dashboard: You’ll need to log in with an account that has permission to edit themes or install plugins. Usually, this means an Administrator role.
- FTP Client or File Manager Access: Sometimes, editing theme files directly is easier with an FTP program like FileZilla, or you can use your hosting provider’s file manager in cPanel or similar.
- A Child Theme (Recommended): If you plan to modify theme files, it’s best to do so within a child theme. This way, your changes won’t be overwritten during theme updates.
- Code Editor: Any code editor like VS Code, Sublime Text, or even Notepad++ works well for editing PHP or HTML files.
- Backup Solution: Always back up your site before making significant changes. You can use plugins like UpdraftPlus or your hosting backup tools to restore if needed.
As for tools, here’s what’s helpful:
| Tool | Description | Why You Need It |
|---|---|---|
| FTP Client or File Manager | Allows file access directly on your server | To upload or modify theme files safely |
| Code Editor | Text editing software for PHP, HTML, CSS | To write or tweak your custom template code |
| Backup Plugin | Creates restore points for your website | Prevents data loss if something goes wrong |
| WordPress Admin | Dashboard access for theme management | To activate themes, plugins, or custom templates |
Once you have these tools ready and your backups in place, you’re all set to craft a clean, blank 404 page that can give your visitors a better user experience and keep your site looking sleek and professional.
4. Creating a Blank 404 Page in WordPress Using a Custom Template
Now, let’s get into the fun part—creating your blank 404 page! The goal here is to have a minimalistic, completely blank page that can be used as a template. Here’s a straightforward step-by-step guide:
Step 1: Create a Custom PHP Template File
First, access your website’s files via FTP or your hosting file manager. Navigate to your theme folder, which is usually located at /wp-content/themes/your-theme/. If you’re using a child theme (which is recommended), go to that folder instead.
Next, create a new PHP file. You can name it something like blank-404.php. Open this file in your code editor and add the following code:
<?php/ Template Name: Blank 404 Page /get_header();?><!-- Intentionally left blank --><?php get_footer(); ?>This code tells WordPress to use your theme’s header and footer, but leaves the main content area empty, resulting in a blank page.
Step 2: Save and Upload the File
Save your changes and upload blank-404.php to your theme or child theme directory. Make sure the file permissions are correct so WordPress can access it.
Step 3: Create a Custom 404 Error Page Using Your Template
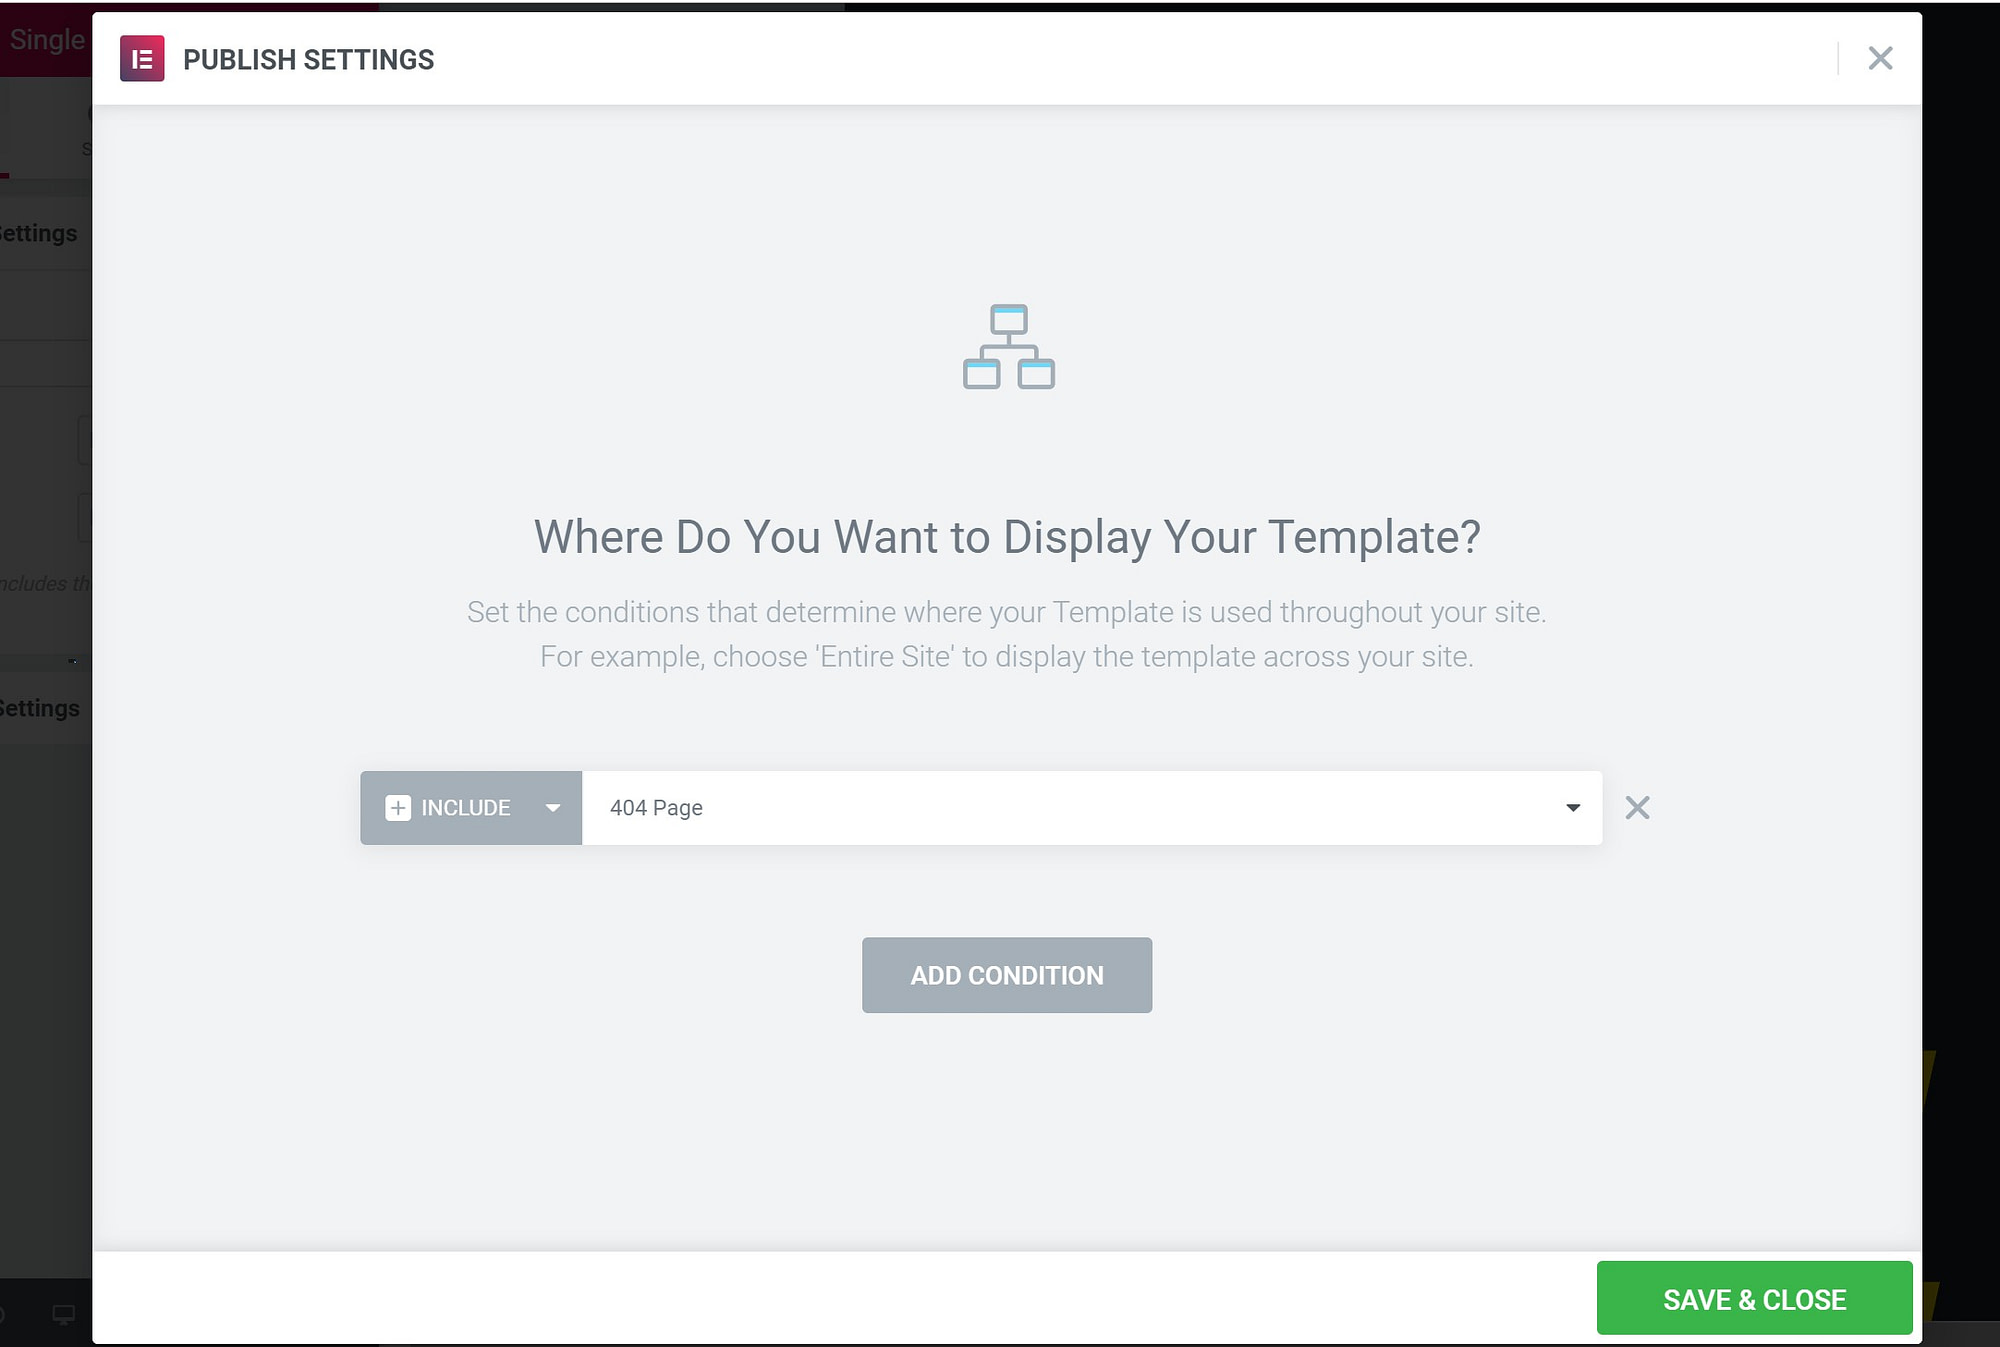
Now, you need to tell WordPress to use this template for 404 errors. You have a couple of options:
- Method 1: Use a Plugin—install a plugin like “404page” or “Custom 404” that allows you to assign a specific page as your 404 page. Create a new page, select a template if available, and set it as your 404.
- Method 2: Override in Theme’s 404.php—if you’re comfortable editing theme files, you can replace the default
404.phpwith a custom one that loads your blank template.
If editing theme files directly, locate your current 404.php in your theme folder, and replace its content with:
<?php/ Load custom blank template for 404 /get_template_part('blank-404');?>Alternatively, if you want to keep things simple and avoid editing core theme files, using a plugin to redirect all 404s to a specific page built with your blank template is a clean solution.
Step 4: Testing Your Blank 404 Page
Finally, test your new setup by visiting a non-existent URL on your site, like https://yourwebsite.com/nonexistentpage. You should see a completely blank page. If not, double-check your file uploads, template assignments, and plugin settings.
And that’s it! With these steps, you’ve successfully created a minimal, blank 404 page for your WordPress site. This setup not only improves your site’s look but also gives you a clean slate for future customization if needed.
5. Implementing the Blank 404 Page in Your WordPress Theme
Now that you’ve crafted your perfect blank 404 page, it’s time to get it live on your WordPress site. The goal here is to replace the default 404 template with your custom blank version, ensuring visitors see nothing but a clean blank page whenever they hit a broken link or non-existent page.
First things first, locate your theme’s folder. You’ll typically find it in wp-content/themes/your-theme-name/. Inside, look for 404.php. If your theme already has this file, great! If not, you’ll need to create one.
Option 1: Creating or Editing the 404.php File
- Backup your theme files: Before making any changes, it’s always smart to backup your theme or work within a child theme to prevent losing modifications during updates.
- Create or open 404.php: Using an FTP client or the built-in Theme Editor in WordPress, open the
404.phpfile. If it doesn’t exist, create a new PHP file named404.php. - Replace content with your blank page code: Paste the minimal code for a blank page. Here’s a simple example:
<?php// Silence is golden. This file intentionally left blank.?>
Alternatively, if you want to keep the PHP tags but ensure the page is completely blank, you can just have the file contain:
<?php// No output, blank page?>
Option 2: Using a Plugin to Override 404 Template
If you’re uncomfortable editing theme files directly, there are plugins like PHP Snippets or Custom 404 Page that can help you override the default 404 behavior. These plugins often allow you to set custom pages or scripts for 404 errors without touching code.
Important Tips
- Clear cache: If you’re using caching plugins or server-side caching, clear them so your changes take effect immediately.
- Child themes are your friends: To avoid losing your customizations during theme updates, create a child theme and place your
404.phpthere. - Keep backups: Always keep a backup of original files before editing, just in case you need to revert.
Once you’ve uploaded your blank 404.php file, your custom blank page is ready to be tested. The next step? Ensuring it works perfectly and behaves as expected.
6. Testing Your New Blank 404 Page to Ensure Proper Functionality
After implementing your blank 404 page, testing is crucial. You want to make sure that when someone lands on a broken link or a non-existent page, they see that pristine blank page, not an error message or your site’s layout. Here’s how to do it:
Step-by-step Testing Process
- Clear your cache: Before testing, clear your browser cache, plugin cache, and any server cache to see the latest changes.
- Use a known non-existent URL: Enter a URL like
https://yourwebsite.com/thispagedoesnotexistin your browser. Make sure that the URL is something your site doesn’t have a page for—this triggers the 404 error. - Observe the page: Your site should display a completely blank page with no headers, footers, or content. If you see your usual site layout or an error message, the implementation might not have worked correctly.
Additional Tips for Effective Testing
- Test on different browsers: Sometimes, cache or rendering issues are browser-specific. Check on Chrome, Firefox, Edge, etc.
- Test on mobile devices: Ensure the blank page appears correctly on smartphones and tablets.
- Check responsiveness: Even a blank page should load quickly and behave well across screen sizes.
Troubleshooting Common Issues
- Page not blank: Double-check your
404.phpfile to ensure it contains only the minimal code to output a blank page. - 404 page not triggered: Confirm that the URL is correct and that your server isn’t caching the old 404 behavior.
- Caching issues: Clear all caches and retest if you see cached content.
Once you’re confident the blank 404 page appears correctly, test navigating to other invalid URLs to see the consistent behavior. Remember, a blank page might seem simple, but it can significantly improve user experience by removing clutter and distracting elements from broken links. Plus, it gives you a clean slate to add custom messages or styling later if you choose!
Additional Tips for Managing 404 Errors and User Experience
Dealing with 404 errors is a crucial part of maintaining a professional and user-friendly website. While creating a custom 404 page is a great start, implementing additional strategies can significantly improve user experience and reduce bounce rates.
First, consider implementing redirects for frequently accessed or important pages that no longer exist. Using plugins like Redirection or configuring server-side redirects (301) helps guide visitors to relevant content instead of encountering dead ends. For example, if a product page is removed, redirecting to a category or homepage ensures users find what they need.
Next, monitor your website’s 404 error logs. Regularly reviewing these logs helps identify patterns or broken links that need fixing. Tools like Google Search Console or server logs can provide insights into the most common 404 errors, enabling targeted fixes.
Additionally, maintain a comprehensive internal linking structure. Proper linking helps users navigate your site easily and reduces the likelihood of encountering 404 pages. Use clear navigation menus, breadcrumbs, and contextual links within your content.
For external links, consider link audits to identify and update or remove broken links. Keeping external links functional not only enhances user experience but also benefits your SEO.
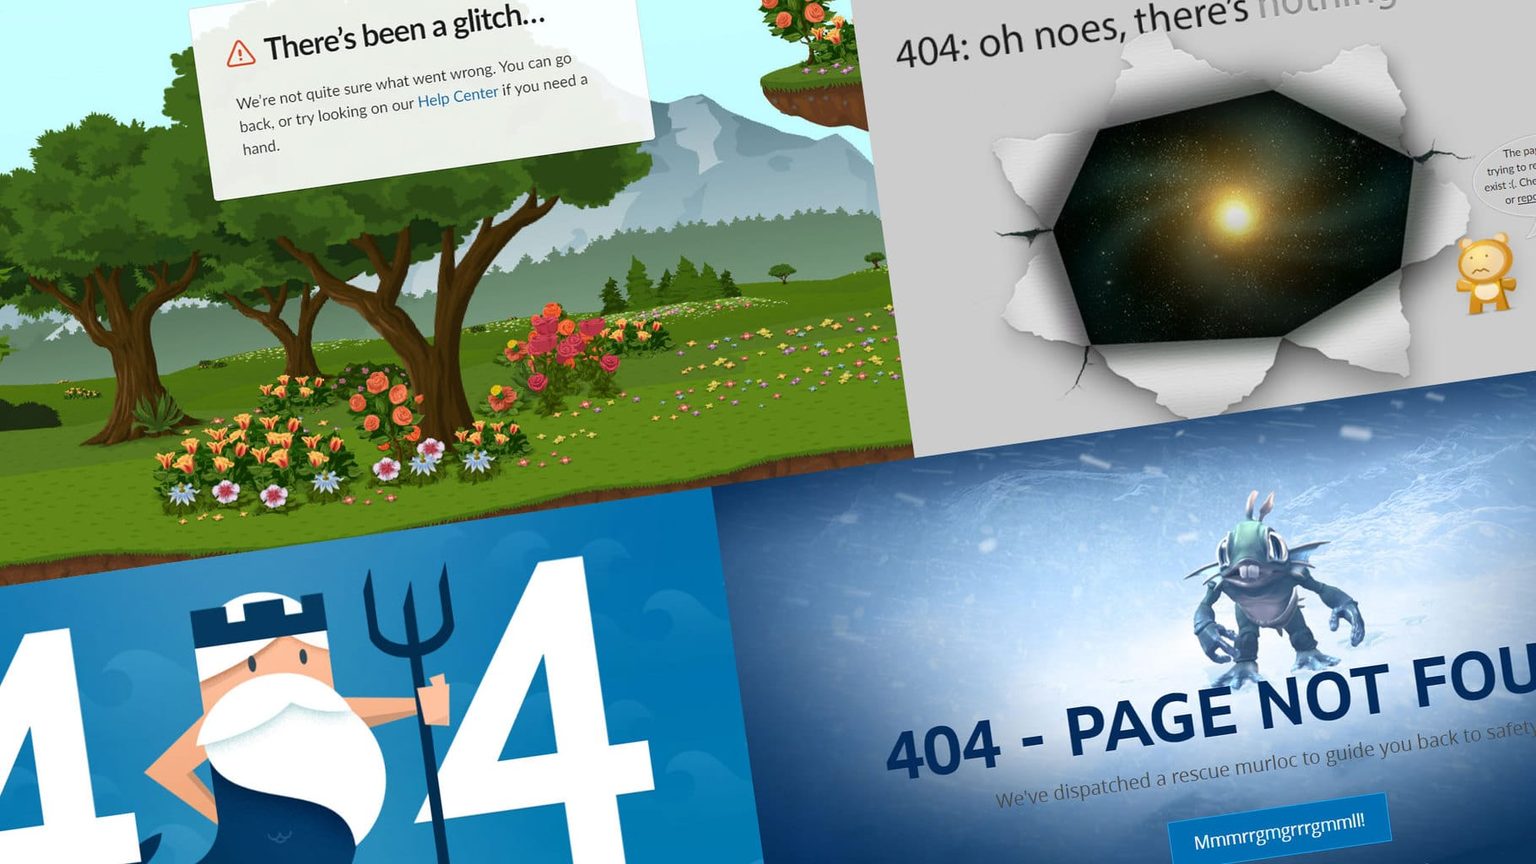
Finally, make your custom 404 page informative and friendly. Include a search bar, links to popular pages, or a sitemap to assist users in finding what they’re looking for. A well-designed 404 page turns a potential frustration into an opportunity to engage visitors.
In summary, proactive management of 404 errors through redirects, monitoring, internal linking, and a helpful 404 page greatly enhances user experience and maintains your website’s credibility.