If you’ve ever managed a WordPress site with a busy admin dashboard, you know how quickly things can get cluttered. Navigating through numerous menu items can become overwhelming, especially when you have multiple plugins and custom post types. That’s where adding separators to your admin submenu can make a big difference. It’s a simple yet effective way to organize your menu, making your workflow smoother and your dashboard more user-friendly. In this guide, we’ll explore how to add separators to your WordPress admin submenu and why it’s worth the effort for better site management.
Understanding the Importance of Menu Organization in WordPress
Imagine walking into a cluttered office with papers and folders everywhere. It’s hard to find what you need, right? The same goes for your WordPress admin dashboard. When your menu is disorganized, it can slow you down, cause confusion, and even make your site management less efficient. Proper menu organization helps you quickly locate plugins, settings, and custom post types, saving you time and reducing frustration.
Adding separators isn’t just about aesthetics; it’s about creating logical divisions within your menu. Think of them as the folders in your filing cabinet—grouping related items together makes everything easier to find and manage. For example, you might want to separate your main site settings from plugin options or custom post types. This logical structure streamlines your workflow and helps new team members get up to speed faster.
Moreover, a well-organized admin menu improves overall productivity. When you spend less time searching for the right setting or plugin, you can focus more on creating content, improving your site, or engaging with your audience. And if you manage multiple sites or have a team working together, a clear, organized menu becomes even more crucial to keep everyone on the same page.
In essence, investing a little time to add separators and tidy up your WordPress admin menu pays off by making your site management more intuitive, enjoyable, and efficient. It’s a small change with a big impact—so let’s dive into how you can do it!
3. Step-by-Step Instructions to Add a Separator to the WordPress Admin Submenu
Adding a separator to your WordPress admin submenu might sound a bit technical at first, but don’t worry — it’s actually quite straightforward once you follow a few simple steps. This little tweak can really help organize your admin area and make navigation smoother, especially if you have a lot of menu items or custom post types.
Here’s a step-by-step guide to help you add that separator:
- Access Your Theme’s functions.php File
- Insert the Custom PHP Code
- Save Your Changes
- Optional: Add Multiple Separators
Start by logging into your WordPress dashboard. Navigate to Appearance > Theme Editor. On the right side, find and click on functions.php. This is where you’ll add your custom code. If you’re not comfortable editing code directly, consider creating a site-specific plugin or using a custom plugin to keep things safe.
Scroll to the bottom of the file and add the following code snippet:
<?php // Hook into the admin menu setup add_action('admin_menu', 'add_custom_admin_separator'); function add_custom_admin_separator() { global $menu; // Define the position where you want the separator $position = 10; // Adjust this number as needed // Insert the separator $menu[$position] = array( '', 'read', 'separator' . $position, '', 'wp-menu-separator' ); } ?>
Feel free to adjust the $position value to place the separator exactly where you want it. Remember, the position is based on the menu order, so choose a number that fits well within your menu structure.
Once you’ve added the code, click Update File. Now, head over to your WordPress admin area, refresh the page, and you should see a separator line where you inserted it. If not, double-check your code for typos or try adjusting the position number.
If you want to add more than one separator, simply repeat the process with different position numbers and unique separator IDs. Just be mindful not to overwrite existing menu items.
And that’s it! With just a few lines of code, you’ve made your admin menu more organized and easier to navigate. Remember, always back up your site before editing core files, and if you’re unsure, test changes on a staging site first.
4. Tools and Plugins That Can Help You Customize the Admin Menu
If diving into code isn’t your thing or you want more flexibility, there are plenty of tools and plugins that make customizing your WordPress admin menu a breeze. These options often come with user-friendly interfaces, drag-and-drop functionality, and additional features that can help you create a truly tailored admin experience.
Here are some of the most popular and helpful tools:
1. Admin Menu Editor
- Description: This is probably the most widely used plugin for customizing the admin menu. It allows you to reorder, hide, rename, and even add separators or custom menu items with a simple drag-and-drop interface.
- Features:
- Rearrange menu items easily
- Hide items for specific user roles
- Add custom links or separators
- Export and import menu configurations
- Why use it? It’s incredibly intuitive and saves you from messing around with code. Perfect for non-developers who want control over their admin layout.
2. Adminimize
- Description: Adminimize is a powerful plugin for hiding unnecessary menu items, meta boxes, and submenus based on user roles. It helps streamline the admin interface.
- Features:
- Hide menu items and submenus
- Control dashboard widgets
- Customize the admin experience for different roles
- Note: While it focuses more on hiding elements, it can be combined with other plugins or custom code to add separators or further organize menus.
3. WP Admin UI Customize
- Description: A versatile plugin that allows you to customize the entire admin UI, including menus, dashboards, and login screens.
- Features:
- Add custom menu items and separators
- Rearrange existing menu items
- Change colors and styles for a branded look
4. Custom Code Snippets Plugins
If you prefer to add custom code but want a safer way to manage snippets, plugins like Code Snippets or WPCode allow you to add PHP snippets directly from the admin area. This way, you can implement separators and other customizations without editing your theme files manually.
Final Tips:
- Backup first: Always create a backup before making significant changes, especially if editing code or using new plugins.
- Test on staging: If possible, test your customizations on a staging environment to prevent any disruptions on your live site.
- Stay updated: Keep your plugins up to date to ensure compatibility and security.
Using these tools, you can create a clean, organized, and user-friendly admin menu tailored exactly to your needs — no coding required if you prefer that route! Whether you’re managing a personal blog or a busy client site, these options can save you time and frustration while enhancing your admin experience.
5. Best Practices for Organizing Your WordPress Admin Menu
When it comes to managing your WordPress admin dashboard, organization is key. A clean and logical menu structure not only saves you time but also makes it easier for your team or clients to navigate the backend without confusion. Here are some best practices to help you keep your admin menu streamlined and effective:
1. Group Related Items
Start by grouping similar menu items together. For example, all your e-commerce related pages like Orders, Products, and Customers should be under one section. You can do this by creating parent menu items or custom top-level menus to categorize related plugins or features.
2. Use Descriptive Labels
Clear, descriptive labels help users understand exactly what each menu item does. Avoid vague names like “Tools” or “Settings” unless they are truly broad categories. Instead, specify the purpose, e.g., “SEO Settings” or “Customer Orders.”
3. Limit the Number of Top-Level Menus
Try to keep the number of top-level menus manageable—ideally under 7. Too many items at the top level can overwhelm users and make navigation cumbersome. Use submenus or separators to organize items further.
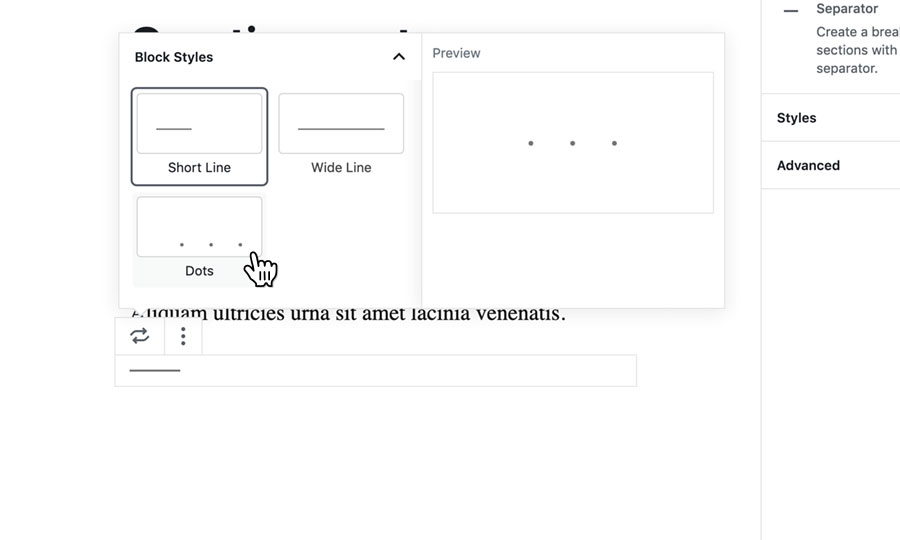
4. Use Separators or Dividers
Adding separators or dividers (like the separator you learned to add) can visually break up your menu into sections, making it easier to scan and find what you’re looking for. This is especially useful if you have many menu items or complex plugins.
5. Prioritize Frequently Used Items
Place the most commonly accessed pages at the top or in prominent positions within your menu. Less frequently used items can go into submenus or be hidden under collapsible sections.
6. Keep It Simple and Consistent
Maintain a consistent naming convention and menu structure. Simplicity encourages better usability. Regularly review your menu structure and prune items that are no longer relevant or used.
7. Leverage Plugins for Customization
Plugins like “Admin Menu Editor” allow you to customize the admin menu extensively, including adding separators, changing order, and even hiding items. Use these tools to tailor the dashboard to your workflow.
6. Conclusion and Tips for Maintaining an Organized Admin Dashboard
Organizing your WordPress admin menu isn’t a one-and-done task—it’s an ongoing process that benefits from regular attention. A well-structured dashboard improves efficiency, reduces frustration, and enhances overall site management. Here are some final tips to keep your admin area neat and functional:
- Regularly Review Your Menu: As your website evolves, so should your menu. Remove outdated items and add new ones as necessary.
- Use Clear Naming Conventions: Consistent and descriptive labels prevent confusion and make navigation intuitive.
- Leverage Separators and Dividers: Use visual cues to divide sections, making it easier to locate specific areas.
- Limit Customization to Essential Changes: While customization is helpful, avoid overdoing it. Keep your menu straightforward.
- Train Your Team: Ensure everyone understands the menu structure and knows where to find key features.
- Backup Before Major Changes: Before making significant menu modifications, back up your site to prevent any mishaps.
By following these best practices and maintaining a clean, organized admin dashboard, you’ll make managing your WordPress site more enjoyable and less stressful. Remember, a little effort in organizing today pays off with smoother workflows tomorrow!