Hey there! So, you’ve set up your WordPress site and are ready to make it uniquely yours. Customizing your website isn’t just about making it look pretty—it’s about creating an experience that truly reflects your brand and connects with your audience. Whether you’re a beginner or a seasoned pro, understanding the fundamentals of customization can boost your site’s professionalism and usability. From tweaking colors and layouts to adding special features, there’s a whole world of options to explore. Let’s dive into how you can transform your WordPress site into a polished, personalized masterpiece!
Choosing the Right WordPress Theme for Your Brand
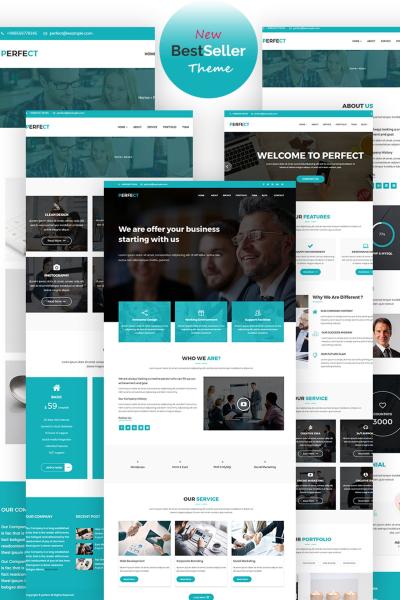
Your theme is the foundation of your website’s design and functionality. Picking the right one is crucial because it sets the tone for your entire online presence. Here’s what you should consider:
- Purpose and Niche: Think about what your site is all about. Are you a photographer, a blogger, or a business owner? Different themes cater to different needs. For example, a portfolio theme works great for creatives, while an e-commerce theme suits online stores.
- Design and Style: Look for a theme that matches your brand’s personality. Do you want a clean, minimalist look or something bold and colorful? Browse demo sites to see how they look in action.
- Customization Options: Check if the theme offers flexibility—like color schemes, layout choices, and widget areas. The more you can tweak, the better you can make it your own.
- Responsiveness: Ensure the theme is mobile-friendly. Your visitors will be browsing on all kinds of devices, so responsiveness is key to a good user experience.
- Ratings and Support: Read reviews and see if the theme developer offers good support. A well-rated theme with regular updates can save you headaches later on.
Once you’ve narrowed down your options, don’t be afraid to test a few themes using demo content. This hands-on approach helps you see how your content fits and whether the design feels right for your brand. Remember, your theme is the canvas—choose one that not only looks great but also helps you achieve your website goals effortlessly!
3. Using Plugins to Enhance Functionality and Appearance
One of the best things about WordPress is its vast ecosystem of plugins. Think of plugins as mini apps that can add almost any feature or style you want to your website. Whether you’re looking to boost your site’s speed, improve SEO, or create stunning galleries, there’s probably a plugin for it.
But here’s the trick: don’t go overboard. Installing too many plugins can slow down your site and make management a headache. Instead, focus on choosing high-quality, well-maintained plugins that truly meet your needs.
Here are some popular categories of plugins to consider:
- SEO Plugins: Tools like Yoast SEO or All in One SEO help optimize your content so search engines love your site.
- Security Plugins: Wordfence or Sucuri keep your site safe from hackers and malware.
- Design & Appearance: Page builders like Elementor or Beaver Builder allow you to craft custom layouts without coding.
- Performance: Caching plugins such as WP Super Cache or W3 Total Cache speed up your site loading times.
- Forms & Engagement: Contact Form 7 or WPForms make it easy to add contact forms, surveys, or newsletter sign-ups.
When choosing plugins, always check their ratings, reviews, and update history. And remember to keep them updated to avoid security vulnerabilities.
Also, consider the appearance of your site. Some plugins add beautiful buttons, sliders, or icons that can instantly upgrade your site’s look. Just be selective—only install plugins that genuinely add value, and deactivate or delete those you no longer use.
In summary, plugins are a powerful way to customize your WordPress site both in function and style. With a bit of research and a cautious approach, you can make your site look professional and work flawlessly without needing to write a single line of code.
4. Customizing Your Site with Child Themes
If you want to truly personalize your WordPress site’s design and functionalities, using a child theme is the way to go. Think of a child theme as a safe sandbox where you can make changes without risking the parent theme’s core files. This means your customizations won’t get wiped out when the parent theme updates.
Creating and using a child theme might sound intimidating at first, but it’s actually straightforward—and a smart move for any serious site owner. Here’s how it works:
- Set up a child theme folder: Inside your WordPress themes directory, create a new folder, usually named after your parent theme with “-child” appended (e.g., “twentytwentyone-child”).
- Create a style.css file: In that folder, add a style.css file with a small header comment that specifies it’s a child theme and points to the parent theme.
- Enqueue the parent theme styles: In functions.php, enqueue the parent theme’s stylesheet so your child theme inherits its styles.
- Add your customizations: Now, you can safely add custom CSS, PHP functions, or template overrides inside your child theme files.
By doing this, you keep your custom tweaks separate from the core theme files, making updates seamless and safe. It’s also easier to troubleshoot and maintain your site long-term.
Here are some common things you might customize via a child theme:
- Changing layouts or templates: Override specific template files to modify page structures.
- Adding custom CSS: Tweak colors, fonts, or spacing without affecting the main theme.
- Introducing new functions: Add custom PHP code to enhance functionality or integrate third-party services.
Remember, the key is to keep customizations organized and minimal—only change what’s necessary. If you’re new to coding, there are plenty of tutorials and snippets available online to guide you through the process.
Using child themes is a professional way to make your website uniquely yours, ensuring your customizations stay intact through theme updates and making future modifications much easier. It’s a small investment of time that pays off by giving you full control over your site’s look and feel.
5. Optimizing Your Website for Better Performance
Let’s face it — no one wants to wait ages for a website to load. Slow sites frustrate visitors, hurt your SEO rankings, and can even drive potential customers away before they get a chance to see what you offer. So, optimizing your WordPress site for better performance isn’t just a good idea — it’s essential.
First things first, choose a reliable hosting provider. Shared hosting is fine for beginners, but if you’re serious about speed, consider upgrading to managed WordPress hosting or a VPS. These options usually come with server-side caching and optimized configurations that can significantly boost load times.
Next, install a caching plugin. Plugins like W3 Total Cache or WP Rocket can reduce server load and speed up your site by storing static versions of your pages. Once installed, make sure to configure them properly — enabling browser caching, minifying CSS and JavaScript files, and enabling gzip compression.
Another key step is optimizing your images. Large, uncompressed images are often the biggest culprits behind slow sites. Use tools like TinyPNG or plugins like Smush to compress images without losing quality. Also, consider serving images in next-gen formats like WebP, which are smaller and faster to load.
Don’t forget about database optimization. Over time, your WordPress database can get cluttered with unnecessary data like post revisions, spam comments, and transient options. Plugins like WP-Optimize or Advanced Database Cleaner can help you clean up and optimize your database, keeping your site lean and fast.
Lastly, regularly update your themes, plugins, and WordPress core. Developers often release performance improvements and security patches that keep your site running smoothly. And always test your site’s speed after making changes — tools like Google PageSpeed Insights or GTmetrix are great for analyzing performance and giving you actionable tips.
Remember, a fast website improves user experience, boosts your SEO, and can even increase conversions. So, invest some time in optimizing — your visitors will thank you!
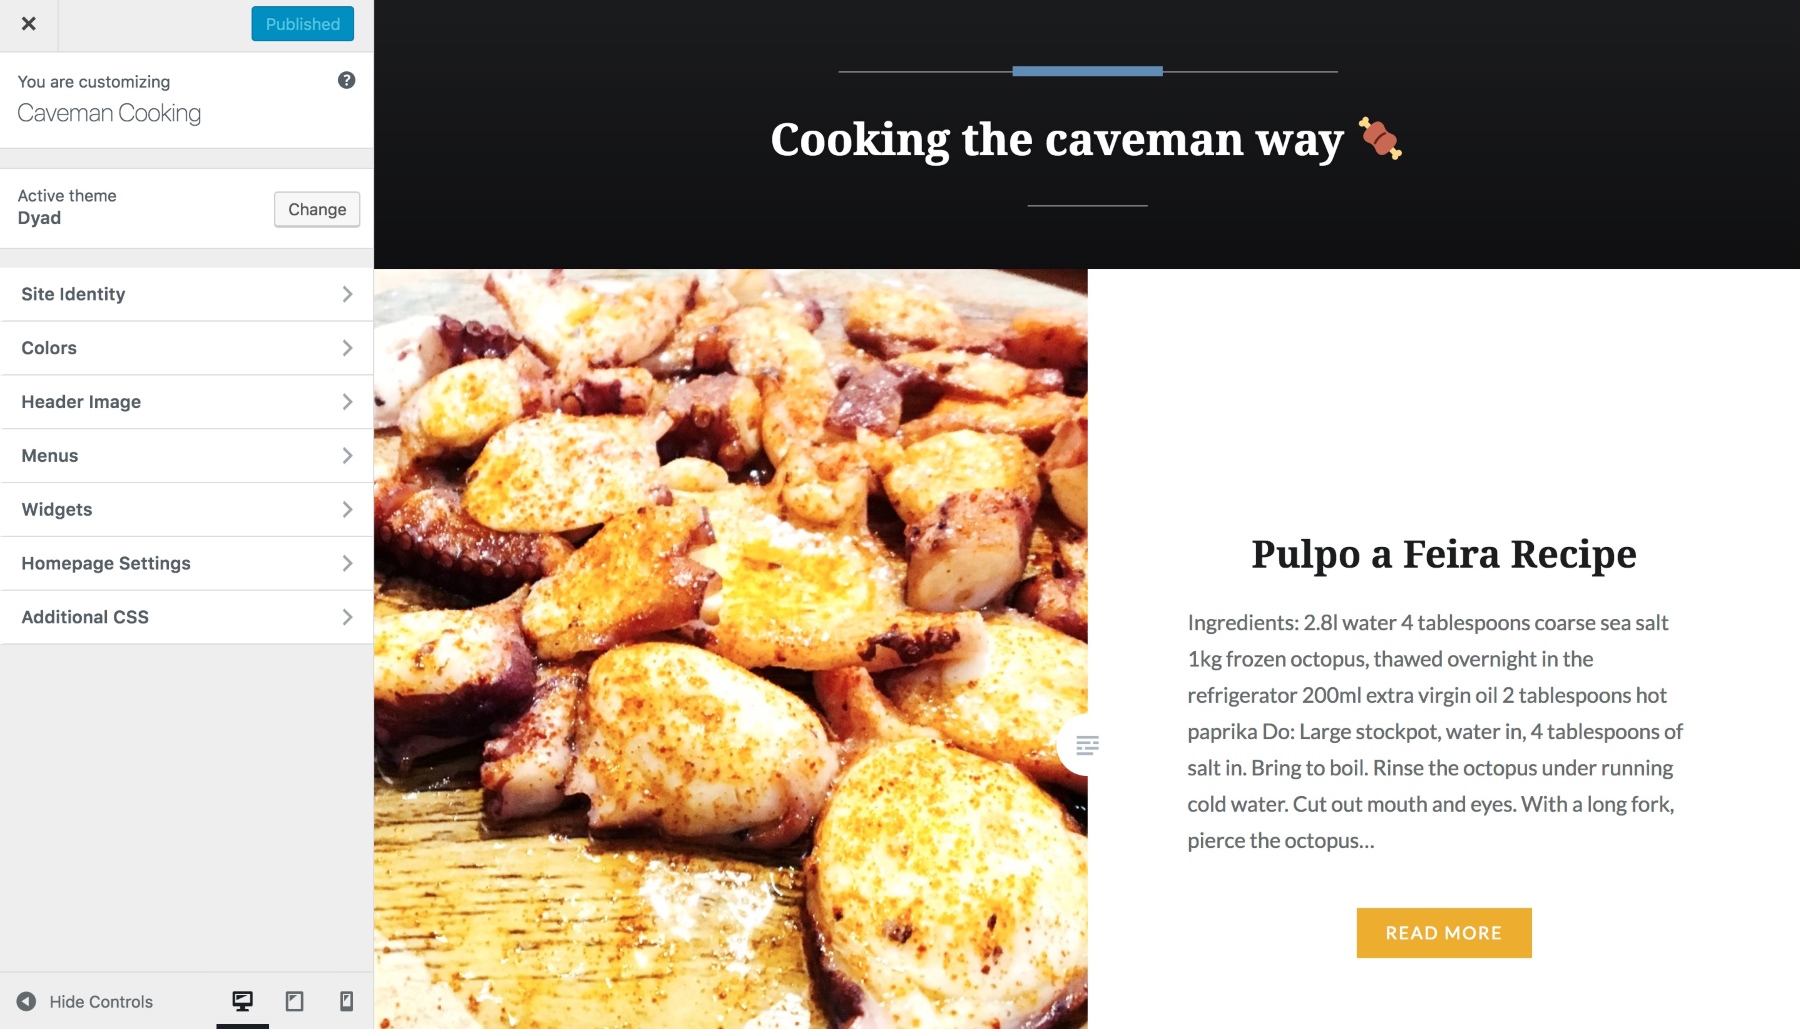
6. Adding Personal Touches with Custom Widgets and Menus
Now that your site is looking good and running smoothly, it’s time to make it feel truly yours. Custom widgets and menus are the perfect way to add a personal touch and enhance navigation for your visitors. They help you showcase your content, promote your best offerings, and make your site more engaging and user-friendly.
Custom Widgets are small blocks of content that you can place in widget-ready areas, like sidebars and footers. Many themes come with built-in widgets, but you can also create your own or use plugins to add more functionality. For example, you might add:
- A Recent Posts widget to showcase your latest blog entries.
- A Popular Posts widget to highlight your most-read articles.
- A Custom HTML widget to embed your own code, like a welcome message or promotional banner.
- Social media feeds or contact info to connect with visitors.
To make your widgets stand out, consider customizing their appearance with CSS or using a page builder plugin that offers more flexible widget design options. This way, your site feels more personalized and aligned with your brand’s style.
Moving on to Menus. Your site’s navigation is one of the most important parts for user experience. Well-designed menus help visitors find what they’re looking for quickly and easily. Most themes support multiple menus, so take advantage of this to organize your content logically.
Here are some tips for creating effective menus:
- Keep it simple: Limit the number of menu items to avoid overwhelming visitors.
- Use clear labels: Make sure each menu item clearly describes what visitors will find.
- Add dropdowns: Use sub-menus to organize related pages or categories.
- Include calls to action: If appropriate, add menu items that direct visitors toward a goal, like “Contact Us” or “Get a Quote.”
You can customize menus by going to Appearance > Menus in your WordPress dashboard. Drag and drop your pages, posts, or custom links to build a menu that makes sense for your site’s structure. Remember, a good menu isn’t just about aesthetics — it’s about usability and guiding your visitors effectively.
And don’t forget to make your menus mobile-friendly! Most modern themes do this automatically, but always check on different devices to ensure your navigation works seamlessly everywhere.
Adding personal touches with custom widgets and thoughtfully designed menus will make your WordPress site not only more functional but also more inviting and uniquely yours. It’s these little details that can truly elevate your website from good to professional-looking.
7. Implementing SEO Best Practices for Better Visibility
Now that you’ve got your WordPress site looking stunning and functioning smoothly, it’s time to make sure people can actually find it. That’s where SEO, or Search Engine Optimization, comes into play. Think of SEO as your way of telling search engines like Google, “Hey, here’s a really valuable site that people should see.” When you implement SEO best practices, you boost your chances of ranking higher in search results, driving more traffic and potential customers or readers to your site.
Start with the basics:
- Choose the Right Keywords: Think about what your target audience is searching for. Use tools like Google Keyword Planner or Ubersuggest to find relevant keywords with good search volume and manageable competition.
- Optimize Your Content: Incorporate your keywords naturally into your titles, headings, and throughout your content. Avoid keyword stuffing, which can hurt your rankings.
- Use Descriptive Meta Titles and Descriptions: Your meta title and description appear in search results. Make them compelling and include your main keywords to entice clicks.
- Ensure Mobile-Friendliness: A responsive design isn’t just nice to have; it’s a ranking factor. Use a mobile-friendly theme and test your site using Google’s Mobile-Friendly Test tool.
- Improve Site Speed: Faster sites rank better. Compress images, leverage browser caching, and minimize unnecessary plugins or scripts.
- Create Quality Content Regularly: Search engines love fresh, valuable content. Blog regularly, and focus on providing real value to your visitors.
- Use SEO Plugins: Plugins like Yoast SEO or Rank Math are fantastic tools that guide you through optimizing each page and post, ensuring you don’t miss critical elements.
Remember, SEO isn’t a one-time task but an ongoing process. Keep analyzing your site’s analytics, stay updated on SEO trends, and tweak your strategies accordingly. With consistent effort, your site will climb the search rankings, making it easier for your audience to discover your content or products.
8. Final Tips for Professional-Looking WordPress Customizations
Wrapping up your customization journey, here are some final tips to ensure your WordPress site looks polished, professional, and inviting—without needing a graphic design degree!
1. Stick to a Cohesive Color Palette: Choose a few complementary colors that match your brand or personality. Consistency in colors across headings, buttons, and backgrounds creates a unified look that feels intentional and professional.
2. Use High-Quality Images: Blurry or pixelated images can ruin an otherwise beautiful site. Invest in high-resolution photos, or use free resources like Unsplash and Pexels. Optimize images for fast loading without sacrificing quality.
3. Keep Your Typography Simple and Readable: Select clear fonts and limit yourself to two or three font styles. Use headings, subheadings, and body text effectively to guide visitors through your content naturally.
4. Maintain Consistent Spacing and Alignment: Proper padding and margins make your content easier to scan. Use grid layouts or page builder tools to align elements neatly and avoid clutter.
5. Limit Clutter and Focus on Clarity: Less is often more. Avoid overwhelming visitors with too many widgets, ads, or flashy elements. Highlight your key messages and calls to action.
6. Use Custom CSS for Fine-Tuning: If you’re comfortable with CSS, small tweaks can make a big difference. Adjust font sizes, colors, or spacing to match your exact vision.
7. Test Your Site Across Devices and Browsers: What looks great on your desktop might not work on a mobile device or different browsers. Use tools like BrowserStack or simply test on multiple devices to ensure consistency.
By following these tips, you’ll elevate your WordPress site from good to truly professional-looking. Remember, the key is consistency and attention to detail. With patience and a bit of creativity, your site will not only attract visitors but also leave a lasting impression that makes them want to return.