Have you ever wanted to give your WordPress theme a unique touch? Well, patterns are a fantastic way to do just that! Patterns in WordPress add flair and personality to your website, transforming it from ordinary to eye-catching. Whether you’re a seasoned developer or a DIY enthusiast, learning how to integrate patterns into your theme can enhance the overall aesthetics and user experience. Let’s dive into the fascinating world of patterns and discover how you can make your
Step 1: Understanding Patterns and Their Benefits
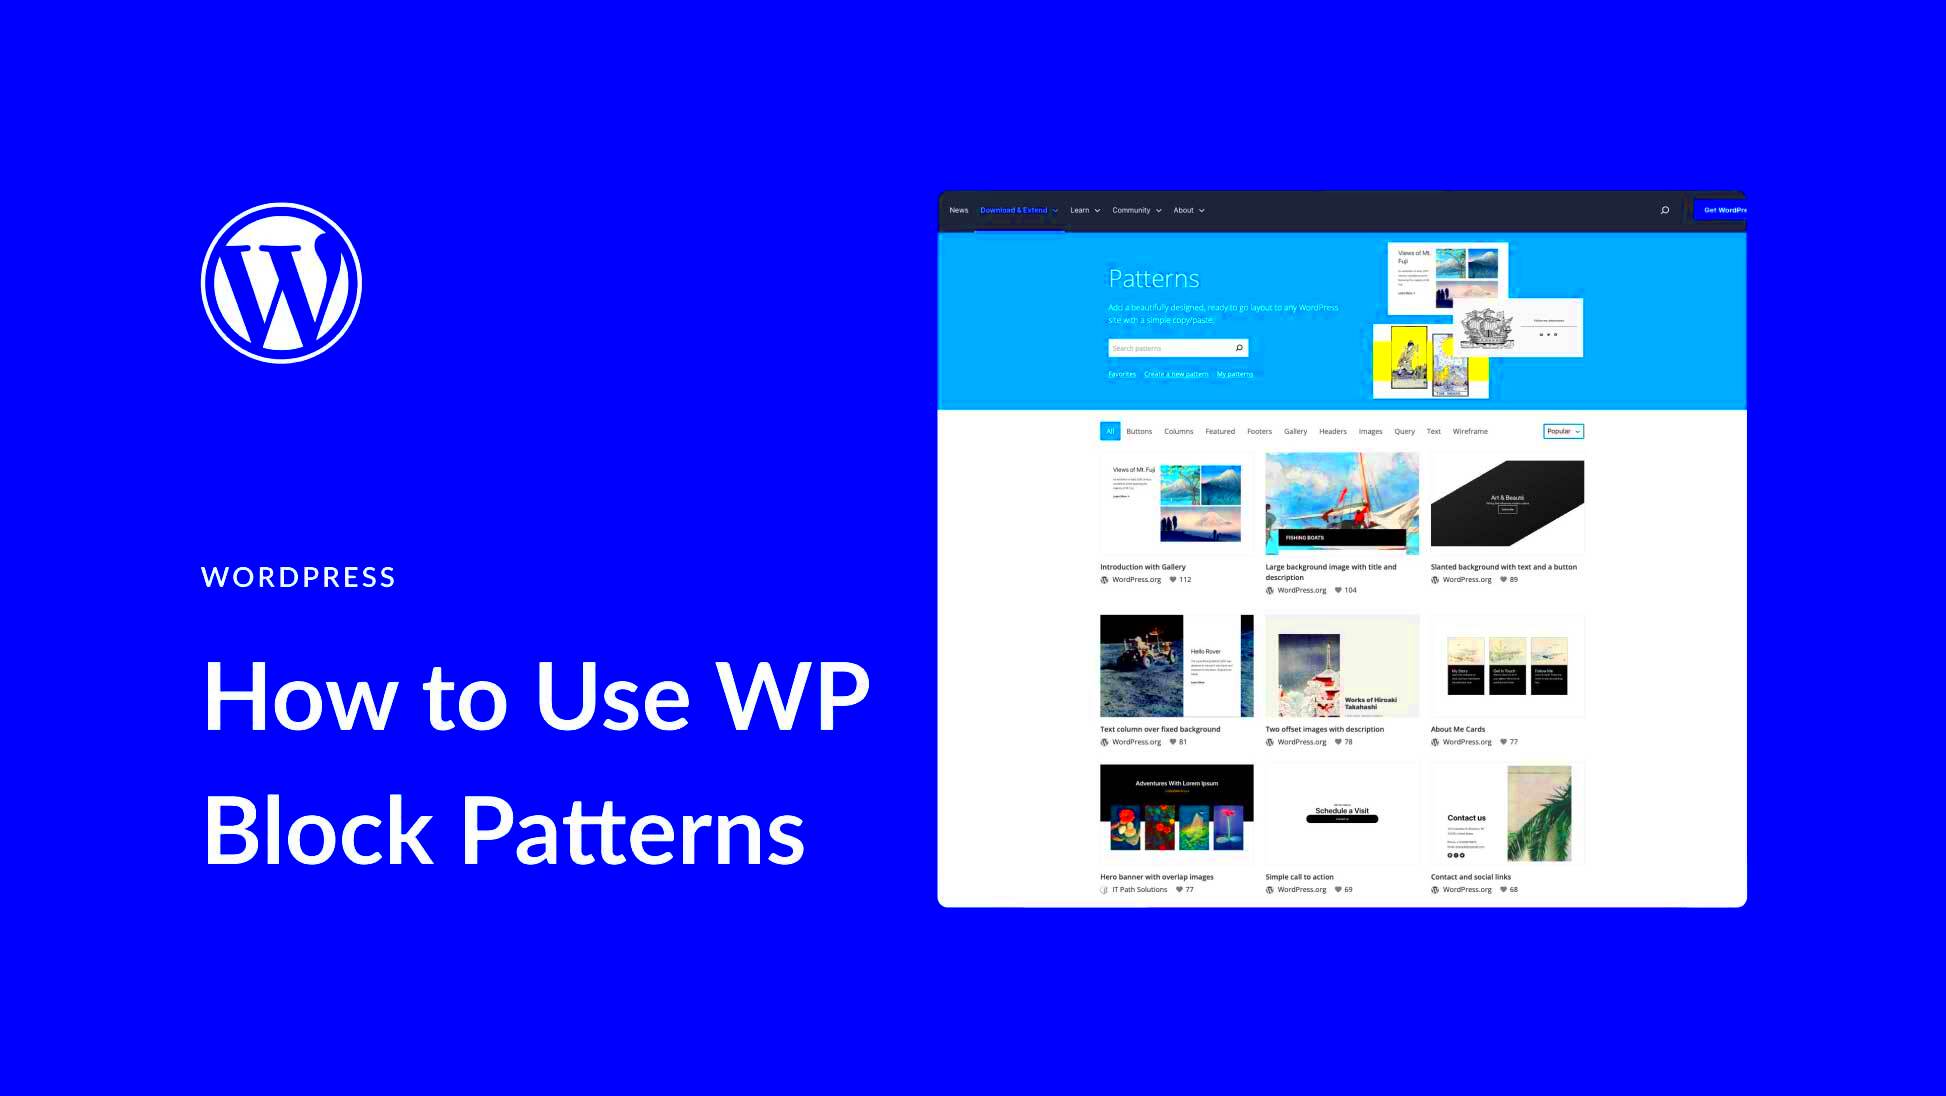
Before you start adding patterns to your WordPress theme, it’s essential to fully grasp what patterns are and why they are valuable for your site. Patterns are predefined design elements—like backgrounds, buttons, and layouts—that you can reuse throughout your theme. They are especially useful for maintaining consistency and aesthetics across your site. Here’s a closer look at their benefits:
- Consistency: Patterns help establish a consistent look and feel across your website. This not only enhances brand identity but also improves user navigation.
- Time-Saving: With ready-to-use patterns, you save a ton of time designing elements from scratch. You can easily implement these patterns wherever needed.
- Enhanced Aesthetics: Beautiful patterns can make your site visually appealing, inviting more visitors to stick around and explore.
- Responsive Design: Many patterns are designed to be responsive, which means they look great on both desktop and mobile devices.
- Increased Engagement: An aesthetically pleasing website encourages user interaction, thereby potentially increasing engagement and conversions.
Understanding these benefits lays a solid foundation for you to create a visually stunning and efficient WordPress site. Now, let’s explore how to incorporate these patterns step-by-step!
Step 2: Choosing the Right Pattern for Your Theme
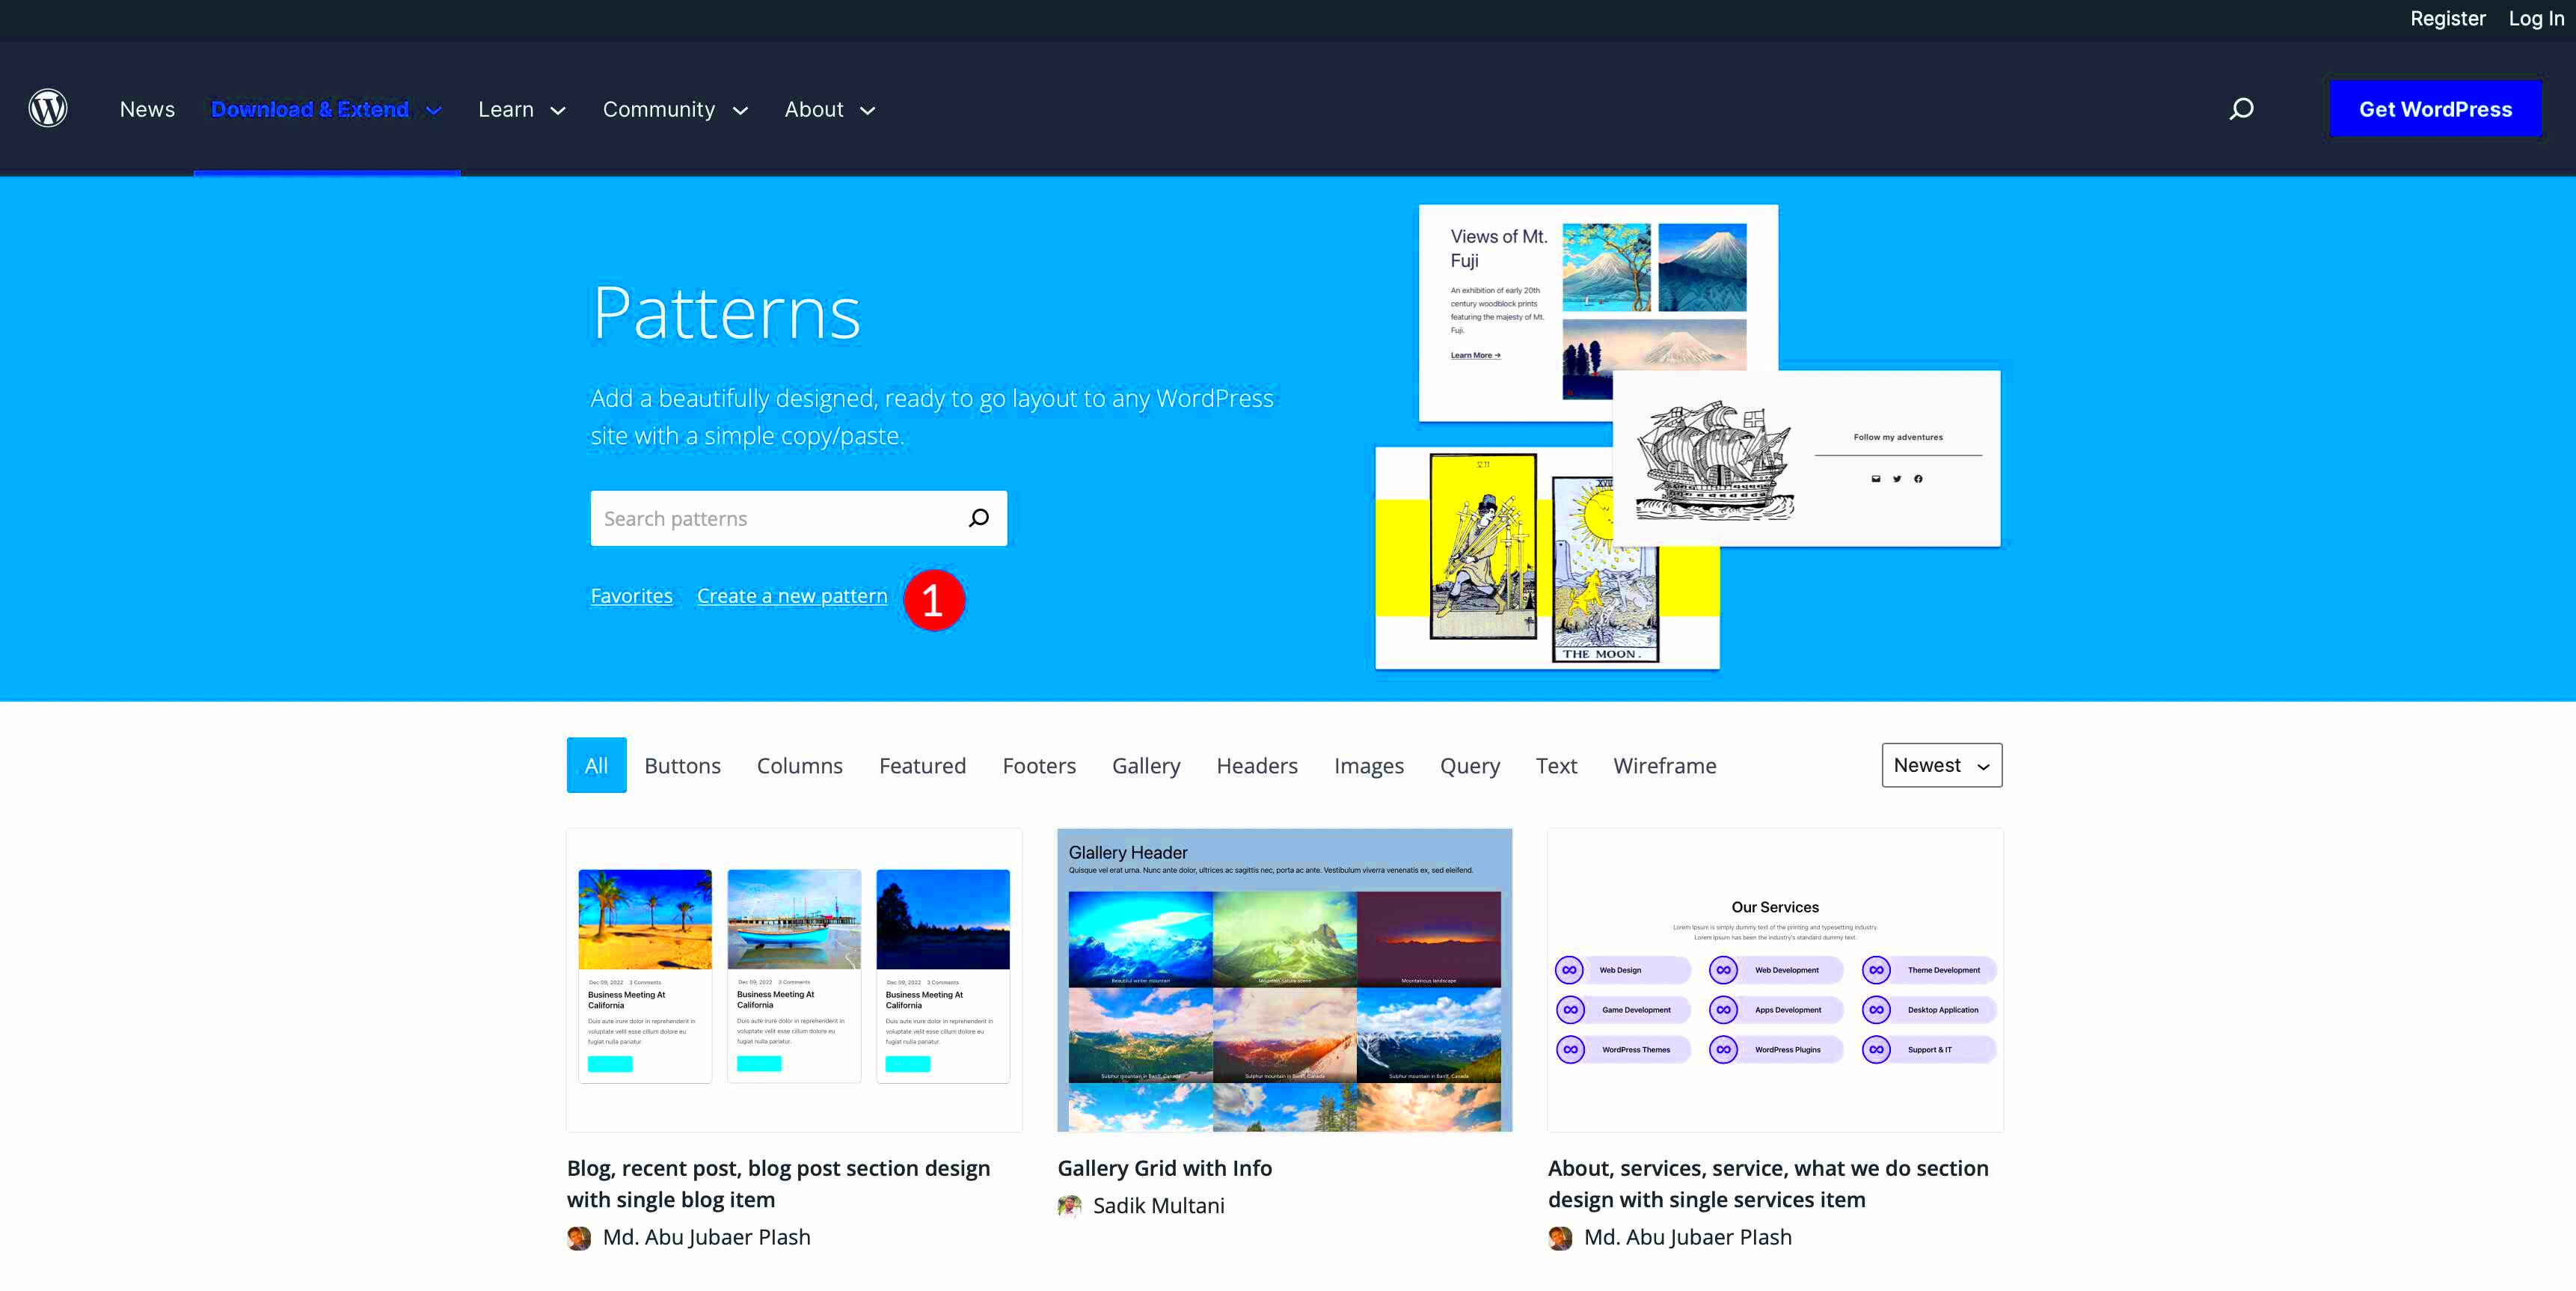
When it comes to selecting the perfect pattern for your WordPress theme, this step is crucial. A pattern isn’t just about aesthetics; it needs to enhance the functionality and user experience of your website. So, how do you choose the right one? Consider these factors:
- Brand Identity: Your pattern should echo your brand’s personality. If you’re a lively startup, opt for vibrant and quirky patterns. For a law firm, you might go with more subdued, sophisticated designs.
- Color Scheme: Make sure your pattern aligns with your existing color palette. This harmony creates a seamless look that is easy on the eyes.
- Readability: Patterns shouldn’t distract from your content. If your pattern is too busy, it could take away from your message. Test how your text appears over the pattern!
- Purpose: Think about where you plan to apply the pattern. For example, a subtle background pattern might be suitable for your website’s footer, while a bold one could work well on call-to-action buttons.
Here’s a simple table to help you compare options:
| Pattern | Best For | Pros | Cons |
|---|---|---|---|
| Geometric | Modern Sites | Clean, professional look | Can feel cold or stale |
| Floral | Creative Industries | Inviting and warm | May not fit all brands |
| Stripes | Minimalist Designs | Dynamic and stylish | Can overwhelm if too bold |
Once you’ve weighed these factors, you’ll be on your way to finding the perfect pattern that enhances your WordPress theme!
Step 3: Preparing Your WordPress Environment
Now that you’ve chosen the right pattern for your theme, the next critical step is to prepare your WordPress environment. Think of this as setting the stage for a fantastic performance; you want everything ready before the curtain rises. Here’s how you can prepare your site:
- Backup Your Site: Before making any changes, always back up your site. You can use plugins like UpdraftPlus or BackupBuddy. This way, if anything goes wrong, you can easily restore it.
- Install a Child Theme: If you’re tweaking an existing theme, it’s best practice to create a child theme. This ensures that your customizations are preserved if the main theme gets updated. To do this, you can use plugins like Child Theme Configurator, which simplifies the process.
- Get a Local Setup (Optional): If you’re apprehensive about making changes directly on your live site, setting up a local development environment using tools like Local by Flywheel or XAMPP is a great idea. This lets you test everything safely!
- Familiarize Yourself with Theme Files: Knowing where to find important files can save you time. Key files include
style.css,functions.php, andheader.php. A little exploration goes a long way!
By properly preparing your WordPress environment, you set yourself up for smoother modifications and fewer headaches. Happy customizing!
Step 4: Using the Block Editor to Add Patterns
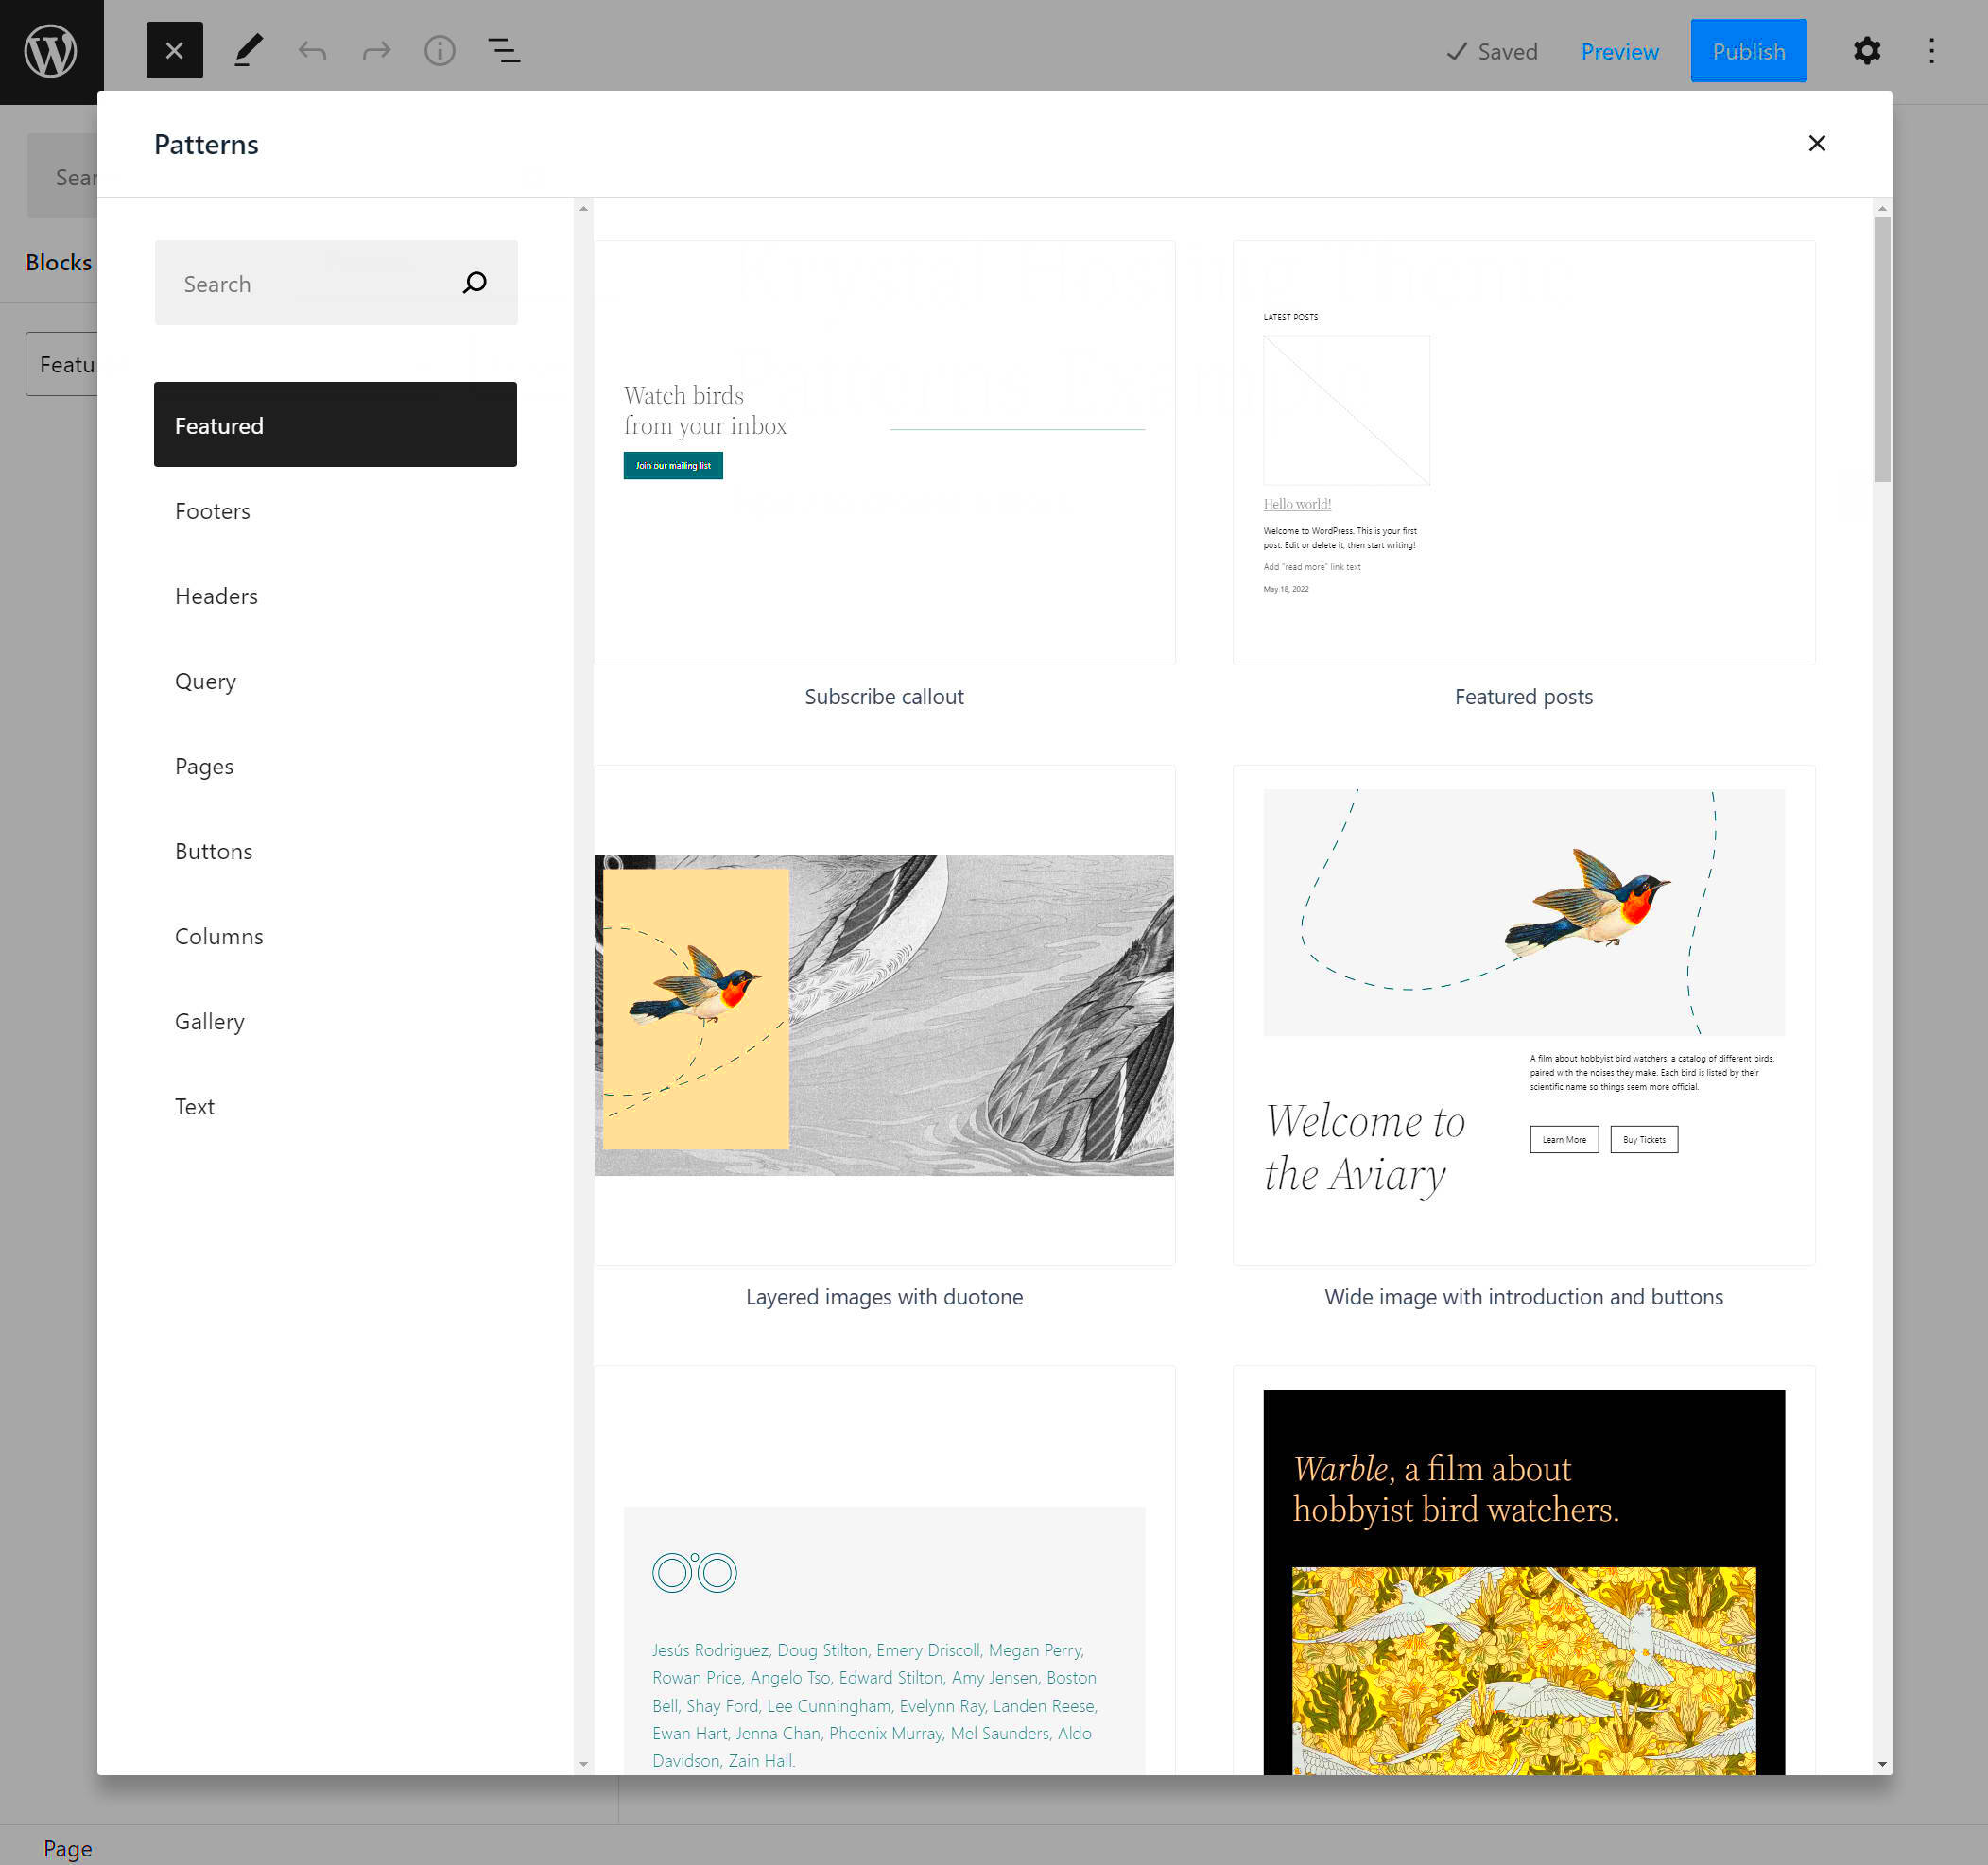
Alright, let’s dive into the exciting world of the Block Editor in WordPress, often referred to as Gutenberg. This powerful feature makes it ridiculously easy to add patterns to your WordPress theme. But what exactly are patterns? Well, think of them as pre-designed blocks that you can use to build beautiful pages without starting from scratch!
To use the Block Editor for adding patterns, follow these straightforward steps:
- Access the Block Editor: First, create a new post or page or edit an existing one. The Block Editor will load automatically.
- Add a Block: Click on the plus (+) icon. This gives you access to the Block Library.
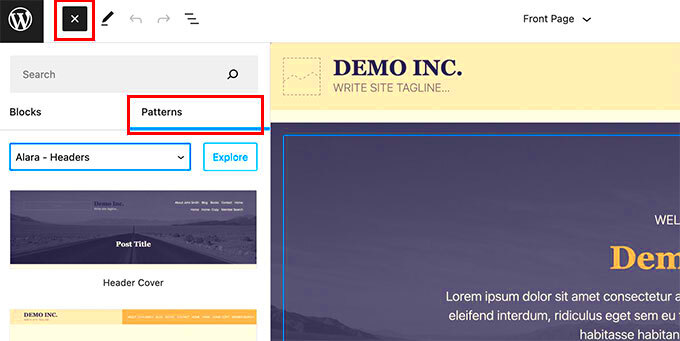
- Search for Patterns: In the Block Library, you’ll see a “Patterns” option. Click on it to explore various ready-made patterns!
- Select a Pattern: Browse through the categories, or search for something specific. When you find a pattern that catches your eye, just click it to insert it into your post.
Once you’ve added a pattern, you can click on different sections within the pattern to edit the text, images, or any other elements. It’s all about customizing it to reflect your style!
And just like that, you’ve added some flair to your WordPress site, all thanks to the Block Editor. But hey, we’re not done yet! Next, let’s talk about making those patterns truly yours.
Step 5: Customizing Your Patterns
Now that you’ve added some fabulous patterns to your WordPress theme, it’s time to roll up your sleeves and get a bit creative! Customizing patterns allows you to infuse your personal touch into your website and ensure that it aligns with your brand’s personality.
Here’s how you can customize your patterns effectively:
- Click to Edit: Simply click on the pattern in the Block Editor to activate various editing options. This is where the magic happens!
- Change Text: Highlight existing text and start typing to replace it. You can also adjust font sizes, styles, and colors using the formatting options that pop up.
- Swap Images: If your pattern includes images, click on the image block to either upload a new image or select one from your media library.
Here’s a quick tip: if you find yourself tweaking the same patterns frequently, consider creating a custom pattern. You can do this by saving your modified pattern as a reusable block. Simply select the blocks you want to save, click on the three dots in the toolbar, and select “Add to Reusable Blocks.”
You can manage and insert your reusable patterns any time you’re creating or editing content, making it super convenient. Overall, customizing your patterns is all about aligning the design with your goals and ensuring your website speaks truly to your visitors.
Step 6: Testing Your Patterns on Different Devices
Now that you’ve added all those nifty patterns to your WordPress theme, it’s crucial to test them across various devices. Why? Because your audience isn’t just visiting your site on their desktop computers; they have smartphones, tablets, and laptops too! You want to ensure that your beautiful patterns look amazing no matter where your visitors are surfing from.
Here’s how you can effectively test your patterns:
- Use Emulators: You’ll find multiple emulators online that mimic how your site displays on different devices. This gives you an initial insight without needing the actual devices.
- Browser Developer Tools: Most browsers come equipped with developer tools that can simulate different screen sizes. Just right-click on your page and select ‘Inspect’ to start adjusting screen dimensions.
- Real Device Testing: Whenever possible, access your site on actual devices. Ask friends or family members if they can help if you don’t have all devices yourself.
- Responsive Design Checker Tools: Websites like Responsinator or BrowserStack allow you to enter your URL and see how it looks on various devices. These can be particularly insightful.
While testing, pay attention to:
- Alignment Issues: Ensure that your patterns align well with the text and other elements.
- Loading Speed: Patterns with heavy graphics can slow down loading times, which might frustrate users.
- User Experience: Always ask yourself, “Is this a good experience for the user?” If something feels off, it’s time to make adjustments.
Taking the time to test across devices will help you deliver a seamless experience for your users, making your site even more engaging!
Step 7: Publishing and Sharing Your Updated Theme
You’ve made it to the final step! After all that hard work, it’s time to showcase the upgraded version of your WordPress theme. Publishing and sharing it effectively will help you reach a wider audience and show off the patterns you’ve implemented.
Here’s how you can publish and share your updated theme efficiently:
- Preview Your Changes: Before hitting the ‘Publish’ button, ensure everything looks tip-top. Go through every section of your site to verify that the new patterns are rendering as intended.
- Update Theme Details: Don’t forget to update any theme documentation and changelogs. This will help your users understand what changed and how to utilize the new patterns.
- Announce It on Social Media: Share an engaging post on your social media platforms. Use eye-catching images or videos of your new patterns in action to grab attention.
- Send Out Newsletters: If you have a mailing list, let your subscribers know about the update! Include visuals and any noteworthy features they should check out.
- Join Online Communities: Engage with WordPress forums and groups. Share your theme with other developers and users, inviting feedback and encouraging discussions.
Once you’ve shared your updated theme, keep an eye out for feedback. Interacting with your audience not only helps build community but also provides insights into how you can improve further!
How to Add Patterns to Your WordPress Theme Step-by-Step
Adding patterns to your WordPress theme can greatly enhance its visual appeal and user experience. Patterns provide a way to customize backgrounds, sections, or entire pages without the need for extensive coding knowledge. Below are the essential steps you can follow to add patterns to your WordPress theme effectively:
Step 1: Choose Your Patterns
Before you add patterns, you need to select the right ones that fit your overall design. Consider:
- Color Palette – Ensure the patterns match or complement your site’s color scheme.
- Style – Choose between geometric, floral, or abstract patterns to align with your theme.
- Accessibility – Ensure that patterns do not confuse users and remain readable.
Step 2: Add Patterns Using CSS
Depending on your theme, you might want to add patterns directly via CSS. Here’s how:
.your-pattern-class { background-image: url('path_to_your_pattern_image'); background-repeat: repeat; /* or no-repeat */ background-size: cover; /* or contain */ }
Step 3: Use a Page Builder
If you’re using a page builder like Elementor or Beaver Builder, adding patterns is usually straightforward:
- Select the section or container.
- Go to the style settings.
- Upload your pattern image as the background.
Step 4: Test and Optimize
After adding the patterns, always test your site across multiple devices and screen sizes to ensure it looks good everywhere. You may need to adjust the pattern’s positioning or size for different viewports.
Step 5: Seek Feedback
Finally, seek feedback from users or designers to refine your pattern choices and overall design further.
Conclusion: Enhancing your WordPress theme with patterns is a creative way to elevate its aesthetics while improving user experience. By following these step-by-step guidelines, you can effortlessly integrate patterns that not only look good but also resonate with your brand identity.

