WordPress theme development can seem quite daunting at first, especially if you’re new to web design or coding. But don’t worry! With a little guidance, you can easily navigate the process and create a unique website tailored to your needs. In essence, WordPress themes dictate the look and feel of your site, from layout to colors, fonts, and more. By learning how to build your own
What are Template Builders?
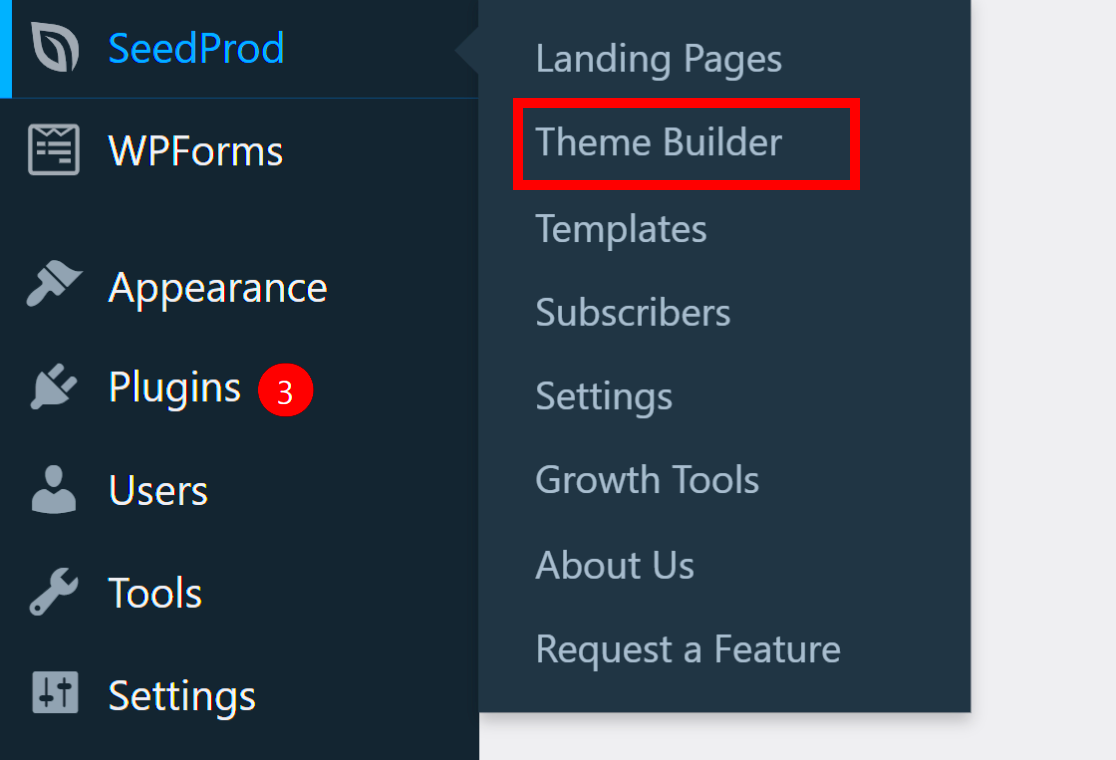
Template builders are user-friendly tools that make the process of designing a WordPress theme much simpler and more intuitive. They allow you to create stunning websites without diving deep into code or hiring a developer. Here’s a breakdown of what template builders bring to the table:
- Drag-and-Drop Functionality: This is perhaps the biggest advantage. You can easily move elements around the page, creating layouts exactly how you envision them.
- Pre-Built Templates: Most builders come with ready-to-use templates that can save you a lot of time. You can simply import one and customize it to your liking.
- Responsive Design: Template builders often ensure that your designs are mobile-friendly, which is crucial in today’s mobile-first world.
- Customizable Widgets: Add functionality to your site with ease, no coding required. Whether it’s contact forms, galleries, or sliders, template builders have you covered.
Some popular template builders include:
| Builder Name | Features |
|---|---|
| Elementor | Highly customizable, extensive widget library, user-friendly interface. |
| Beaver Builder | Drag-and-drop, front-end editing, white-labeling options for agencies. |
| Divi | Visual builder, numerous design options, theme builder features. |
In short, template builders simplify the design process, making WordPress theme development not only easier but also more accessible for everyone!
Benefits of Using Template Builders for WordPress Themes
Building a WordPress theme from scratch can feel a lot like trying to solve a Rubik’s cube—challenging and frustrating for many. Enter template builders! These tools simplify the theme creation process and open up a world of design possibilities. Let’s explore some of the standout benefits of using template builders for WordPress themes.
- User-Friendly Interface: Most template builders feature a drag-and-drop interface, making it easy for even the least tech-savvy users to create stunning layouts. No coding skills? No problem!
- Time Efficiency: Creating a theme manually can be a time-consuming affair. Template builders speed up the design process, allowing you to prototype and launch your site in a fraction of the time.
- Customization Options: Template builders provide a plethora of customization tools. You can tweak colors, fonts, layouts, and more, enabling you to create a unique theme that reflects your brand’s personality.
- Responsive Designs: Most template builders come with built-in responsiveness. This means your theme will look great on devices of all sizes—who doesn’t want that?
- Frequent Updates: Developers of popular template builders regularly roll out updates that include new features and security patches, ensuring your theme remains contemporary and safe.
- Community Support: Many popular template builders boast large user communities. Forums and tutorial resources can provide troubleshooting assistance, tips, and inspiration.
Overall, template builders take the stress out of WordPress theme development, making it an enjoyable experience. You’ll find yourself focusing more on creativity than coding!
Selecting the Right Template Builder
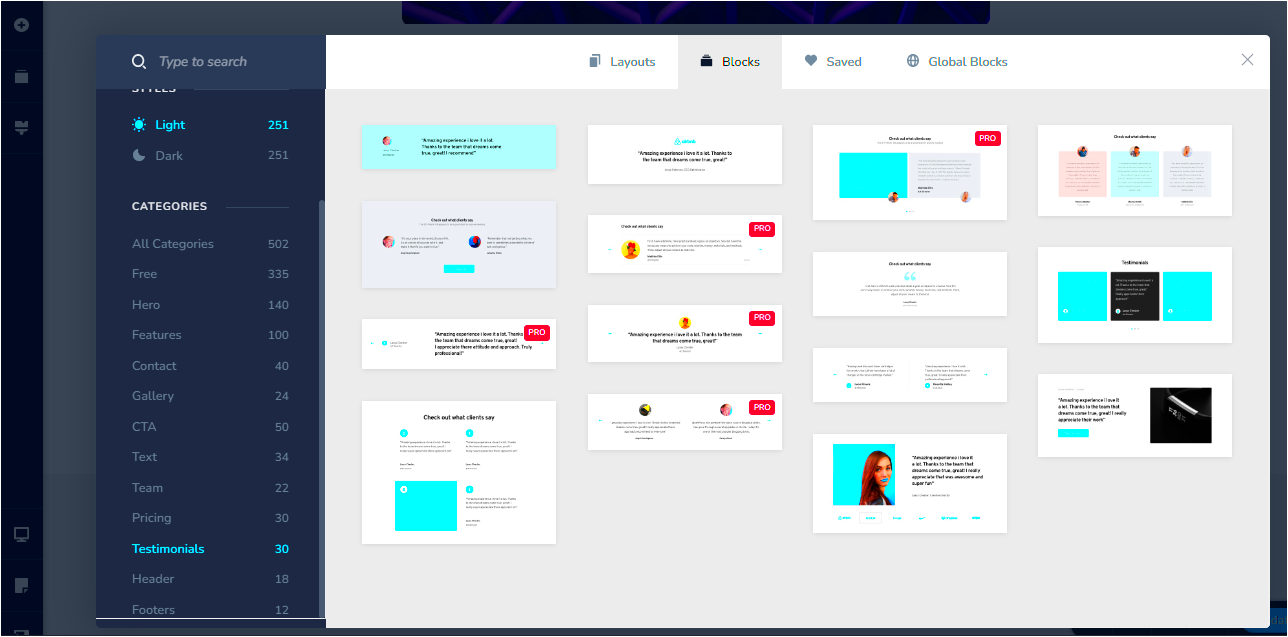
With so many template builders available in the market, choosing the right one might feel overwhelming. But don’t sweat it! Here are some key factors to consider to help you make an informed decision.
| Factor | What to Look For |
|---|---|
| Ease of Use | Choose a builder with a simple interface. A drag-and-drop feature is ideal for those without coding expertise. |
| Customization Options | Look for a builder that allows extensive customization—colors, fonts, and layout options should be plenty. |
| Integration Capabilities | Ensure the builder integrates seamlessly with popular plugins like WooCommerce and SEO tools. |
| Performance | Check reviews to see if the builder has a reputation for producing lightweight, fast-loading themes. |
| Support and Documentation | Good support and comprehensive documentation can be a lifesaver should you run into issues. |
| Price | Evaluate your budget. Some builders may offer free versions with basic features, while others might be premium. |
By keeping these factors in mind, you can narrow down your choices and select a template builder that aligns with your needs and overall vision for your WordPress theme. Happy building!
5. Setting Up Your Development Environment
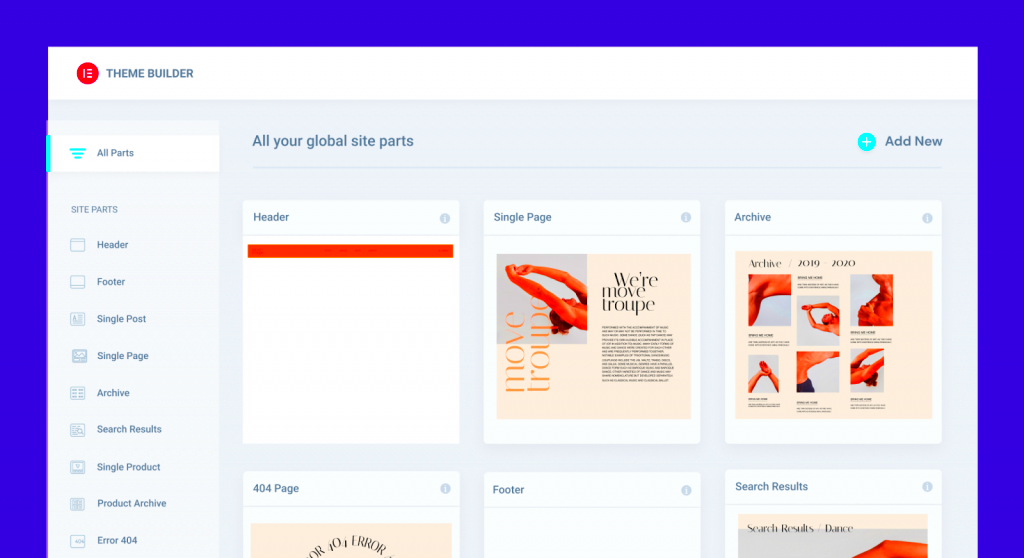
Before you dive into building your very own WordPress theme using template builders, it’s crucial to set up a proper development environment. This will ensure that you have all the tools you need at your fingertips, making the development process smooth and efficient.
Here’s a simple checklist to get your environment ready:
- 1. Install a Local Server: You’ll need a local server environment where you can run your WordPress site without affecting any live sites. Popular options include:
- 2. Download WordPress: Head over to the WordPress.org website and download the latest version of WordPress. Unzip the file and place it in your local server’s root folder.
- 3. Create a Database: Using phpMyAdmin (usually accessible via `localhost/phpmyadmin`), create a new database for your WordPress site. Make sure to take note of the database name because you’ll need it later.
- 4. Configure wp-config.php: Rename the `wp-config-sample.php` file to `wp-config.php` and fill in your database details. This includes database name, username, and password.
- 5. Run the Installation: Open your web browser and go to `localhost/your-folder-name`, where you’ll follow the prompts to finish setting up WordPress.
With your local development environment ready, you’re all set to start creating your custom theme. It’s like setting up a workshop before you build a masterpiece—everything needs to be in place!
6. Creating Your WordPress Theme with Template Builders
Now that your development environment is set up, let’s get into the exciting part—creating your WordPress theme using template builders! Template builders are powerful tools that allow you to design and customize themes without writing a single line of code.
Here’s a step-by-step guide to help you get started with creating your theme:
Step 1: Choose Your Template Builder
There are several popular template builders to choose from, each with unique features. Here are a few you might like:
- Elementor: Known for its drag-and-drop interface and flexibility.
- Beaver Builder: Offers a user-friendly interface and robust templates.
- Divi Builder: A highly customizable builder with its own theme.
Step 2: Install and Activate Your Chosen Builder
Once you’ve made your choice, install and activate the template builder plugin from the WordPress dashboard. You can do this by navigating to Plugins > Add New, searching for the builder you’ve selected, and clicking on Install Now.
Step 3: Choose a Starter Template
Most builders offer pre-designed starter templates. Browse through the templates available in your builder and choose one that resonates with your vision. You can always customize it later!
Step 4: Customize Your Theme
Here’s where the fun begins! Use the builder’s interface to modify layouts, add elements, and tweak styles. You can:
- Add headers, footers, and sidebars.
- Insert images, videos, buttons, and more.
- Change fonts, colors, and spacing to match your brand.
Step 5: Preview and Publish
Once you’re satisfied with your design, don’t forget to preview it. Check how it looks on various devices to ensure a seamless user experience. Finally, click on the Publish button and voila! Your custom WordPress theme is live!
Creating a WordPress theme with template builders can be an incredibly rewarding experience. With a bit of creativity and an eye for design, you can establish an online presence that truly reflects your brand.
Customizing Your Theme’s Layout and Design
One of the most exciting aspects of building your own WordPress theme using template builders is the ability to customize the layout and design to perfectly fit your vision. Whether you want a minimalist aesthetic or a vibrant, colorful design, template builders make it easy to bring your ideas to life.
Start by exploring the layout options provided by your template builder. Most builders offer a variety of pre-designed layouts that you can use as a foundation. Here’s how to approach customizing your theme’s layout:
- Choose a Base Layout: Start with a layout that closely resembles your desired outcome. This could be a grid layout, a classic blog layout, or something entirely unique.
- Drag-and-Drop Editing: Use the drag-and-drop functionality to rearrange sections of your layout effortlessly. You can move elements like headers, footers, and content blocks around until everything feels just right.
- Responsive Design: While customizing, be mindful of how your theme looks on different devices. Most template builders provide responsive design tools to ensure your theme looks great on desktops, tablets, and smartphones.
Next, play with design elements:
- Color Schemes: Define a color palette that reflects your brand identity. Consistent colors enhance the professionalism of your theme.
- Typography: Choose fonts that are readable and visually appealing. Many builders allow you to integrate Google Fonts for endless font options.
- Backgrounds: Don’t be afraid to use custom backgrounds—images, gradients, or even solid colors can set the mood of your site.
Finally, don’t forget to preview your changes and get feedback from others! Customizing your theme’s layout and design can be a fun process that truly brings your vision to life.
Adding Functionality with Plugins
Once you’ve nailed down the look of your WordPress theme, it’s time to amp up the functionality. Plugins are like magic add-ons that can enhance your website’s capabilities without needing to code from scratch. The world of WordPress plugins is vast, offering tools that cover everything from SEO and social sharing to advanced security measures.
Here are some popular types of plugins you might consider:
- SEO Plugins: These help improve your website’s visibility on search engines. Yoast SEO and All in One SEO Pack are fantastic options.
- Contact Form Plugins: Make it easy for visitors to reach you with plugins like Contact Form 7 or WPForms.
- E-commerce Plugins: If you’re looking to sell products, consider using WooCommerce, which seamlessly integrates with WordPress.
Now, let’s dive into how you can add plugins to your WordPress theme:
- Go to the Dashboard: From your WordPress admin panel, click on Plugins and then Add New.
- Search and Install: Use the search bar to find the plugins you want. Click Install Now and then Activate.
- Configure Settings: Most plugins come with their own settings. Spend some time configuring them to suit your needs.
With the right plugins, you can transform your WordPress theme into a powerful website that meets all your needs. So, go ahead and explore the plugin repository—you’ll be amazed at what’s out there!
9. Testing Your Theme Responsiveness
Once you’ve crafted your WordPress theme, it’s absolutely essential to test its responsiveness. In today’s digital age, your theme must look stunning across all devices—be it a desktop, tablet, or smartphone. This way, you can ensure a seamless experience for all your visitors.
Responsiveness refers to how well your design adapts to various screen sizes. Here are some steps to effectively test your theme’s responsiveness:
- Use Browser Developer Tools: Most modern web browsers come equipped with developer tools. Right-click on your theme page and select “Inspect” to access these tools. Click on the responsive design mode, usually symbolized by a small mobile icon, to switch between different screen resolutions.
- Emulators: Tools like BrowserStack or Responsinator allow you to test your site on multiple devices and browsers without needing to own every device yourself.
- Adjust Elements: While testing, pay attention to specific elements like navigation menus, typography, and images. They should resize and re-align appropriately to fit various screen sizes.
- User Testing: Gather feedback from real users on different devices. They might spot issues you’ve overlooked.
Lastly, don’t forget to repeatedly test your modifications. After making changes, always check how they affect your theme’s responsiveness.
10. Optimizing Your Theme for SEO
Having a well-designed theme is just the first step; you also need to ensure it’s optimized for search engines. This is crucial for improving your website’s visibility and driving organic traffic. Here are some practical tips to help you optimize your WordPress theme for SEO:
- Use Clean Code: Write semantic HTML and CSS as they help search engines better understand your content. Avoid excessive JavaScript that can slow down your site.
- Optimize Page Speed: A fast-loading site is favored by search engines. Use tools like Google PageSpeed Insights to analyze and enhance your theme’s performance.
- Mobile Optimization: Ensure your theme is mobile-friendly, not just responsive. Google prioritizes mobile-first indexing.
- SEO-Friendly URLs: Use permalinks that are descriptive and include keywords. This makes it easier for search engines and users to understand your content.
- Integrate Schema Markup: Schema markup helps search engines better understand your content and can enhance search results layout.
By integrating these SEO optimizations into your theme, you’ll not only improve your chances of ranking higher on search engine results but also enhance the overall user experience. Happy optimizing!
Finalizing and Launching Your Custom Theme
Once you’ve designed your custom WordPress theme using a template builder, it’s time to wrap things up and get ready to launch! This phase is crucial as it ensures everything works seamlessly before your theme goes live to your audience. Here’s a checklist to guide you through finalizing and launching your custom theme:
- Test Your Theme: Before going live, preview your theme using the Live Preview function in WordPress. Ensure all your design elements, pages, and features display correctly across different devices.
- Verify Responsiveness: Check how your theme looks on mobile devices. Use tools like Responsinator or Google’s Mobile-Friendly Test to see if your layout converts well to smaller screens.
- Cross-Browser Compatibility: Make sure your theme functions properly across major web browsers like Chrome, Firefox, Safari, and Edge to provide a consistent user experience.
- Optimize Performance: Utilize tools like GTmetrix or Pingdom to evaluate your theme’s loading speed. Optimize images and minimize unnecessary JavaScript or CSS files to boost performance.
- SEO Optimization: Incorporate SEO best practices into your theme. Use an SEO plugin that can help you implement meta tags, OG tags, and schema markup that improve search engine visibility.
- Backup: Create a backup of your theme files and database. This protects your work and makes it easy to restore your site in case anything goes wrong.
- Launch: Once everything looks good, launch your theme by activating it in the WordPress dashboard. Announce your new theme across your social media platforms to showcase your hard work!
Conclusion and Next Steps
Congratulations on building your own custom WordPress theme using template builders! It’s an accomplishment that allows you greater control over your website’s look and functionality. As you wrap up this journey, here are some key takeaways and next steps to keep in mind:
- Reflect: Evaluate the design process. What worked well? What could you improve next time? Taking notes will help you refine your design skills for future projects.
- Ongoing Updates: Keep your theme updated to maintain security and compatibility with future WordPress releases. Regular updates prevent bugs and enhance performance.
- Engage Your Audience: Invite feedback from your audience about your theme. They might provide valuable insights that can help improve user experience.
- Explore Advanced Features: Once comfortable, consider adding custom post types or advanced functionalities to your theme. With a template builder, the possibilities are vast!
- Stay Informed: Follow WordPress news and trends, and stay updated about new template builders or features that can enhance your skills.
- Share Your Knowledge: Consider blogging or creating video tutorials about your experience. Sharing what you’ve learned can help others in the community!
Remember, building a WordPress theme is just the beginning. Embrace the learning journey, experiment with new designs, and continue improving. Your creativity has the power to transform ideas into stunning, functional websites!

