Looking to give your visitors easy access to your images? Whether you’re a photographer, artist, or blogger, creating an image download page can be a game-changer. It’s a simple way to share your visual content while giving users a straightforward way to download images directly from your site. In this guide, we’ll walk you through the process step-by-step, so you can set up a professional-looking download page without any hassle. No need for complicated coding — just clear instructions to help you get your images in the hands of your audience quickly and effortlessly.
Why You Need an Image Download Page on Your WordPress Site
Having an image download page isn’t just about sharing your photos; it’s about adding value to your website and improving user experience. Here are some key reasons why you should consider creating one:
- Easy Access for Your Audience: Visitors can quickly find and download your images without hunting through multiple pages or cluttered galleries.
- Professional Presentation: A dedicated download page looks organized and polished, boosting your credibility.
- Control Over Your Content: You decide which images are available for download, ensuring your work is shared appropriately.
- Enhance Engagement and Sharing: Offering downloadable images can encourage sharing and backlinks, helping your site grow.
- Monetization Opportunities: If you sell your images, having a download page makes it easier to offer different resolutions or licensing options.
In short, an image download page can serve as a valuable resource for your visitors, help you showcase your work professionally, and even open up new opportunities for monetization or community building. It’s a simple addition that can make a big difference in how your audience interacts with your site.
3. Preparing Your Images for Download
Before you start offering your images for download, it’s important to get them ready. Think of this step as setting the perfect stage for your images—making sure they look great, are optimized, and are easy for visitors to access.
First things first, organize your images. Create a dedicated folder on your computer where all the images you want to share are stored. This makes it easier to keep track of everything and ensures you don’t miss any important files.
Next, consider the image quality and file size. You want your images to look good but not be so large that they slow down your website or take forever to download. Use an image editing tool like Photoshop, GIMP, or online compressors to optimize your images. Aim for a balance—generally, JPEGs for photographs and PNGs for graphics with transparency.
Here’s a quick checklist for preparing your images:
- Resize images: Make sure they fit well on your website and are not larger than necessary.
- Compress files: Use tools like TinyPNG or ImageOptim to reduce file size without losing quality.
- Rename files: Use descriptive, SEO-friendly names (e.g., beautiful-sunset-beach.jpg) to make it easier for visitors and search engines.
- Add metadata: Include relevant tags or descriptions if possible, which can help with SEO and organization.
After your images are optimized, decide how you want your visitors to download them. Do you want to offer individual images, or do you prefer to package multiple images into a ZIP file? For larger collections, compressing images into a ZIP makes it easier for users to download everything at once. You can create ZIP files using built-in tools on your computer or with dedicated software like WinRAR or 7-Zip.
Finally, test your images: open them, check their quality, and try downloading the ZIP files to ensure everything works smoothly. When your images are properly prepared, your download page will look professional, load quickly, and provide a better experience for your visitors.
4. Choosing the Right WordPress Plugins for Image Downloads
Now that your images are ready, it’s time to make them easily downloadable on your WordPress site. The easiest way to do this is by using a plugin—think of it as your toolkit for creating a user-friendly download page without needing to code from scratch.
But with so many plugins out there, how do you pick the right one? Here are some key factors to consider:
- Ease of use: The plugin should be simple to set up and manage, even if you’re not a tech expert.
- Download options: Look for features like individual file downloads, ZIP packaging, or even password protection if needed.
- Compatibility: Ensure the plugin works with your current version of WordPress and other plugins you have installed.
- Support and updates: Choose a plugin that is regularly updated and has good support in case you run into issues.
Here are some popular WordPress plugins that are excellent choices for creating an image download page:
| Plugin Name | Features | Best For |
|---|---|---|
| Download Monitor | Manage downloads, track stats, restrict access | Detailed control over individual downloads |
| Easy Digital Downloads | Full eCommerce solution for digital products, includes download management | Online stores offering downloadable images |
| WP File Download | Drag-and-drop file manager, access control, tracking | Organizing large collections of images |
| File Manager | Simple file management, direct download links | Quick setup for basic download needs |
| Simple Download Monitor | Easy to set up, track downloads, restrict access | Basic download pages with tracking |
If you’re just starting out or want something straightforward, Simple Download Monitor is a popular choice because of its user-friendly interface and essential features. For more advanced needs, like selling images directly or managing a large library, plugins like Easy Digital Downloads or WP File Download are excellent options.
In summary, choosing the right plugin depends on your goals. Are you offering free downloads, selling images, or managing a large library? Once you identify your needs, selecting a plugin becomes much easier. Remember to read reviews, check compatibility, and test the plugin before fully integrating it into your website. With the right tools in place, creating an attractive, functional image download page will be a breeze!
5. Setting Up Your Image Download Page in WordPress
Alright, now that you’ve got your images ready, it’s time to set up a dedicated page on your WordPress site where visitors can easily find and download those images. Think of this page as your digital gallery combined with a download hub—a place where users can browse and grab what they need without any hassle.
First things first, log into your WordPress dashboard. From there, navigate to Pages > Add New. Give your page a clear, inviting title like Download Gallery or Free Images. This helps visitors understand what they’re about to access.
Next, you’ll want to decide on the layout. You can keep it simple with a clean list or get fancier with a grid layout. For a more professional look, consider using a page builder plugin like Elementor or Beaver Builder—they make designing beautiful, responsive pages super easy, even if you’re not a coding whiz.
Once you’ve chosen your layout, it’s helpful to add some introductory text. Maybe explain what the images are about, any licensing info, or usage tips. This builds trust and sets expectations.
Now, here’s a pro tip: create a consistent structure for each image. For example:
- Thumbnail Image: A small preview of the image.
- Description: Brief info about the image.
- Download Button: A clear call-to-action for users to download the full-size image.
If you plan to upload multiple images, consider using a plugin that can help organize your gallery seamlessly. Some popular options include Envira Gallery or FooGallery. These plugins offer easy-to-use interfaces and shortcode options so you can embed your galleries anywhere on your site.
Finally, after setting everything up and customizing your page, hit Publish. Your image download page is now live! Remember to preview your page to ensure everything looks good and functions smoothly—especially the download links.
6. Adding Download Links to Your Images
This is the exciting part—actually making your images available for download! There are a few ways to do this, but I’ll walk you through a straightforward method using WordPress’s built-in features combined with some simple HTML.
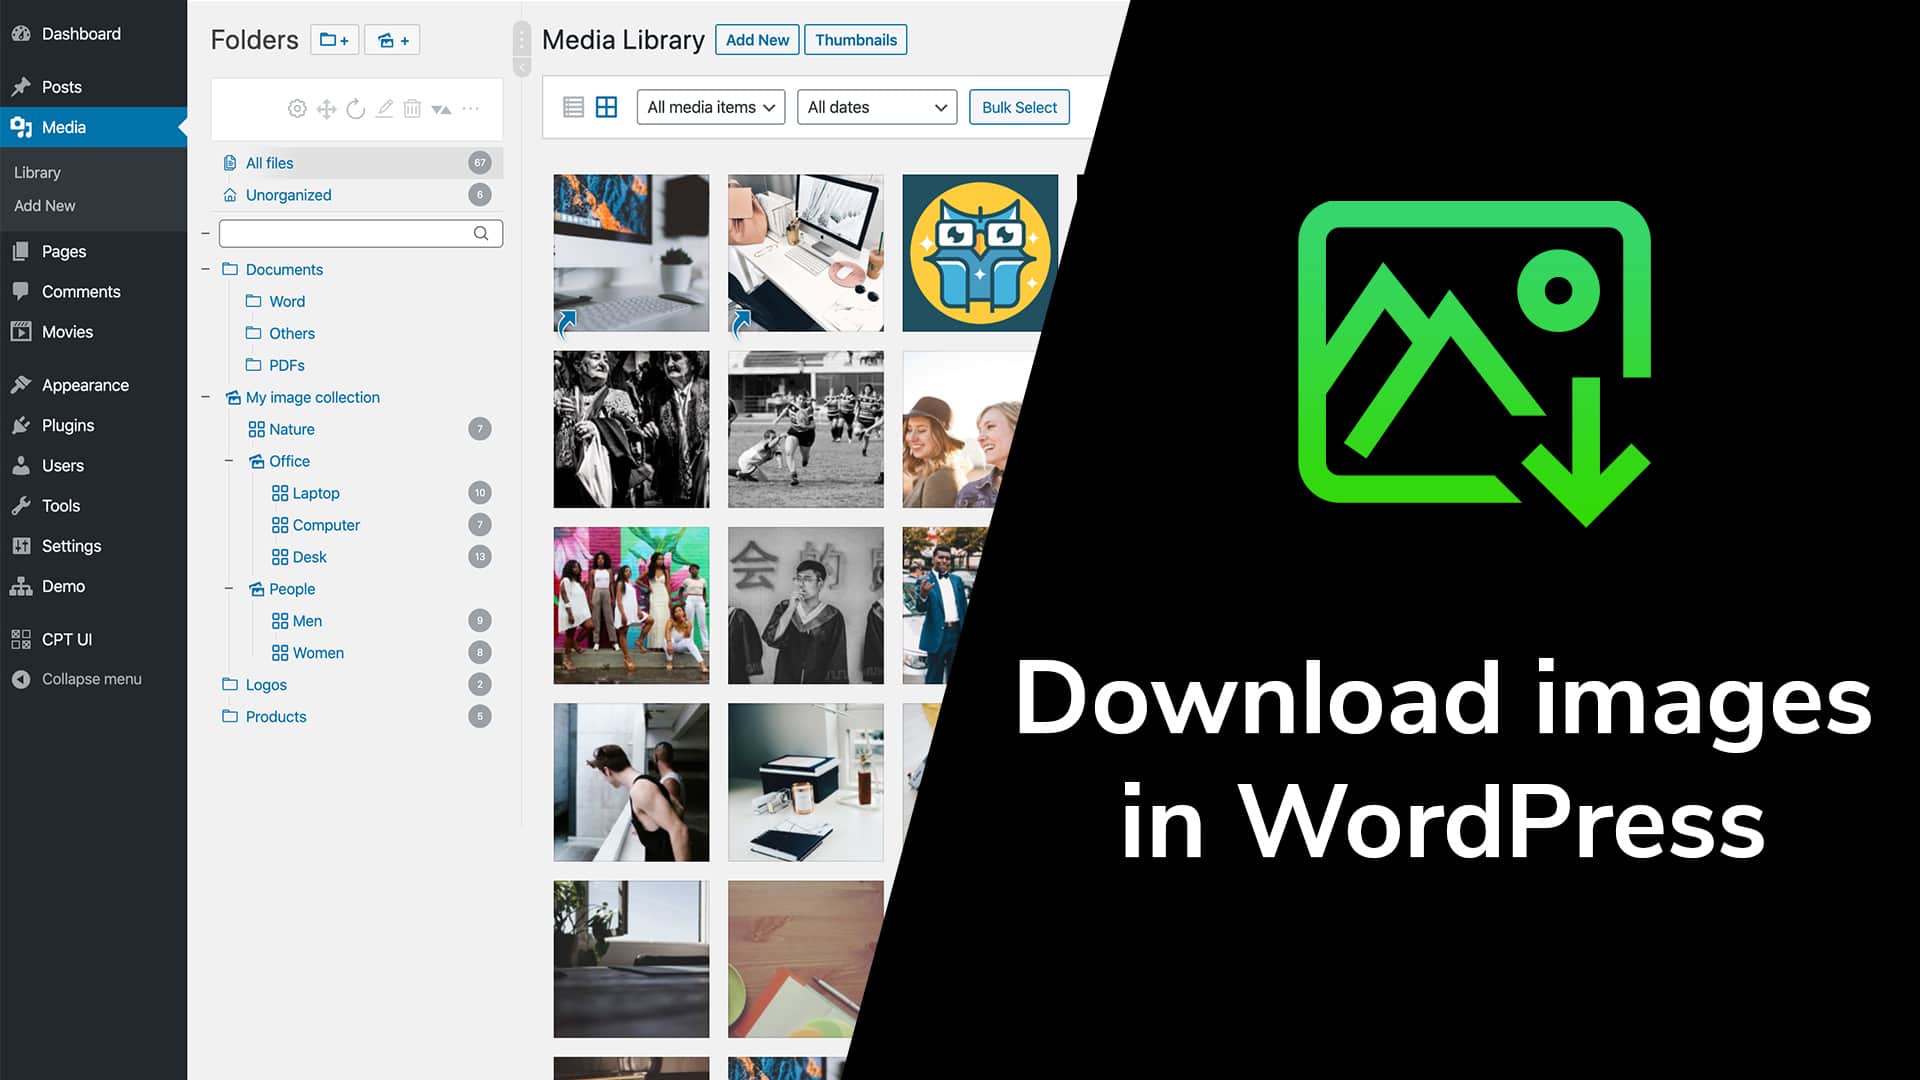
First, upload your images to the WordPress Media Library. To do this, go to Media > Add New and upload your high-resolution images. Once uploaded, click on each image to get its URL—you’ll need this for the download links.
Now, go back to your download page that you previously created. For each image, you’ll want to add a download link. Here’s a simple example of the HTML code you can use:
<a href="URL_OF_YOUR_IMAGE" download="DescriptiveFilename.jpg">Download Image</a>
Replace URL_OF_YOUR_IMAGE with the actual URL from your Media Library, and customize the download attribute if you want the file to have a specific name when downloaded.
If you’re using the WordPress editor in classic mode, just switch to the Text tab and insert this HTML snippet where you want the download link to appear. If you’re using the Gutenberg block editor, add a Custom HTML block and paste your code there.
For a more user-friendly look, turn that link into a button. You can do this with some simple inline CSS or by using a button block in Gutenberg. Here’s an example:
<a href="URL_OF_YOUR_IMAGE" download="DescriptiveFilename.jpg" style="padding:10px 20px; background-color:0073aa; color:fff; text-decoration:none; border-radius:5px;">Download This Image</a>
When visitors click on this button, their browser will start downloading the image immediately. Remember, for best results, test each link to make sure it downloads correctly.
If you have many images, consider creating a table to organize your download links. Here’s a quick example:
| Image | Description | Download |
|---|---|---|
| Beautiful sunset over the mountains | Download | |
| City skyline at night | Download |
This setup makes it super easy for your visitors to view thumbnails and grab the full-sized images with just a click. Remember, always ensure your images are optimized for web to keep your page load times quick and your visitors happy!
7. Customizing the Design and Layout of Your Download Page
Once you’ve set up the basic structure of your image download page, it’s time to make it look appealing and user-friendly. Customizing the design and layout helps your visitors find what they need quickly and makes your site feel more professional. Don’t worry, you don’t need to be a coding expert — there are plenty of simple ways to give your page a fresh, polished look.
Start by choosing a clean, attractive layout. You can use your theme’s built-in page templates or customize your page with a page builder plugin like Elementor, Beaver Builder, or Gutenberg’s block editor. These tools let you drag and drop elements, add images, and style your content without touching a single line of code.
Key Tips for Customizing Your Download Page
- Use Clear Headings: Make sure your page title clearly states what visitors can download. For example, “Download Your Free Wallpaper Collection” works well.
- Organize Downloads: Group related images into sections or categories with headings. For example, “Nature Photos,” “Cityscapes,” or “Abstract Art.”
- Add Thumbnails: Show small preview images for each download so visitors know what they’re getting before clicking.
- Include Descriptions: Briefly describe each image or set to entice visitors and provide context.
- Use Call-to-Action Buttons: Instead of plain links, add eye-catching buttons like “Download Now” to encourage clicks.
- Maintain Consistent Style: Stick to your website’s color scheme and fonts for a cohesive look. If you’re using a page builder, customize button styles and spacing to match your brand aesthetic.
Want to add some extra flair? Consider including a hero image or banner at the top of the page, and use spacing and padding to create a clean, uncluttered layout. Don’t forget about mobile responsiveness — test how your page looks on different devices and tweak the design as needed to ensure a smooth experience everywhere.
Adding Custom Styles (Optional)
If you’re comfortable with CSS, you can add custom styles to further refine your layout. For example, you might want to:
- Change button colors to match your branding.
- Add hover effects for buttons or images.
- Adjust spacing and fonts for better readability.
Most page builders allow you to apply custom CSS directly or through their styling options, making it easier than ever to personalize your site without coding from scratch.
8. Testing the Download Functionality
Before you go live with your new download page, it’s essential to test everything thoroughly. Nothing’s more frustrating for visitors than broken links or slow downloads. Testing ensures your users have a smooth experience and helps you catch any issues early on.
Start by clicking on each download link or button yourself. Verify that:
- The download begins: Your file should start downloading immediately without errors.
- The correct file is downloaded: Make sure the file matches what you intended to share.
- The file opens properly: Test opening the downloaded image in multiple viewers to confirm it’s not corrupted.
Next, test your page on different devices and browsers — Chrome, Firefox, Safari, Edge, and mobile browsers. Sometimes, a button might look fine on desktop but tricky to tap on a phone. Adjust your design if needed for better accessibility.
Additionally, check the loading speed of your page. If it’s slow, consider optimizing your images or using caching plugins. Fast-loading pages keep visitors engaged and reduce bounce rates.
Finally, ask a few friends or colleagues to give it a try. They might spot issues you missed or provide helpful feedback on usability. If any problems crop up, fix them and re-test until everything runs smoothly.
Remember, a well-tested download page not only boosts user satisfaction but also builds trust in your website. Happy downloading!
9. Best Practices for Managing and Organizing Downloadable Images
Once you’ve set up your image download page, the next big step is making sure your images are easy to find, well-organized, and manageable over time. Think of it like keeping your digital library neat and tidy—so both you and your visitors can quickly locate what they need without frustration.
Here are some proven best practices to keep your downloadable images organized and accessible:
- Use Clear Naming Conventions: Name your image files descriptively. Instead of “IMG_1234.jpg,” go for something like “sunset_beach_2023.jpg.” This not only helps visitors understand what they’re downloading but also improves your site’s SEO.
- Organize Images into Folders or Categories: Break down images into logical groups, such as “Nature,” “Business,” or “Events.” You can create categories within your WordPress media library or use plugins that support categorization, making it easier to find specific images later.
- Implement Tagging and Metadata: Adding tags and metadata to your images enhances searchability. For instance, tagging images with keywords like “Summer,” “Travel,” or “Conference” helps visitors filter and locate images quickly.
- Maintain a Consistent Folder Structure: Keep your folders structured hierarchically. For example:
- Images - Nature - Beaches - Mountains - Events - Weddings - Conferences
This structure makes it simple to navigate and manage your images as your collection grows.
- Regularly Backup Your Image Library: Protect your valuable images by backing up your media library regularly. Use reliable backup plugins or cloud storage solutions to avoid accidental data loss.
- Use Descriptive Alt Text: When adding images to your site, include descriptive alt text. It improves accessibility and helps search engines understand your images better.
- Leverage Plugins for Advanced Organization: Several WordPress plugins can enhance image management, such as WP Media Folder or Enhanced Media Library. These tools let you assign categories, tags, and filters easily, streamlining your workflow.
By following these best practices, you ensure that your downloadable images stay organized, manageable, and easily accessible for both you and your visitors. A well-structured image library saves you time and keeps your site looking professional and user-friendly.
10. Conclusion and Tips for Maintaining Your Image Download Page
Congratulations! You’ve now learned how to create a comprehensive image download page in WordPress, from setting up your download links to organizing your images effectively. But, like any part of your website, maintaining your download page is an ongoing process that requires attention to stay fresh, functional, and secure.
Here are some essential tips to keep your image download page in top shape:
- Regularly Update Your Images: Keep your collection fresh by adding new images and removing outdated or low-quality ones. This keeps your visitors engaged and encourages repeat visits.
- Test Download Links Frequently: Periodically check that all download links work properly. Broken links frustrate users and can harm your site’s credibility.
- Optimize Images for Web: Compress images to reduce load times without sacrificing quality. Faster pages improve user experience and can positively impact your SEO rankings.
- Monitor Storage and Usage: Keep an eye on your server storage space, especially if you’re offering high-resolution images. Consider upgrading your hosting plan if needed.
- Stay Secure: Protect your images from unauthorized use by watermarking or applying licensing terms if necessary. Also, keep your WordPress installation and plugins up to date to prevent security vulnerabilities.
- Engage Your Audience: Encourage feedback, requests, or submissions from your visitors. This interaction can help you understand what images are most popular and what new content to add.
- Document Your Organization System: Maintain a simple record of your folder structure, naming conventions, and tagging strategies. This documentation makes it easier to onboard team members or revisit your organization system after some time.
In essence, maintaining your image download page isn’t a set-it-and-forget-it task. It’s about consistent updates, regular checks, and staying responsive to your visitors’ needs. With a little ongoing effort, your download page will continue to serve your audience well and reflect your brand’s professionalism.