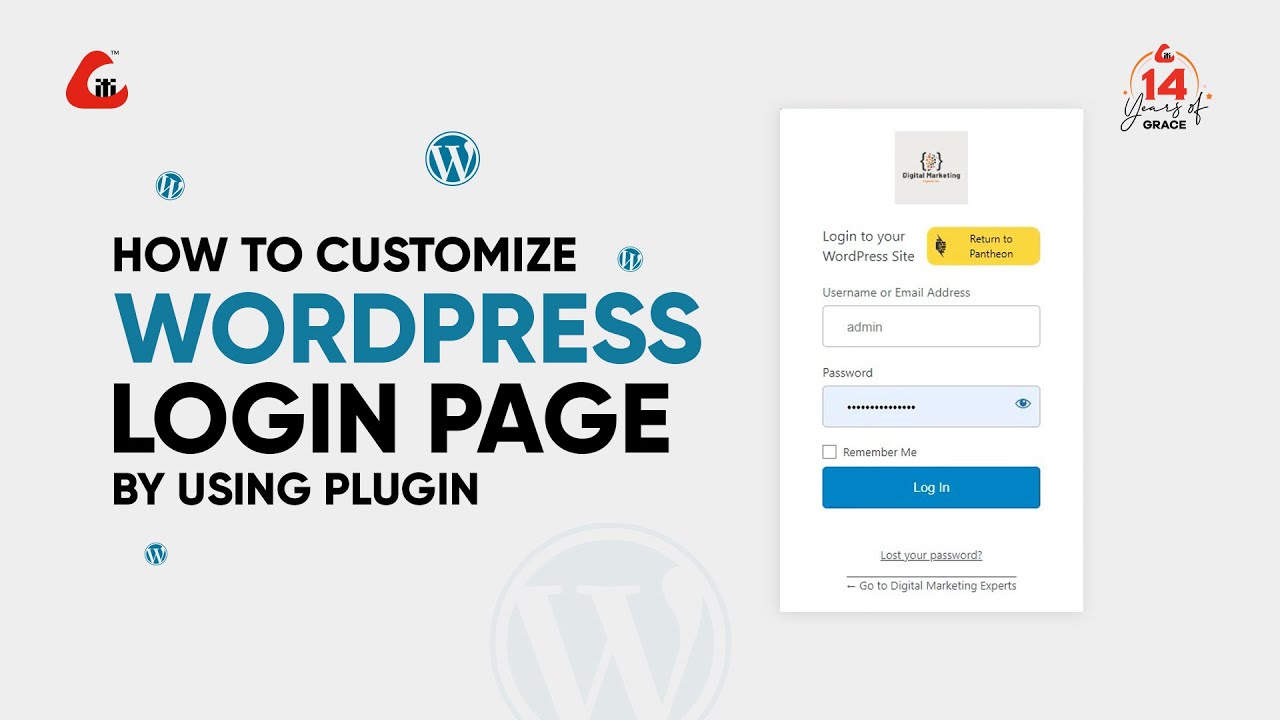
Hey there! If you’ve ever felt that your WordPress site’s default login page looks a bit plain or doesn’t quite match your brand, you’re not alone. Customizing your login page is a fantastic way to make it more appealing, reinforce your branding, and even add some extra security. Luckily, it’s easier than you might think! In this guide, I’ll walk you through the process step-by-step, showing you how to create a login experience that’s uniquely yours. So, let’s dive in and make your WordPress login page stand out!
Why You Should Create a Custom Login Page for Your WordPress Site
There are plenty of reasons why customizing your WordPress login page is a smart move. First off, it boosts your branding. When your login page matches your website’s look and feel, it creates a seamless experience for your visitors and users, making everything feel professional and polished. Think of it as your digital handshake—first impressions matter!
Another big perk is security. A custom login page can help deter brute-force attacks because it’s not the typical default page that hackers look for. You can add unique elements or even hide the login URL to make it harder for malicious users to find it. Plus, customizing your login page allows you to add helpful features like password hints, custom messages, or even social login buttons, making it easier for users to access their accounts.
Beyond security and branding, a custom login page can enhance user experience. For example, you might want to include your company logo, background images, or specific instructions that guide users through the login process. It can also be a great way to promote your latest offers, updates, or important notices right when users log in.
In short, creating a custom login page isn’t just about aesthetics; it’s about making your website more secure, user-friendly, and aligned with your brand identity. Whether you’re running a business site, a membership portal, or a blog, a personalized login page can make a big difference in how users interact with your website. Ready to learn how to do it? Let’s move on to the step-by-step process!
3. Prerequisites and Tools Needed for Custom Login Page Development
Alright, before diving into the fun part of customizing your WordPress login page, it’s good to make sure you’ve got everything you need. Trust me, a little prep work now will save you a headache later!
First off, you’ll want access to your WordPress site’s files. Whether that’s through an FTP client like FileZilla or via your hosting provider’s file manager, having that access is essential. You’ll need to upload custom code or themes, so make sure your permissions are in order.
Next, a solid code editor is your best friend. Tools like Sublime Text, Visual Studio Code, or even Notepad++ will do the trick. They help you write clean code, find errors quickly, and organize your files.
Additionally, it’s a good idea to have a backup plugin installed—something like UpdraftPlus or BackupBuddy. Customizing your login page involves editing theme files or adding custom plugins, so having a backup ensures you can restore your site if anything goes sideways.
And of course, a bit of basic knowledge about PHP, HTML, and CSS will go a long way. If you’re a total beginner, no worries! There are plenty of tutorials online, and I’ll guide you step-by-step. But if you’re comfortable with coding, you can customize even further.
Finally, consider testing your changes in a staging environment first—many hosting providers offer this feature. This way, you can experiment without risking your live site’s stability. Once you’re happy with how everything looks and works, you can push your changes live.
So, to sum up, here’s what you’ll need:
- Access to your WordPress files (via FTP or hosting file manager)
- A reliable code editor
- Backup plugin or method
- Basic knowledge of PHP, HTML, CSS
- Optional: Staging environment for testing
With these tools in place, you’re all set to start customizing your login page and making it uniquely yours!
4. Step 1: Choose a Method to Customize Your Login Page
Now that you’re all set with your tools and prerequisites, it’s time to decide how you want to customize your login page. There are a few different routes you can take, and each has its pros and cons. Let’s explore the main options so you can pick the one that fits your needs best.
Method 1: Using a Plugin
If you prefer a simple, no-code or low-code approach, plugins are your friends. There are several great plugins designed specifically for customizing login pages, such as Custom Login Page Customizer or LoginPress. These plugins usually come with drag-and-drop interfaces, ready-made templates, and easy options to change colors, logos, backgrounds, and more.
Advantages:
- Quick setup without coding
- Pre-designed templates and options
- Easy to revert or change back
Disadvantages:
- Limited customization compared to coding
- Possible plugin conflicts or bloat
Method 2: Editing Theme Files
If you’re comfortable with code, editing your theme’s functions.php or creating a custom plugin provides more control. You can add custom PHP functions to hook into WordPress’s login process and modify the login form directly.
Advantages:
- Full control over the login page
- No additional plugins needed
- Better performance in some cases
Disadvantages:
- Requires coding knowledge
- Risk of breaking your site if done incorrectly
Method 3: Creating a Custom Login Page Template
This is a more advanced route where you build a completely custom page in WordPress and replace the default login form with your own. You might create a new page, add custom HTML/CSS, and embed login functionality using shortcodes or custom PHP.
Advantages:
- Ultimate flexibility and design freedom
- Can integrate with your branding seamlessly
Disadvantages:
- Requires advanced development skills
- More time-consuming to develop and maintain
So, which method should you pick?
If you’re new to coding or want a quick, hassle-free way to customize your login page, go with a plugin. If you’re comfortable with code and want more control, editing theme files or creating a custom template is the way to go.
Remember, you can also combine methods—start with a plugin to get a look you like, then customize further by editing code later if needed. The most important thing is to choose a method that matches your skill level and project goals.
Next up, we’ll dive into implementing your chosen method and actually making your login page stand out!
5. Step 2: Install and Activate a Plugin for Custom Login Pages
Alright, now that you’ve got your vision in mind, it’s time to bring it to life with a plugin. Don’t worry if you’re not super tech-savvy—installing and activating a plugin is straightforward. The right plugin will give you the tools to easily customize your login page without writing a single line of code.
Here’s how to do it:
- Login to your WordPress dashboard. Navigate to your site’s admin area.
- Go to Plugins > Add New. This is where all the magic begins.
- Search for a plugin like “Custom Login Page Customizer” or “LoginPress.” These are popular options with good reviews and lots of features.
- Click Install Now next to your chosen plugin.
- Activate the plugin once the installation is complete.
Once activated, these plugins usually add a new menu item in your dashboard—often labeled “Login Customizer” or something similar. From there, it’s all about tweaking and designing your login page.
Pro tip: Always make sure to keep your plugins updated and install ones from reputable sources to keep your site secure.
6. Step 3: Customize the Login Page Design and Layout
Now comes the fun part—making your login page look exactly how you want it! Most plugins come with intuitive interfaces that let you customize every detail, from background images to button styles.
Here’s a quick walkthrough:
- Access the plugin’s customization panel: Usually found under “Appearance” > “Login Page” or directly in your dashboard menu.
- Choose a layout: Decide whether you want a centered login box, a split-screen design, or a full-page background.
- Set a background: Upload a background image or pick a color that matches your branding. Some plugins also allow overlay effects for a modern look.
- Customize the login form: Change the form’s position, add your logo, and modify input fields if needed.
- Style the buttons: Adjust colors, hover effects, and fonts to match your website’s style.
- Preview your changes: Most plugins let you see a live preview so you can tweak things until they’re perfect.
Here’s an example of what you might customize:
| Element | Customization Options |
|---|---|
| Background | Colors, images, overlays |
| Logo | Upload your logo image, resize, position |
| Form Fields | Colors, borders, spacing |
| Buttons | Colors, hover effects, font styles |
| Text | Welcome message, labels, placeholders |
Remember, the goal here is to make your login page not only functional but also a seamless part of your branding. Play around with different styles and see what feels right for your audience. Once you’re happy with your design, save your settings, and voilà—you’ve got a custom login page that looks professional and matches your site’s personality!
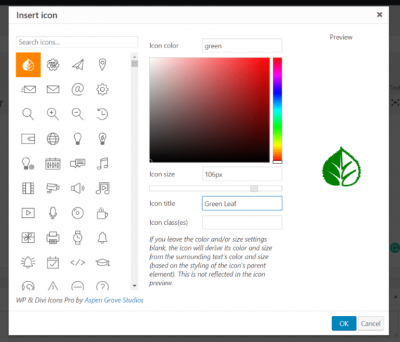
7. Step 4: Add Custom Logo and Branding Elements
Now that you’ve got your login page looking good and matching your website’s style, it’s time to add some branding elements to make it truly yours. Custom logos, colors, and backgrounds don’t just make your site look professional—they also help your users feel more confident and comfortable logging in.
First things first, let’s talk about adding a custom logo. This can be your company logo, a fun mascot, or any graphic that represents your brand. To do this, you’ll typically use some custom CSS or a plugin that supports branding options.
If you’re comfortable with code, here’s a simple example of how to add a logo using CSS:
/ Replace 'your-logo.png' with the path to your logo file /.login h1 a { background-image: url('your-logo.png'); background-size: contain; width: 300px; / Adjust width as needed / height: 80px; / Adjust height as needed / display: block; background-repeat: no-repeat; margin: 0 auto;}This CSS targets the default WordPress login logo and replaces it with your custom image. You can add this code to your theme’s functions.php file or via a custom CSS plugin.
For those who prefer a more straightforward approach, many plugins like LoginPress or Custom Login Page Customizer offer user-friendly interfaces to upload logos and change colors without touching any code.
Branding Elements You Can Customize:
- Logo: Upload your site’s logo for a personalized touch.
- Background: Change the background color or add a background image.
- Login Button: Style the login button to match your branding.
- Fonts and Colors: Use custom fonts and color schemes to create a cohesive look.
Remember, consistency is key—make sure your login page reflects your overall brand style. It’s a small detail that adds a lot of professionalism and can even boost user trust.
8. Step 5: Implement Additional Security Measures
Creating a custom login page is great, but security should always be a top priority. Hackers often target login pages because they’re a common entry point. So, let’s talk about some easy but effective ways to enhance your login page’s security.
1. Limit Login Attempts
Prevent brute-force attacks by limiting the number of login attempts. Plugins like Limit Login Attempts Reloaded or WP Limit Login Attempts can automatically block IPs after multiple failed tries, protecting your site from malicious attacks.
2. Enable Two-Factor Authentication (2FA)
Adding 2FA means users will need a second verification step—usually a code sent to their phone or email—beyond just their password. Plugins like Google Authenticator or Two Factor Authentication make this simple to set up and significantly boost your login security.
3. Use a Secure SSL Connection
Make sure your website uses HTTPS. This encrypts data transmitted between your users and your server, preventing eavesdroppers from capturing sensitive information like passwords. Most hosting providers offer easy SSL setup, often via free services like Let’s Encrypt.
4. Change Default Login URL
By default, WordPress login pages are accessible via /wp-login.php or /wp-admin. Hackers know this, so changing your login URL adds an extra layer of security. Plugins like WPS Hide Login allow you to customize your login URL easily.
5. Keep WordPress and Plugins Updated
Regular updates patch security vulnerabilities. Always keep your WordPress core, themes, and plugins up to date to minimize risks.
6. Use Strong, Unique Passwords
Encourage or enforce strong passwords for all users. You can use plugins like Password Policy Manager to set password complexity requirements.
Final Tips:
- Regularly review your login activity logs.
- Disable XML-RPC if not needed, as it can be exploited.
- Backup your site regularly to recover quickly if something goes wrong.
Security might seem daunting, but implementing these practices will give you peace of mind and keep your site safer. Remember, a custom login page isn’t just about looks—it’s an opportunity to reinforce your site’s security and professionalism.
9. Step 6: Test Your Custom Login Page Thoroughly
Now that you’ve put in the effort to design and set up your custom login page, it’s time for the most important step—testing! Think of this as your quality check to make sure everything works smoothly and looks just right before you go live. You want to catch any bugs, glitches, or display issues that could frustrate your users or compromise security.
Start by accessing your new login page from different devices and browsers—Chrome, Firefox, Safari, Edge, and even mobile browsers. Sometimes, things look perfect on your desktop but behave differently on a smartphone or tablet. Make sure the layout is responsive and adapts well to various screen sizes.
Here are some key areas to focus on during testing:
- Functionality: Can you log in with valid credentials? Does the login process succeed without errors?
- Validation: Try entering incorrect usernames or passwords. Do error messages display clearly and helpfully?
- Security: Check that your login page isn’t vulnerable to common issues like SQL injection or brute-force attacks. Use tools or plugins to scan for vulnerabilities if needed.
- Design and Layout: Ensure all elements—logo, background, buttons—appear as intended. Confirm that custom styles are consistent across browsers.
- Redirection: After a successful login, does the user land on the correct dashboard or homepage? Test logout functionality too, ensuring users are properly signed out and redirected appropriately.
- Accessibility: Is your login page usable by everyone? Check for sufficient contrast, keyboard navigation, and screen reader compatibility.
If you find issues, don’t get discouraged! Fix the problems, then test again. Remember, thorough testing saves you headaches later and ensures your visitors have a seamless experience. Once everything checks out, you’re ready to launch your new custom login page confidently!
10. Advanced Tips for Enhancing Your Custom Login Page
If you’re happy with the basic setup but want to take your login page to the next level, there are plenty of advanced tricks you can try. These enhancements can boost security, improve user experience, and give your site a more professional look.
1. Add Social Login Options
Allow users to log in using their social media accounts like Facebook, Google, or Twitter. This not only speeds up the login process but also reduces password management hassles. Plugins like Nextend Social Login make this easy to implement.
2. Implement Two-Factor Authentication (2FA)
Adding 2FA adds an extra layer of security. Users will need to enter a code sent to their phone or email after entering their password. This significantly reduces the risk of unauthorized access. Plugins such as Google Authenticator or Wordfence can help with this.
3. Customize Error Messages and Redirects
Make error messages friendly and helpful—avoid generic messages like “Invalid login.” Instead, guide users on what to do next. Also, customize redirect URLs after login based on user roles or preferences to personalize their experience.
4. Use Custom Login Scripts for Animation and Effects
Adding subtle animations or transitions can make your login page feel modern and engaging. Use CSS or JavaScript to animate buttons, fade in elements, or create background effects. Just keep it lightweight so it doesn’t slow down your site.
5. Enhance Security with CAPTCHA or Honeypots
Prevent bots from hacking your login page by adding CAPTCHA (like Google reCAPTCHA) or honeypot fields that trap automated scripts. This helps keep your site safe from brute-force attacks.
6. Optimize for Speed and Accessibility
- Compress images and use efficient code to keep load times quick.
- Make sure your login page is accessible to all users, including those with disabilities.
By exploring these advanced tips, you can create a login page that’s not only secure and functional but also polished and user-friendly. Remember, the goal is to provide a seamless experience that aligns with your brand and keeps your site safe!
Conclusion and Final Tips for Maintaining Your Custom Login Page
Creating a custom login page for your WordPress site enhances user experience and boosts security. Throughout this guide, we’ve covered the essential steps, from designing your page to implementing security measures. Remember, a well-maintained login page not only looks professional but also protects your site from potential threats.
To ensure your custom login page remains effective and secure, consider the following final tips:
- Regular Updates: Keep your WordPress core, themes, and plugins up to date to patch vulnerabilities.
- Backup Your Site: Always perform regular backups before making significant changes.
- Security Enhancements: Use security plugins like Wordfence or Sucuri to monitor and block malicious activities.
- Test Functionality: Periodically test the login process across different browsers and devices to ensure compatibility.
- Customize Responsively: Make sure your login page is mobile-friendly and accessible for all users.
Additionally, consider implementing features such as two-factor authentication (2FA) and login attempt limits to further secure your site. Always stay informed about best practices in web security and regularly review your login page’s performance and security status.
By following these tips, you’ll maintain a professional, secure, and user-friendly login experience that benefits both you and your site visitors.