If you’re a WordPress site owner or developer, chances are you’ve worked with custom post types at some point. Maybe you have a portfolio, event listings, or products that don’t fit into the default posts or pages. Exporting this custom data can be a lifesaver, whether you need to back it up, analyze it, or migrate it to another site. In this guide, we’ll walk through how to easily export your custom post data to a CSV file—making your data portable and manageable. No need to be a coding expert; with the right tools and steps, you’ll be exporting like a pro in no time!
Why Exporting Custom Post Data to CSV Is Useful

There are plenty of reasons why exporting your custom post data to CSV is a smart move. First off, CSV files are universal—they can be opened with spreadsheet programs like Excel, Google Sheets, or even plain text editors. This makes data analysis, filtering, and reporting much easier. Here are some key benefits:
- Data Backup: Keep a copy of your custom post data outside of WordPress as a safety net.
- Migration: Moving your data to a new site or platform becomes straightforward when you have it in CSV format.
- Reporting & Analysis: Use spreadsheet tools to analyze trends, generate reports, or visualize your data.
- Integration: Connect your data with other tools or systems for automated workflows.
Whether you’re managing a large database of listings or just want to keep an organized record, exporting to CSV gives you flexibility and control over your custom post data. Plus, it saves time and reduces errors compared to manual copying or copying data directly from the database. Overall, it’s an essential skill for WordPress power users who want to maximize their site’s data management capabilities.
3. Methods to Export Custom Post Data to CSV in WordPress
When it comes to exporting your custom post data to a CSV file, there are several methods you can consider. Each approach has its own advantages depending on your technical comfort level and the specific needs of your website. Let’s explore some of the most common methods:
Manual Export Using PHP
If you’re comfortable with coding, you can write a custom PHP script to fetch your custom post data and generate a CSV file. This method gives you full control over what data is exported and how it’s formatted.
- Write a custom plugin or add code to your theme’s functions.php file.
- Use WP_Query to retrieve your custom posts.
- Loop through the posts and output data in CSV format using PHP’s
fputcsv()function.
While this method is flexible, it requires some knowledge of PHP and WordPress development. It’s best suited for developers or advanced users who want a tailored export solution.
Using Built-in Export Tools
WordPress itself offers a basic export tool via the Dashboard under Tools > Export. However, this native feature only exports standard post types and doesn’t include custom fields or custom post types by default.
To extend this, you might need to customize the export process or combine it with other tools. It’s a quick solution for simple needs but might fall short if you want detailed control over your custom data.
Export via Database Management Tools
If you’re comfortable working directly with your website’s database, you can export your custom post data by accessing your database through tools like phpMyAdmin. Here’s how:
- Log into your hosting control panel and open phpMyAdmin.
- Navigate to your WordPress database.
- Locate the tables associated with your custom post type, usually in wp_posts and related custom fields in wp_postmeta.
- Run SQL queries to select the data you need.
- Export the results as CSV directly from phpMyAdmin.
This method is powerful but requires familiarity with SQL and the database schema. It’s useful for large datasets or when other methods don’t suffice.
4. Using Plugins for Exporting Custom Post Data
If you prefer a user-friendly, no-code approach, plugins are your best friends. There are several plugins designed specifically to help you export custom post data to CSV effortlessly. Let’s look at some popular options:
Popular Plugins for Exporting Custom Post Data
| Plugin Name | Features | Ease of Use |
|---|---|---|
| WP All Export |
|
Very user-friendly, ideal for non-developers |
| Advanced Custom Fields: Export |
|
Easy to set up if you already use ACF |
| Export WP Data |
|
Intuitive interface, suitable for most users |
How to Use a Plugin to Export Data
Most export plugins follow a similar process:
- Install and activate your chosen plugin from the WordPress plugin repository.
- Navigate to the plugin’s settings page or export section.
- Select the custom post types or specific data you want to export.
- Configure any filters or data fields as needed.
- Click on the export button, and download your CSV file.
The beauty of using plugins is that they handle all the complex data retrieval and formatting for you, making the process quick and hassle-free. Plus, many plugins also allow you to schedule regular exports, which can be a real time-saver if your data updates frequently.
In summary, whether you’re comfortable with coding or prefer a simple plugin-based solution, there’s an export method suited to your needs. Exploring these options will help you efficiently manage and analyze your custom post data in CSV format.
5. Manual Methods to Export Custom Post Data to CSV
If you’re comfortable with a bit of technical work and want more control over your custom post data, manual methods can be a good option. While they require some familiarity with databases and code, they give you the flexibility to customize the export exactly how you want it.
One common way is to access your WordPress database directly via phpMyAdmin or a similar database management tool. This method is especially useful if your custom post types are stored in custom tables or if you want to export specific custom fields that aren’t easily accessible through standard export tools.
Here’s a quick rundown of the process:
- Access phpMyAdmin: Log in to your hosting control panel and open phpMyAdmin.
- Select Your Database: Choose the database associated with your WordPress site.
- Locate Custom Post Data: Find the tables that store your custom post data. Usually, custom post types are stored in the
wp_poststable, with thepost_typecolumn indicating your custom type. - Write a SQL Query: Craft a SQL SELECT statement to retrieve the data you need. For example:
<code>SELECT ID, post_title, post_date, post_content FROM wp_posts WHERE post_type='your_custom_type';</code>
To include custom fields (metadata), you’ll need to join with the
wp_postmetatable:<code>SELECT p.ID, p.post_title, p.post_date, pm.meta_key, pm.meta_valueFROM wp_posts pLEFT JOIN wp_postmeta pm ON p.ID = pm.post_idWHERE p.post_type='your_custom_type';</code>
Keep in mind, this can get complex if you have many custom fields, so it’s best to tailor your query accordingly.
- Export the Data: Once you get your query results, you can export them directly from phpMyAdmin as CSV by clicking the export option and choosing CSV format.
Note: Be cautious when working directly with your database. Always back up before making changes, and if you’re not comfortable with SQL, consider consulting a developer.
6. Step-by-Step Guide to Export Custom Post Data Using a Plugin
If you prefer a simpler, more user-friendly way to export your custom post data, using a plugin is often the best route. There are several plugins designed specifically for exporting posts, including custom post types, along with their custom fields and metadata.
Here’s a straightforward step-by-step guide on how to do it using a popular plugin like WP All Export:
- Install and Activate the Plugin: Go to your WordPress dashboard, navigate to Plugins > Add New, search for WP All Export, install, and activate it.
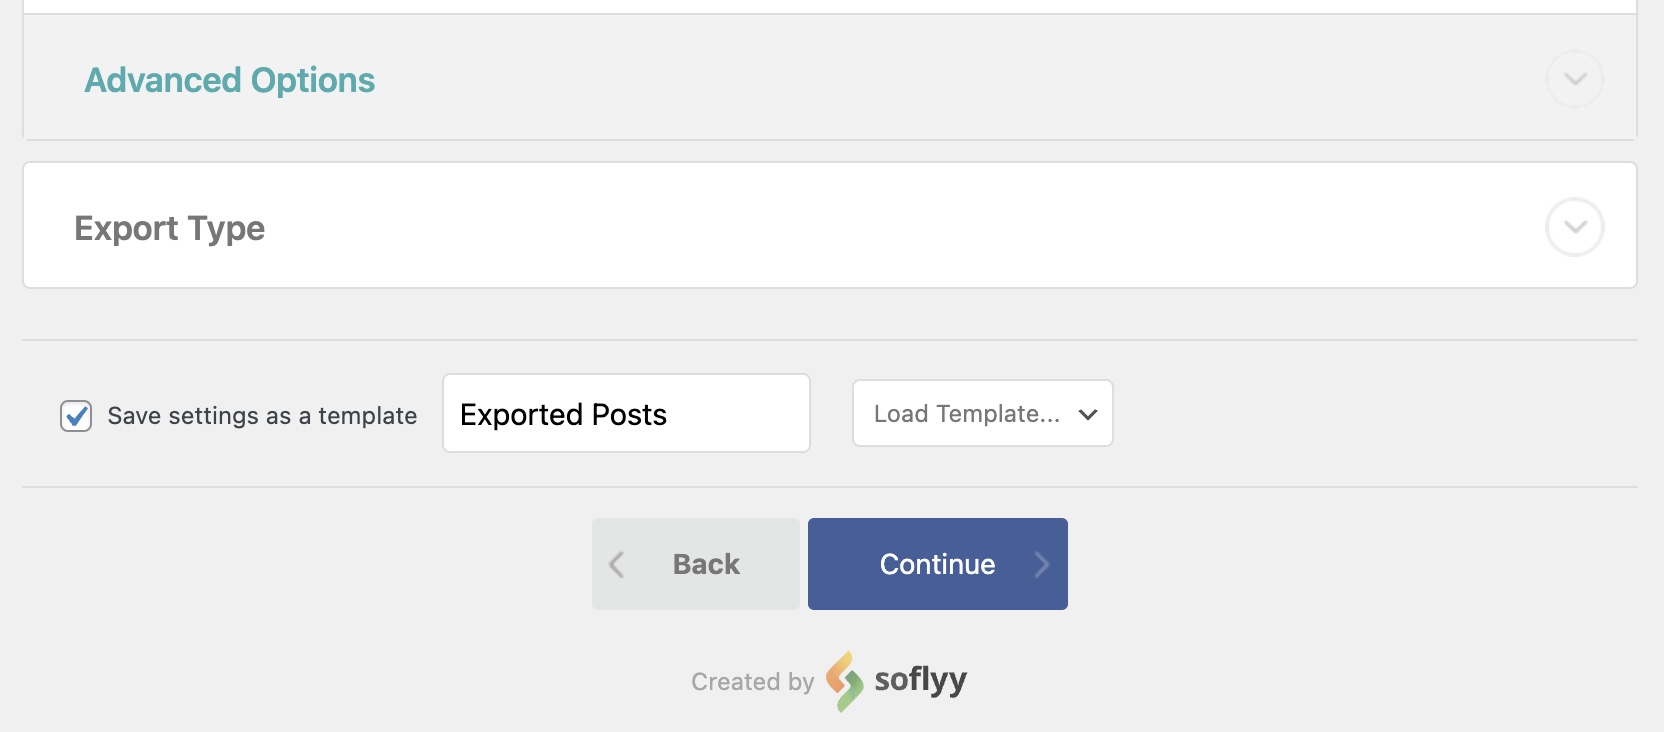
- Create a New Export: Once activated, head to All Export > New Export.
- Select Your Custom Post Type: In the export setup, choose your custom post type from the list. You can also export multiple post types if needed.
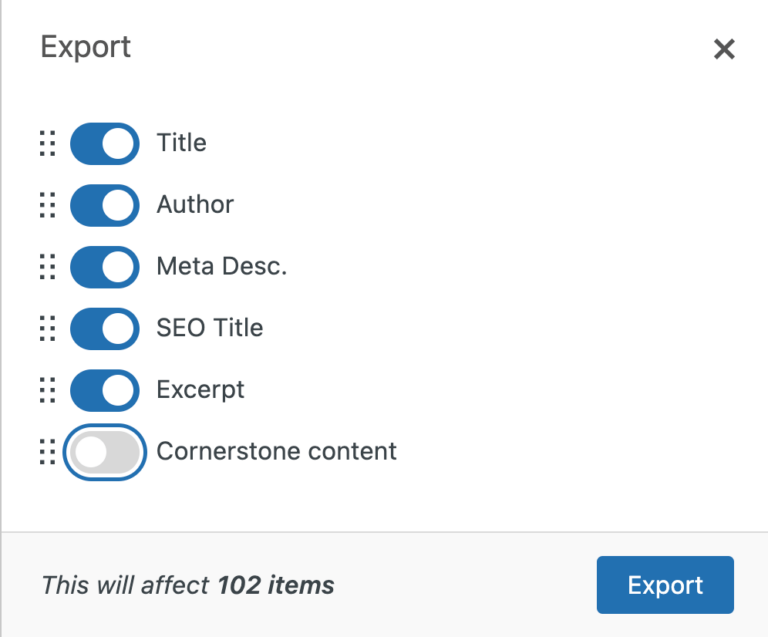
- Configure Export Settings: Decide what data to include. You can select fields such as post title, date, content, and custom fields. Many plugins let you drag and drop to choose what to export, making it very intuitive.
- Filter Your Data (Optional): If you want to export only specific posts, set filters based on categories, tags, or custom fields.
- Preview Your Export: Before finalizing, preview the data to ensure everything looks good.
- Run the Export: Click the button to generate your CSV file. Once complete, download it directly from the plugin interface.
And that’s it! Using plugins like WP All Export simplifies the entire process, especially if you’re dealing with complex custom post types and custom fields. Plus, most of these plugins provide options to schedule regular exports or automate the process, saving you time in the long run.
Remember, always keep your plugins updated and back up your website before performing bulk data operations, just to stay safe.
7. Customizing Exported Data for Better Insights
When you’re dealing with custom post data in WordPress, simply exporting everything as-is might not always give you the clear insights you’re after. The good news is, you can tailor your CSV exports to include exactly what you need, making analysis much easier.
First off, think about which fields are most relevant for your goals. Do you want to analyze post titles, categories, tags, custom fields, or perhaps metadata? By customizing your export, you avoid clutter and focus on the data that truly matters.
Here are some handy tips to customize your exported data:
- Select specific post types: If you’re only interested in a certain type of content, like ‘Products’ or ‘Events,’ filter your export to include only those. Many plugins allow you to choose post types during export.
- Include custom fields: Use plugins or custom code to add custom fields to your export. For instance, if you have a custom field for ‘Product Price’ or ‘Event Date,’ make sure these are included.
- Filter by categories or tags: Narrow down your data to specific categories or tags, especially useful if your site has a lot of content. This helps you analyze particular segments.
- Order your data: Arrange your data based on date, title, or any custom field to make your analysis more intuitive.
- Use custom SQL queries: For advanced users, some export plugins allow you to write custom SQL queries to fetch exactly the data you want. This is perfect for complex reports.
Additionally, many export plugins come with built-in options to select which columns to include. Take some time to explore these settings before exporting. The goal is to generate a CSV file that provides clear, actionable insights without unnecessary noise.
Once you have your customized CSV, you can open it in Excel, Google Sheets, or any other spreadsheet tool to analyze trends, generate reports, or feed data into other systems. The key is to think about what questions you want to answer and tailor your export accordingly.
8. Tips for Managing and Using Exported CSV Files Effectively
Exporting your custom post data is just the first step. To truly leverage the power of your CSV files, it’s essential to manage and use them effectively. Here are some practical tips to help you make the most out of your exported data:
Organize your files: Store your CSV exports in a dedicated folder with clear naming conventions. For example, use dates or specific project names like products_export_2024_04_27.csv. This makes it easy to track versions and find the right data when needed.
Keep backups: Regularly back up your CSV files, especially if they contain valuable insights or are updated frequently. Cloud storage solutions like Google Drive or Dropbox work well for automatic backups.
Clean your data: Before diving into analysis, take a moment to clean your CSV files. Remove duplicates, fix inconsistencies, and ensure data formats are correct. Tools like Excel or Google Sheets offer features like ‘Remove Duplicates’ and ‘Find and Replace’ to streamline this process.
Use filters and pivot tables: Leverage spreadsheet features to analyze your data more effectively. Filters help you focus on specific segments, while pivot tables can summarize data, reveal patterns, and generate quick reports.
| Tip | Benefit |
|---|---|
| Organize files systematically | Easy retrieval and version control |
| Regular backups | Protection against data loss |
| Data cleaning | Accurate analysis and insights |
| Utilize spreadsheet tools | Deeper understanding through summaries and filters |
Another tip is to automate parts of your workflow. For example, you can set up scheduled exports or use scripts to process CSV files automatically. This saves time and reduces manual errors.
Finally, remember to stay mindful of data privacy and security. If your CSV files contain sensitive information, store them securely and restrict access to authorized team members only.
By managing your exported CSV files smartly and using them effectively, you’ll unlock valuable insights about your WordPress content, streamline your reporting, and make data-driven decisions with confidence.
Conclusion and Best Practices for Exporting Custom Post Data in WordPress
Exporting custom post data to CSV in WordPress is a powerful way to manage and analyze your content outside the platform. To ensure a smooth and efficient process, it’s essential to follow some best practices. First, always back up your website before performing any data exports to prevent accidental data loss. Use reputable plugins or custom scripts that are well-maintained and compatible with your WordPress version to avoid security issues or data corruption. When customizing your export, clearly define the fields you need to include, utilizing filters or hooks if necessary, to avoid cluttered or incomplete data. Additionally, consider the format and encoding of your CSV file to ensure compatibility with other applications. Automate recurring exports with scheduling tools or cron jobs to save time and maintain consistency. Lastly, always review your exported data for accuracy and completeness before importing it into other systems or sharing it with stakeholders. By adhering to these best practices, you can streamline your data management process and make informed decisions based on reliable, well-organized information.