Have you ever visited a website and felt a bit lost while waiting for content to load? You’re not alone! As online users, we often find ourselves impatient during loading times. In WordPress, adding a loading spinner to your plugin pages can enhance user experience significantly. A loading spinner gives your visitors visual feedback that something is happening, making them less likely to navigate away. In this post, we’ll explore why loading spinners are essential and how to incorporate them effectively into your WordPress site!
Understanding the Need for a Loading Spinner

So, why should we consider adding a loading spinner? It’s simple! Here are a few key reasons:
- Improved User Experience: A loading spinner informs users that their request is being processed, reducing frustration.
- Increased Engagement: By providing a visual indication that content is loading, users are more likely to stay on your page instead of leaving.
- Professional Appearance: Spinners lend a polished, modern look to your website, showcasing your attention to detail.
- Reduction of Error Rates: When users know something is loading, they are less likely to repeatedly click buttons, which can lead to errors or redundant requests.
In fact, here’s a quick comparison to understand how loading spinners affect user behavior:
| Scenario | User Action |
|---|---|
| Page Loads Without Spinner | User leaves due to uncertainty |
| Page Loads with Spinner | User patiently waits for content |
By incorporating a loading spinner, you actively demonstrate to your visitors that their needs are valued, ultimately leading to a greater likelihood of engagement and conversion. Ready to make your WordPress site shine? Let’s dive in!
3. Prerequisites for Adding a Loading Spinner

Before diving into the fun of adding a loading spinner to your WordPress plugin pages, there are a few prerequisites that you should take into account. Ensuring that you have the right setup will make the process smoother and help you avoid potential hiccups down the line. Here’s what you’ll need:
- WordPress Installation: Make sure you have a functioning WordPress site. This goes without saying, but it’s critical to confirm that your environment is up and running.
- Basic Coding Knowledge: Familiarity with HTML, CSS, and JavaScript will go a long way. Understanding how plugins work and how to customize them is essential for adding a loading spinner effectively.
- Access to Plugins: You will need access to the plugins you want to edit. This means either being the administrator or having permission to change the code.
- Backup Your Site: Always have a backup of your website before making any changes. Use a plugin or manual method to ensure you can restore your site if something goes wrong.
- Development Environment: If possible, use a staging environment to test your changes before applying them to your live site. This minimizes risks and gives you the freedom to experiment.
Once you have checked these off your list, you’re ready to proceed confidently!
4. Step 1: Identify the Plugin Pages Needing Spinners

The first step in adding a loading spinner is pinpointing which plugin pages would benefit from it. Not every page requires a loading spinner, so it’s essential to choose wisely. Here’s how to identify those pages:
- Assess Page Load Times: Look into the performance of your plugin pages. If certain pages take longer to load, they are prime candidates for a loading spinner.
- User Interaction: Consider pages where users engage with data-heavy content or forms. For instance, pages that require significant database queries or API calls often benefit from a spinner.
- Feedback Mechanism: Understand where user feedback might be necessary. If a page hangs during a task, a spinner can indicate that something is happening, rather than leaving users guessing.
- Test Pages: Use tools like Google PageSpeed Insights or GTmetrix to analyze loading times. This quantitative data can help you objectively identify which pages to target.
After identifying the appropriate pages, you’ll be set to implement that loading spinner where it’s needed most, enhancing the user experience like never before!
Step 2: Enqueue Custom Scripts and Styles
Alright, let’s dive into the nitty-gritty of adding our loading spinner by enqueuing custom scripts and styles. In WordPress, this is an essential step to ensure that your custom functionality and styling are properly loaded in the admin area. By enqueuing, you not only keep your plugin tidy but also avoid conflicts with other scripts and styles that might be loaded. So, let’s get started!
First off, you’ll want to hook into WordPress to properly enqueue your scripts. You can do this in your plugin’s main PHP file. Here’s an example of how you can achieve this:
add_action('admin_enqueue_scripts', 'my_custom_enqueue_scripts');function my_custom_enqueue_scripts() { // Enqueue jQuery if it's not already loaded wp_enqueue_script('jquery'); // Add your custom JS file wp_enqueue_script('my-spinner-script', plugin_dir_url(__FILE__) . 'js/my-spinner.js', array('jquery'), '1.0', true); // Add your custom CSS file wp_enqueue_style('my-spinner-style', plugin_dir_url(__FILE__) . 'css/my-spinner.css');}Let’s break this down just a bit:
- admin_enqueue_scripts: This hook tells WordPress that we want to add scripts and styles specifically for the admin area.
- wp_enqueue_script: Use this to load your JavaScript file. Note that we are including jQuery as a dependency here.
- wp_enqueue_style: This will load your custom stylesheet, allowing you to style your loading spinner as needed.
Once you’ve done this, your custom scripts and styles will be ready to go!
Step 3: Create the CSS for the Loading Spinner
Now that we’ve got our scripts all queued up, it’s time to create the CSS for your loading spinner. This step is where your spinner will really start to take shape! You can make it as simple or as elaborate as you’d like. Let’s work through a basic example to get you started.
Open up the custom CSS file that we enqueued earlier (e.g., my-spinner.css), and let’s add some styles for our spinner:
.spinner { border: 4px solid rgba(0, 0, 0, 0.1); border-left-color: #000; border-radius: 50%; width: 40px; height: 40px; animation: spin 1s infinite linear; position: absolute; left: 50%; top: 50%; transform: translate(-50%, -50%);}@keyframes spin { to { transform: rotate(360deg); }}Here’s a quick breakdown of the CSS:
- spinner: This class applies a circular border to create the spinner effect. The
border-left-colorproperty is what gives the spinner its animated appearance. - animation: The
spinanimation rotates the spinner smoothly, giving it life while it’s in action. - positioning: We use absolute positioning to center the spinner on the page, ensuring it’s perfectly placed for the user while waiting.
Once you’ve added this CSS, your loading spinner will look polished and ready to enhance the user experience on your plugin’s pages! Now, you just need to trigger its visibility appropriately via your JavaScript, and you’ll be all set! Happy coding!
7. Step 4: Implement the JavaScript for Showing and Hiding the Spinner
Now that we have our HTML structure for the loading spinner and are ready to bring it to life, it’s time to dive into some JavaScript magic. This is where we define how and when the spinner will appear and disappear during processes like data loading or form submission. Don’t worry; this is easier than it sounds!
First, you’ll want to enqueue your custom JavaScript file in your WordPress plugin. Open your main plugin file and add the following code:
function enqueue_spinner_script() { wp_enqueue_script('spinner-script', plugin_dir_url(__FILE__) . 'js/spinner.js', array('jquery'), null, true);}add_action('wp_enqueue_scripts', 'enqueue_spinner_script');In your “spinner.js” file, write the following code to control the visibility of your spinner:
jQuery(document).ready(function($) { // Show spinner before an AJAX call $(document).on('ajaxStart', function() { $('#spinner').show(); }); // Hide spinner after the AJAX call finishes $(document).on('ajaxStop', function() { $('#spinner').hide(); });});This code snippet utilizes jQuery’s AJAX events to show the spinner whenever an AJAX call starts and hide it when the call ends. Make sure your spinner’s ID matches what you’ve defined in the HTML.
To enhance the user experience, consider adding a small timeout to the spinner’s visibility, allowing users to realize there’s something happening in case of delays.
8. Step 5: Testing the Loading Spinner Functionality
Once you’ve implemented your JavaScript, it’s time to see the fruits of your labor in action! Testing is crucial because you want to ensure that your loading spinner behaves as expected under different scenarios.
Here’s a quick checklist to help you test your spinner functionality:
- Initial Load: Confirm that the spinner is hidden when the page first loads.
- AJAX Calls: Trigger an AJAX call and observe if the spinner appears correctly.
- Completion: Once the AJAX call is complete, ensure the spinner disappears swiftly.
- Error Handling: Test scenarios where AJAX might fail to guarantee the spinner hides even if the operation fails.
- Performance Check: Notice the loading time and ensure the spinner adds to the user experience without being disruptive.
You can use the browser’s developer tools to monitor network requests and see when the spinner appears and disappears. This step is critical for maintaining a smooth user experience, so don’t skip it!
If you run into any issues during testing, check your JavaScript file paths and ensure jQuery is loaded properly. Once everything works seamlessly, you’ll have a fantastic loading spinner that enhances your WordPress plugin’s functionality!
Troubleshooting Common Issues
Adding a loading spinner to your WordPress plugin pages can significantly enhance user experience, but sometimes things might not work out as planned. Don’t fret! Below are common issues you might encounter and helpful solutions to put you back on track.
- Spinner Not Appearing: If your spinner isn’t showing up, the first thing to check is your
CSS. Ensure that the spinner’s class or ID is correctly referenced in your styles. Also, look at the JavaScript code that triggers the spinner—errors here can prevent it from displaying. - Spinner Not Hiding: If the spinner is visible but doesn’t disappear after the loading process, check the JavaScript logic that hides it. Make sure that the function responsible for hiding the spinner is being executed properly after the loading is complete.
- Performance Issues: Overusing spinners can slow down your pages. If your spinner is causing lag, consider optimizing the loading times of the resources on your page. Also, ensure that your images and files are compressed properly.
- Incompatibility with Themes or Plugins: Sometimes, your theme or other plugins might conflict with your spinner. Try disabling other plugins momentarily to identify the source of the conflict. If the issue persists, consult the plugin’s support forums for additional help.
- Browser Compatibility: Ensure that your spinner works across all major browsers. Some CSS properties may not be supported on all browsers, so testing is key!
With these troubleshooting tips, you should be well-equipped to tackle any hiccups that arise with your loading spinner implementation. Remember, the goal is to streamline your users’ experience, so take the time to ensure everything works seamlessly!
Conclusion
Integrating a loading spinner into your WordPress plugin pages is a small yet impactful enhancement that can make a huge difference in user satisfaction. It helps set expectations for loading times and gives visitors a visual cue that something is happening behind the scenes. So, whether you’re building a complex plugin or a simple page, adding a spinner can provide your users with reassurance.
Reflecting on the steps we’ve discussed, here are the key takeaways:
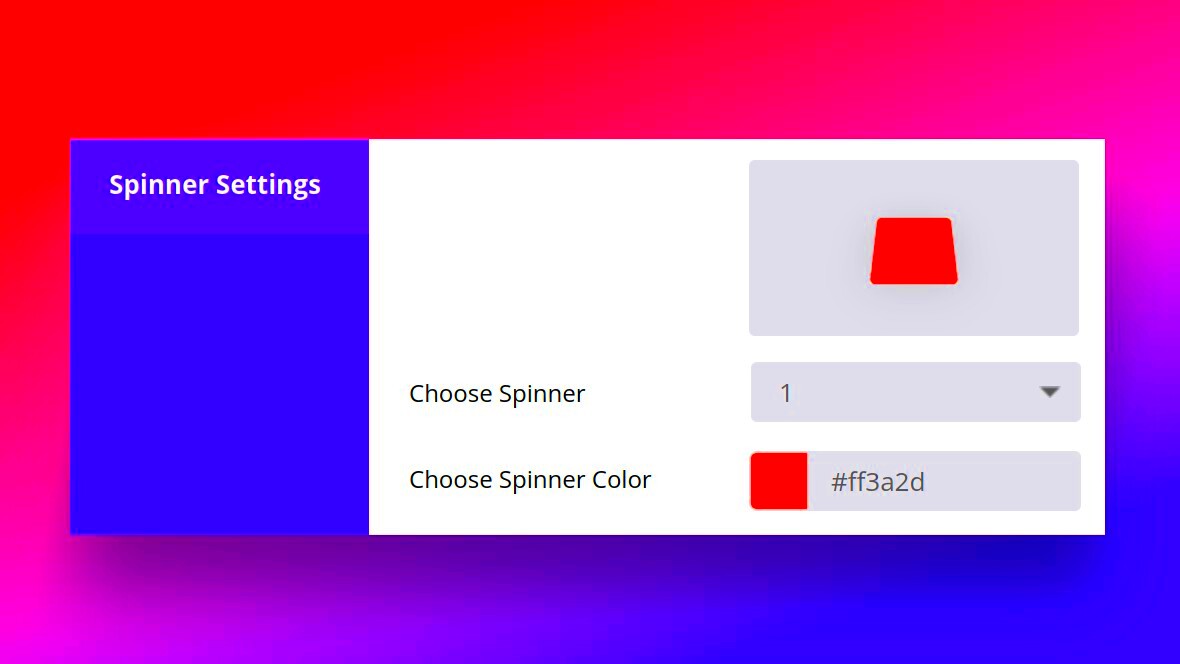
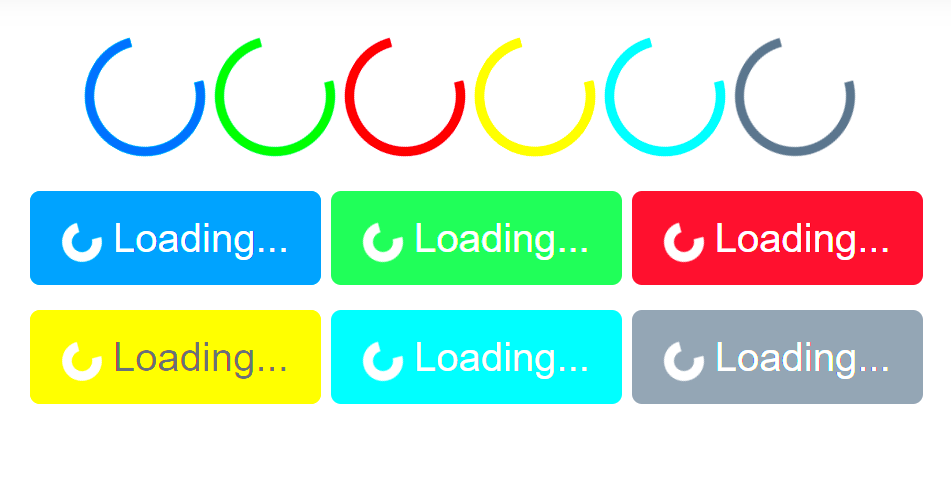
- Choose Your Spinner: Decide on the type of spinner that best suits your site’s aesthetic and function.
- Implement Code Wisely: Carefully add your CSS and JavaScript code to ensure that it operates correctly.
- Test Rigorously: After implementation, do thorough testing to ensure that the spinner works properly across all parts of your WordPress site.
By following this guide, you’ve equipped yourself with the knowledge to not just add a loading spinner, but also troubleshoot common issues that could arise. If you ever feel stuck, remember to refer to the documented processes or reach out for support. Happy coding!


