If you’ve been working with Ultimate Addons for WordPress and suddenly notice that your checkboxes aren’t showing up as they should, you’re not alone. This can be pretty frustrating, especially when you’re trying to customize your site or ensure everything functions smoothly. The good news is, most of these issues are fixable with a few simple troubleshooting steps. In this post, we’ll walk through why this problem happens and how you can get those checkboxes back on your pages in no time. Let’s dive in and get your site looking and working just the way you want!
Understanding Common Causes for Checkbox Display Issues
Before jumping into solutions, it’s helpful to understand what might be causing the checkboxes to disappear in the first place. There are several common reasons why this problem occurs, and knowing them can save you a lot of time and confusion.
1. Plugin Conflicts: Sometimes, other plugins installed on your WordPress site can clash with Ultimate Addons or your theme. This can lead to styles or scripts not loading correctly, which might hide or break checkboxes. For example, caching plugins or security plugins can interfere with JavaScript execution or CSS rendering.
2. Theme Compatibility Issues: Not all themes are built to work seamlessly with every plugin. If your theme is outdated or doesn’t follow WordPress coding standards, it might override or conflict with the styles and scripts used by Ultimate Addons, causing checkboxes to be hidden or misaligned.
3. CSS Conflicts or Overrides: Custom CSS added to your site, whether intentionally or accidentally, can sometimes hide or alter checkboxes. For instance, setting a display: none; or visibility: hidden; on form elements can make checkboxes disappear.
4. JavaScript Errors: JavaScript is crucial for many dynamic features in WordPress plugins. If there’s a JavaScript error elsewhere on your site, it can prevent checkboxes from rendering properly. You can check for these errors using your browser’s developer tools.
5. Outdated Plugins or WordPress Version: Running outdated versions of Ultimate Addons, other plugins, or WordPress itself can lead to compatibility issues. Keeping everything up to date helps ensure that all scripts and styles work as intended.
Understanding these common causes gives you a clearer idea of where to start troubleshooting. Usually, identifying the root problem involves a process of elimination—disabling plugins one by one, switching themes temporarily, or checking your site’s CSS and JavaScript errors. Once you know what’s causing the issue, fixing your checkboxes becomes much easier. Next, we’ll look at some practical steps to diagnose and resolve these problems effectively.
3. Step-by-Step Guide to Troubleshoot Checkbox Visibility Problems
So, your checkbox isn’t showing up in Ultimate Addons for WordPress? No worries — this is a common issue, and with a little bit of troubleshooting, you’ll be back on track in no time. Let’s walk through a simple, step-by-step process to identify and fix the problem.
Step 1: Clear Cache and Refresh
Sometimes, the issue might be as simple as a cached version of your site showing up. Clear your browser cache and any caching plugins you might be using. After that, refresh your page and see if the checkbox appears. A quick refresh can often solve display glitches.
Step 2: Check for JavaScript Conflicts
JavaScript conflicts are a common culprit behind UI elements not showing. To troubleshoot:
- Open your browser’s developer tools (usually F12 or right-click and select “Inspect”).
- Go to the “Console” tab and look for any errors.
- If you see errors related to other plugins or scripts, note them down.
If errors are present, try disabling other plugins temporarily to see if the checkbox reappears. This helps identify if another plugin is causing conflicts.
Step 3: Switch to a Default Theme
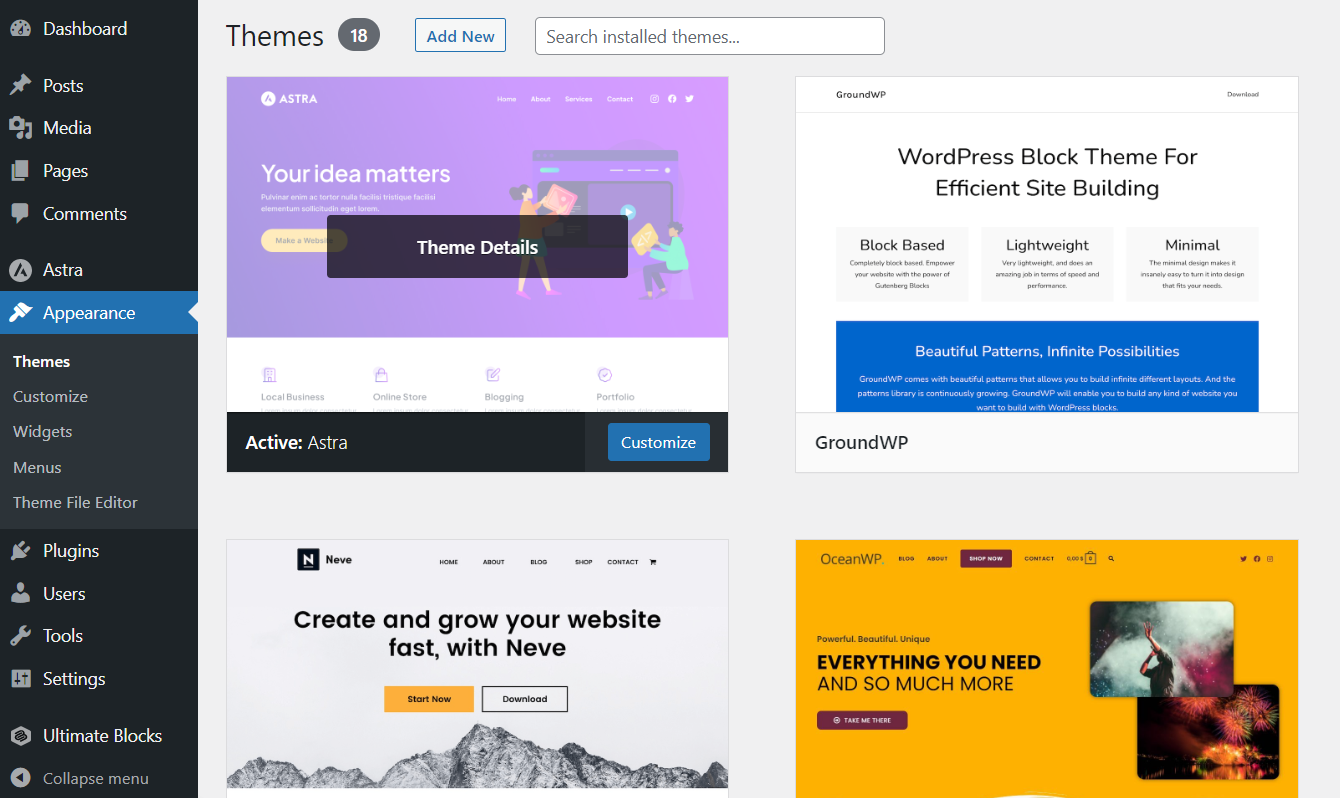
Sometimes, themes can interfere with plugin elements. Switch temporarily to a default WordPress theme like Twenty Twenty-Three. If the checkbox shows up, your theme may be conflicting. In that case, consider updating your theme or contacting the theme developer for support.
Step 4: Disable All Other Plugins (Except Ultimate Addons)
Deactivate all plugins except Ultimate Addons for WordPress. Then, check if the checkbox appears. If it does, reactivate plugins one by one, testing after each activation. This process will help you pinpoint which plugin might be causing the issue.
Step 5: Check for Custom Code or CSS
If you’ve added custom CSS or JavaScript, double-check it to ensure it’s not hiding or overriding the checkbox. Temporarily remove custom code and see if the checkbox appears. If it does, review your custom code for any display:none or visibility:hidden styles.
Step 6: Review Plugin Settings
Go through the Ultimate Addons settings to make sure the checkbox is enabled and correctly configured. Sometimes, a simple misconfiguration could prevent it from rendering properly.
Step 7: Reinstall the Plugin
If none of the above steps work, try deleting and reinstalling Ultimate Addons for WordPress. A fresh install can resolve corrupted files or incomplete updates.
By following these steps systematically, you should be able to identify the root cause of the checkbox not showing. Remember, patience is key — troubleshooting can sometimes take a bit of trial and error, but you’ll get there!
4. Checking and Updating Plugin Compatibility
Another common reason for checkboxes not displaying properly is compatibility issues between plugins, themes, and WordPress itself. Ensuring everything is up-to-date and compatible can save you a lot of headaches.
Why Compatibility Matters
Plugins like Ultimate Addons for WordPress are built to work with certain versions of WordPress and other plugins. When there’s a mismatch—say, your WordPress version is outdated or another plugin isn’t compatible—it can cause display issues, including missing checkboxes.
How to Check Compatibility
- Check Plugin and Theme Requirements: Visit the plugin’s page on WordPress.org or the developer’s website. Look for the minimum required WordPress version and compatible PHP versions.
- Review Plugin Changelogs: Updated plugins often mention compatibility improvements or fixes in their changelog.
- Verify Your Current Setup: In your WordPress dashboard, go to Dashboard > Updates to see if your WordPress core, themes, and plugins are all current.
Updating for Compatibility
If you find that your WordPress version, theme, or other plugins are outdated, here’s what to do:
- Back Up Your Site: Always create a full backup before making updates.
- Update WordPress: Navigate to Dashboard > Updates and update to the latest stable version.
- Update Plugins and Themes: Make sure all your plugins and themes are up-to-date. Updates often include bug fixes and compatibility improvements.
- Test After Updates: After updating, check if the checkbox issue persists. Clear caches and refresh the page.
Using Compatibility Plugins or Tools
Some developers recommend using tools like the Site Health Check plugin to identify plugin conflicts and compatibility issues. Also, the Debugging Mode in WordPress can help you spot errors related to incompatible plugins or themes.
Contact Support if Needed
If you’ve done all the above and still face issues, reach out to the plugin’s support team. Provide details like your WordPress version, list of active plugins, theme details, and the steps you’ve taken. They can often offer tailored solutions or patches to resolve compatibility problems.
Staying on top of compatibility ensures your site runs smoothly and helps prevent issues like checkboxes not displaying. Regular updates and careful plugin management are your best friends in maintaining a healthy WordPress environment!
5. Adjusting Theme and Plugin Settings for Proper Display
One of the first things to check when your checkboxes aren’t showing up in Ultimate Addons for WordPress is your theme and plugin settings. Sometimes, a simple misconfiguration can cause elements to disappear or not display correctly. Don’t worry — it’s usually straightforward to fix.
Start by reviewing your current theme options, especially if you’re using a highly customizable theme like Astra, OceanWP, or GeneratePress. These themes often have their own styling controls that might override or conflict with the plugin’s styles. Look for options related to forms, checkboxes, or input styles. If you see any settings that hide or alter checkboxes, try toggling them off or resetting to default.
Next, check your plugin settings within Ultimate Addons. Some modules or features might have display options that are disabled or set incorrectly. For example, if you’re using a form or a toggle element, ensure that checkboxes are enabled and visible in the settings panel. Also, verify that the plugin is configured to load styles correctly. Sometimes, a setting might disable CSS output to improve performance, which can inadvertently hide elements.
Another tip is to make sure your WordPress, theme, and plugin are all up to date. Developers frequently release updates that fix bugs or improve compatibility. Running outdated versions can cause conflicts, including display issues like missing checkboxes.
If you’re using a caching plugin or server-side cache, clear all caches after making these adjustments. Cached styles can sometimes prevent your changes from taking effect immediately, leading you to think the problem persists even after fixing the settings.
Finally, consider temporarily switching to a default theme like Twenty Twenty-Three. If the checkboxes appear correctly with the default theme, the issue is likely related to your current theme’s styling. You can then contact your theme developer or check their documentation for guidance on how to resolve conflicts with Ultimate Addons.
In summary, adjusting theme and plugin settings is a vital step. Take some time to review your configurations, ensure everything is enabled and correctly set, and keep your environment updated. Often, these simple tweaks are enough to restore the visibility of your checkboxes.
6. Resolving CSS Conflicts That Might Hide Checkboxes
CSS conflicts are a common culprit when checkboxes refuse to show up. Styles from your theme or other plugins can sometimes override the plugin’s default styles, causing checkboxes to become hidden, too small, or styled in a way that makes them invisible. Let’s explore how to identify and resolve these CSS conflicts.
The first step is to inspect the checkbox element using your browser’s developer tools. Right-click on the checkbox area and select “Inspect” (or similar, depending on your browser). This opens a panel showing the HTML and CSS applied to that element. Look for styles like display: none;, opacity: 0;, or visibility: hidden;. These are common culprits that hide elements.
Once you identify conflicting styles, you have a few options:
- Override the conflicting CSS: You can add custom CSS to force the checkbox to display properly. For example:
input[type="checkbox"] { display: inline-block !important; opacity: 1 !important; visibility: visible !important; }
This code ensures that checkboxes are visible regardless of previous styles. You can add custom CSS via the WordPress Customizer (Appearance > Customize > Additional CSS) or through a child theme’s stylesheet.
- Identify specific CSS rules: Sometimes, themes add global styles that affect all form inputs. If you notice a rule like .my-theme input { display: none; }, you can craft a more specific override to counteract it.
Another thing to watch out for is z-index issues. Sometimes, checkboxes might be hidden behind other elements. Inspect the stacking order in developer tools and adjust z-index values if necessary.
If you’re not comfortable editing CSS directly, consider reaching out to the theme or plugin support. They often have quick fixes or patches for common conflicts. Also, check if your theme has built-in compatibility settings for popular plugins like Ultimate Addons.
Remember, resolving CSS conflicts is a process of elimination. Use your browser’s developer tools to pinpoint the exact styles causing issues, then write targeted overrides. With a bit of patience, you can ensure your checkboxes are visible, styled correctly, and functioning as intended.
7. Testing Your Fixes and Ensuring Checkboxes Appear Correctly
Once you’ve implemented the potential fixes, it’s time to see if everything works as it should. This step is crucial because sometimes, changes might not take effect immediately, or other issues could be interfering. Testing thoroughly helps you confirm that your checkboxes are now visible and functioning properly across your site.
Start by clearing your website’s cache. If you’re using a caching plugin like W3 Total Cache or WP Super Cache, make sure to purge the cache. Also, clear your browser cache or try viewing your site in an incognito/private window to see the latest version. This ensures you’re not seeing an outdated version of your page.
Next, navigate to the page or section where the checkboxes should appear. Verify that they are now visible and check if they can be interacted with. Try checking and unchecking a few options to ensure they work as expected. It’s a good idea to test across different browsers (Chrome, Firefox, Safari, Edge) and devices (desktop, tablet, mobile) because sometimes, display issues are browser-specific.
If the checkboxes still aren’t showing, revisit your recent fixes. Double-check that you’ve correctly added custom CSS, or that your plugin updates were properly applied. Use your browser’s developer tools (Right-click > Inspect) to see if the checkboxes are present in the DOM but hidden via CSS, or if they’re missing altogether. This can give you clues about what’s going wrong.
Sometimes, conflicts with other plugins or themes can persist. If possible, temporarily deactivate other plugins and switch to a default theme like Twenty Twenty-Three. If the checkboxes appear in this clean environment, re-enable your plugins one by one and switch back to your theme, testing after each step. This process helps identify conflicts that could be causing the issue.
Remember, patience is key. If you’re still having trouble, consider reaching out to the Ultimate Addons for WordPress support or checking their documentation and community forums. Often, others have faced similar issues, and solutions are documented or shared.
8. Additional Tips for Maintaining Checkbox Visibility in WordPress
Keeping your checkboxes visible and functional isn’t just a one-time fix—it’s an ongoing process. Here are some handy tips to help you maintain their visibility and ensure a smooth experience for your site visitors:
- Regularly update plugins and themes: Outdated software can cause compatibility issues, including checkbox visibility problems. Make sure you keep Ultimate Addons, your theme, and other plugins up to date to benefit from the latest fixes and improvements.
- Use child themes for custom CSS: If you’re customizing styles, do so via a child theme. This way, your changes won’t be overwritten during theme updates, preserving your checkbox styles and fixes.
- Keep an eye on plugin conflicts: New plugins or updates can sometimes clash with your existing setup. Periodically review your active plugins and test your checkboxes after any new installations or updates.
- Implement accessibility best practices: Ensure checkboxes are accessible by using proper labels and ARIA attributes. This not only improves usability but also reduces chances of display issues for users relying on assistive technologies.
- Backup before making major changes: Always create a backup of your website before applying significant updates or customizations. This way, you can restore to a working state if something goes wrong.
- Monitor your site’s performance: Use tools like Google Search Console or performance plugins to identify issues that might affect frontend display, including hidden elements or CSS conflicts.
- Document your fixes: Keep a record of what changes you’ve made to resolve checkbox issues. This documentation makes troubleshooting easier in the future and helps you quickly revert if needed.
By following these tips, you’ll create a more stable environment where checkboxes and other form elements stay visible and functional, providing a better experience for your visitors and reducing the chances of encountering similar issues down the line.
Conclusion and Final Recommendations
Resolving the issue of checkboxes not appearing in Ultimate Addons for WordPress can significantly improve your website’s user experience and functionality. By following the troubleshooting steps outlined earlier—such as verifying plugin and theme compatibility, clearing caches, checking for JavaScript conflicts, and ensuring proper shortcode usage—you can identify and fix the root cause efficiently.
Here are some key final recommendations to keep in mind:
- Always back up your website before making significant changes or updates to prevent data loss.
- Update all plugins, themes, and WordPress core to their latest versions to ensure compatibility and security.
- Use a staging environment to test fixes without affecting your live site.
- Review plugin documentation and support forums regularly for known issues and solutions.
- Consider reaching out to the plugin developer if problems persist, providing detailed information about the issue and any troubleshooting steps you’ve taken.
By maintaining a proactive approach and keeping your site components up to date, you can minimize future issues and ensure that your checkboxes and other elements work seamlessly with Ultimate Addons for WordPress. Remember, patience and systematic troubleshooting are key to resolving plugin conflicts effectively.