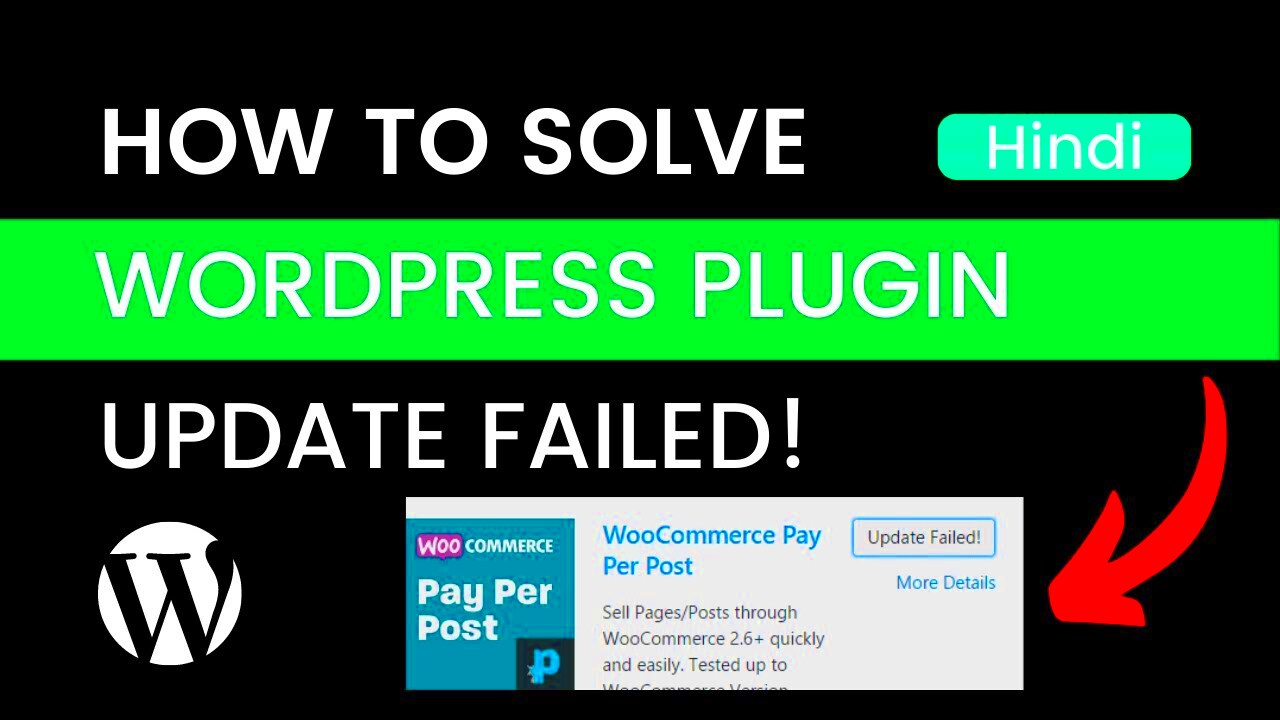
Experiencing ‘Update Failed’ errors while trying to update your WordPress plugins can be quite frustrating. Don’t worry, though; you’re not alone! These errors can pop up for a variety of reasons, but understanding their causes can take you one step closer to a solution. In this post, we’ll explore the common triggers behind this issue and provide you with practical steps to fix them. Whether you’re a seasoned developer or a casual website owner, you’ll find useful insights to get your plugins back in shape!
Common Causes of ‘Update Failed’ Errors

When you encounter an ‘Update Failed’ error, it usually boils down to a few common culprits. Let’s dig into these causes, shall we?
- 1. Insufficient Permissions: Sometimes, the file permissions on your server can prevent WordPress from writing to the plugin files. If the user running WordPress doesn’t have the required permissions, you’ll see that pesky error.
- 2. Maintenance Mode: If WordPress thinks it’s in maintenance mode, it might block updates from going through. This is often a remnant from a previous update that didn’t complete properly.
- 3. Conflicts with Other Plugins: Some plugins don’t play well with others. If two plugins are trying to access the same resource simultaneously, this can lead to conflicts and result in failed updates.
- 4. Memory Limit Issues: If your WordPress site exceeds its PHP memory limit during an update, it might fail. This can happen if you’re using resource-intensive plugins.
- 5. Outdated WordPress Version: If your WordPress core itself is outdated, you might run into compatibility issues when trying to update plugins.
- 6. Server Configuration: Sometimes, web hosting settings, like mod_security rules or firewall configurations, can block updates from happening.
Understanding these common issues can help you troubleshoot effectively. Keep an eye out for them as you work to resolve your ‘Update Failed’ errors!
Checking Your Internet Connection

Before diving deep into troubleshooting your WordPress plugin issues, it’s fundamental to start with the basics—your internet connection. A stable and reliable internet connection is crucial when you’re installing or updating plugins. Otherwise, you might run into pesky ‘Update Failed’ errors that can hinder your workflow.
Here are a few steps to check your internet connection:
- Check Your Wi-Fi Signal: Make sure your device is connected to a network with a strong signal.
- Try a Different Device: If possible, use another device to see if the internet is functioning well. This can help you pinpoint if the issue is with your connection or your WordPress site.
- Run a Speed Test: Tools like Speedtest.net can help you measure your Internet speed. If your connection is slow, it could be causing the update issues.
- Restart Your Router: Sometimes, giving your router a quick restart can resolve many connectivity issues.
- Contact Your ISP: If you’re still struggling, it might be worth reaching out to your Internet Service Provider to diagnose any potential issues on their end.
Remember, even if you have a decent internet package, factors like network congestion, damaged cables, or even software settings can impact performance. So take a little time to ensure your connection is stable to avoid frustrating plugin update failures!
Ensuring Sufficient Server Resources

After confirming your internet connection is up to par, let’s turn our focus to your server resources. Think of your server as the engine that powers your WordPress site. If it’s running low on resources like memory or CPU, it can lead to errors, including those frustrating ‘Update Failed’ warnings.
Here’s how to ensure your server has the necessary resources:
- Check Your Hosting Plan: Review your hosting plan specifications. If you’re on a shared hosting plan, you may be limited in resources compared to VPS or dedicated hosting.
- Monitor Resource Usage: Use tools such as the hosting control panel or plugins like Query Monitor to keep an eye on PHP memory usage and server load.
- Optimize Your Site: Make sure to remove any unnecessary plugins or themes. Too many plugins can hog resources, leading to sluggish performance.
- Upgrade Your Plan: If your resource needs exceed what your current plan offers, consider upgrading or switching hosting providers that can accommodate your site’s growth!
- Enable Caching: Implementing caching solutions like WP Super Cache can help reduce server load by serving static files to visitors.
Ensuring your server has ample resources can often solve many of the update issues that pop up, giving you a smoother experience when managing your WordPress plugins. A little diligence here can save you a lot of hassle in the long run!
Disabling Plugins and Themes

One effective way to tackle the pesky ‘Update Failed’ error in WordPress is by disabling your plugins and themes. Sometimes, these components can conflict with one another, especially after updates. This step can help you pinpoint whether the issue lies within a specific plugin or theme.
Here’s how you can disable your plugins:
- Access Your WordPress Dashboard: Log in to your WordPress admin panel.
- Navigate to Plugins: From the left sidebar, click on “Plugins.”
- Deactivate All Plugins: Select all plugins by checking the box next to “Plugin.” Then, from the “Bulk Actions” dropdown, choose “Deactivate” and hit “Apply.”
After doing this, try updating your plugins again. If the update succeeds, you can reactivate your plugins one by one, ensuring you find the culprit.
Now, what about your theme? Sometimes, the active theme might also cause conflicts. To troubleshoot this:
- Go to Appearance: Click on “Appearance” in your dashboard menu.
- Activate a Default Theme: Select a default WordPress theme, like “Twenty Twenty-One,” and activate it.
Once you’ve switched to a default theme and reattempted the update, you can switch back to your original theme if the update is successful. Make sure to always keep your themes and plugins updated to avoid these issues!
Increasing Memory Limit in WordPress
Another common fix for the ‘Update Failed’ error is increasing the PHP memory limit allocated to your WordPress site. The default memory limit is often not enough for larger sites or resource-heavy plugins. If you suspect this could be the problem, here’s how you can increase it!
There are several approaches to increase the memory limit, and you can choose one based on your comfort level:
- Editing the wp-config.php File:
- Access your WordPress files via FTP or your hosting file manager.
- Locate the
wp-config.phpfile in the root directory. - Add the following line before the
/* That’s all, stop editing! Happy blogging. */comment:
define( 'WP_MEMORY_LIMIT', '256M' );
- Editing the php.ini File:
- If you have access to your server’s php.ini file, find and modify the following line:
memory_limit = 256M
- Contact Your Hosting Provider:
- If you’re uncomfortable making these changes yourself, or if the above methods don’t work, consider contacting your hosting provider. They can often increase the memory limit for you.
Once you’ve increased the memory limit, try updating the plugin again. This simple change could solve your ‘Update Failed’ issue and keep your WordPress site running smoothly!
7. Manually Updating Plugins via FTP
Sometimes, you may encounter an ‘Update Failed’ error when trying to update a WordPress plugin through the dashboard. If you’re facing this issue, one of the more reliable methods to resolve it is by manually updating the plugin via FTP (File Transfer Protocol). This method isn’t as daunting as it sounds and can save you a lot of headaches.
Here’s a step-by-step guide on how to manually update your plugins via FTP:
- Get Your FTP Credentials: First, you need FTP access. Obtain your FTP credentials from your hosting provider, which typically includes the server address, username, password, and port number.
- Choose an FTP Client: Download an FTP client such as FileZilla or WinSCP. These tools are easy to use and will help you connect to your server.
- Connect to Your Server: Launch your FTP client and enter your FTP credentials. Once connected, navigate to the root directory of your WordPress installation, usually found in the ‘public_html’ folder.
- Access the Plugins Directory: From the root directory, go to
wp-content/plugins. This folder contains all your installed plugins. - Upload the New Plugin Version: Download the latest version of the plugin you want to update from the official WordPress Plugin Repository. Unzip it, and then drag the entire plugin folder into the
pluginsdirectory in your FTP client. Overwrite the existing folder when prompted. - Check Your WordPress Admin: After the upload is complete, log in to your WordPress dashboard and ensure that the plugin has been updated correctly without any errors.
Using FTP may seem a bit technical, but it’s a powerful way to solve plugin update issues and keep your website running smoothly.
8. Fixing File Permissions Issues
File permissions are crucial for the security and functionality of your WordPress site. If your WordPress plugins fail to update, it might be because of incorrect file permissions preventing the update process. Understanding and correcting these permissions can resolve your ‘Update Failed’ errors quiteEffectively.
WordPress relies on a specific set of permissions to function properly. Here’s a quick overview:
| Type of File/Folder | Recommended Permission |
|---|---|
| Directories/Folders | 755 |
| Files | 644 |
| wp-config.php | 440 or 400 |
To check and fix file permissions, follow these steps:
- Connect via FTP: Use your FTP client to connect to your server, just like when manually updating plugins.
- Navigate to the WordPress Directory: Go to the root directory of your WordPress installation.
- Check Permissions: Right-click on a folder or file and select “File Permissions.” Here, you’ll see the current settings.
- Adjust Permissions: If you notice any incorrect permissions (e.g., directories set to 777 or files set to 666), change them to the recommended values. Be cautious not to overly open permissions, as it can expose your site to vulnerabilities.
- Test Your Site: Once you’ve made adjustments, try updating your plugins again through the WordPress dashboard. Hopefully, everything will now work smoothly!
Fixing file permissions is a critical step in troubleshooting ‘Update Failed’ errors, ensuring that your WordPress site remains secure and fully functional.
Contacting Your Hosting Provider
When you’ve gone through the usual troubleshooting steps and you’ve still found yourself staring at that pesky ‘Update Failed’ error, it might be time to reach out to your hosting provider. While it may seem like a last resort, your hosting service can often provide insights and solutions that you might not have considered. Here’s how to approach them effectively:
- Gather Information: Before you hit the ‘Contact Us’ button, collect all relevant details. Note down the error message, the plugins you were trying to update, and any troubleshooting steps you have already taken. This will save time and help the support team assist you better.
- Choose the Right Channel: Most hosting providers offer various channels for support, such as live chat, email, or phone support. Select the one that fits your urgency and comfort level the best. For immediate issues, live chat or phone support can be particularly effective.
- Be Clear and Concise: When you explain your issue, be clear about what’s happening. Avoid jargon unless you’re confident they understand it. A simple, direct description will get your point across without unnecessary confusion.
- Ask Specific Questions: Instead of just stating that you’re facing an update error, ask specific questions like “Could there be server permission issues?” or “Are there any restrictions in place affecting plugin updates?” This encourages the support team to dig deeper.
Remember to be patient, as some problems may require your hosting provider to check server settings or configurations. A good hosting provider will not only help you resolve the current issue but might also offer additional suggestions tailored to your website’s needs.
Preventing Future Update Errors
Once you’ve successfully resolved your ‘Update Failed’ error, it’s a good idea to implement some strategies to prevent it from happening again. Here are some proactive steps you can take:
- Regular Backups: Always back up your website, especially before updating plugins. Use reliable backup plugins or services to ensure you can restore your site in case something goes awry during an update.
- Keep WordPress Core Updated: Make sure that your WordPress core is always up-to-date. This provides compatibility with the latest plugins and reduces the chances of update errors. Enable automatic updates if possible.
- Check for Plugin Compatibility: Before updating any plugin, ensure that it is compatible with your current WordPress version. Developers often list compatibility information in the plugin details on the WordPress repository.
- Monitor Server Resources: Keep an eye on your server’s resources (like RAM and PHP limits) especially if you have multiple plugins active. Discuss upgrading your hosting plan with your provider if you find it struggling with resource-intensive plugins.
- Use a Staging Environment: Consider setting up a staging site where you test updates before applying them to your live site. This can help identify potential conflicts without affecting your users.
By following these preventive measures, you can create a more stable and reliable WordPress environment, significantly reducing the chances of future ‘Update Failed’ errors. Your website will not only perform better but will also give you more peace of mind!
Conclusion
Encountering ‘Update Failed’ errors for WordPress plugins can be frustrating, especially if you rely on them for the functionality of your site. However, understanding the causes and implementing the right solutions can help you quickly resolve these issues. Here’s a summarized approach to fixing these errors:
- Check your Internet Connection: Ensure that your server has a stable internet connection to access plugin repositories.
- Increase PHP Memory Limit: Update your wp-config.php file to increase the memory limit. Add:
define('WP_MEMORY_LIMIT', '256M');
By diligently following the steps outlined above, including checking for conflicts, ensuring sufficient resources, and updating necessary components, you can swiftly fix ‘Update Failed’ errors. A proactive maintenance strategy, including regular backups and updates, can also help prevent future occurrences of these issues.


