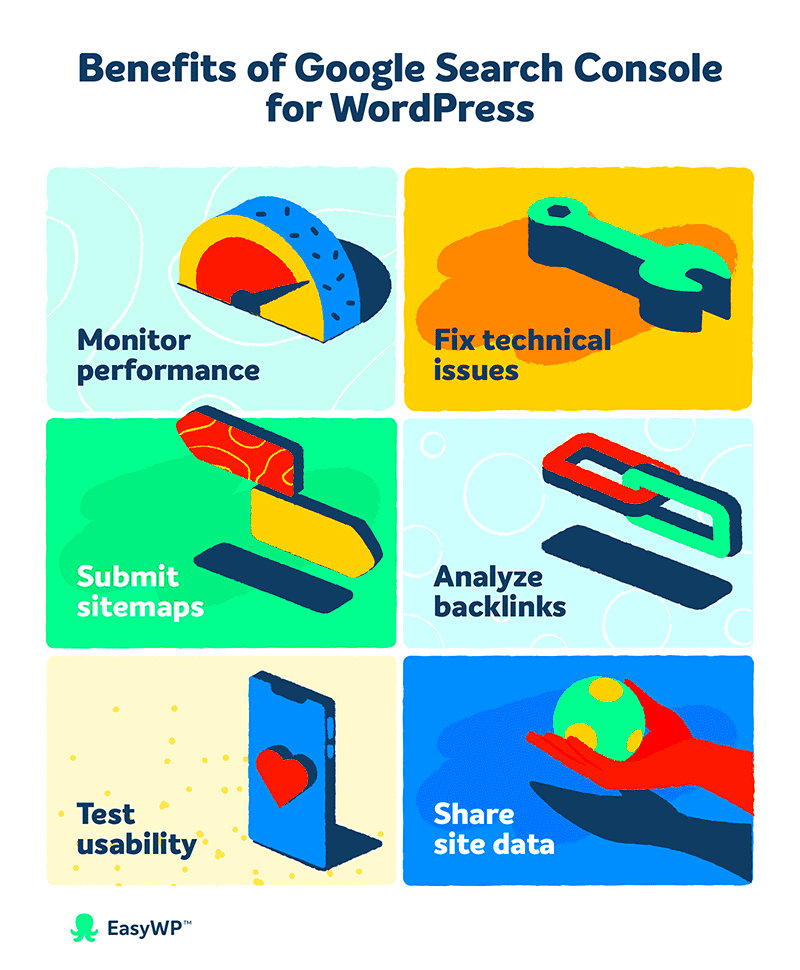
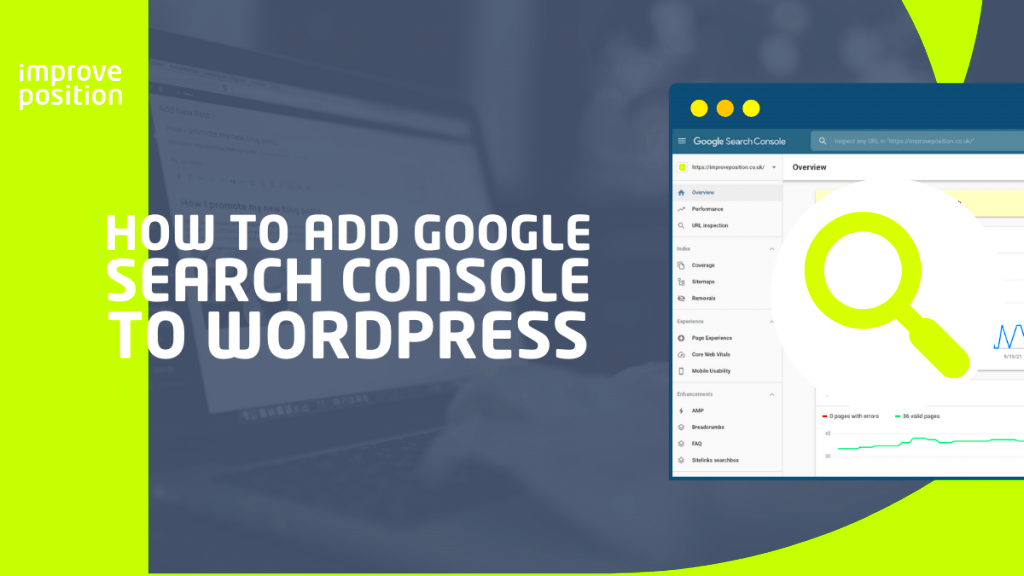
Google Search Console is a powerful, free tool offered by Google that helps website owners monitor, maintain, and troubleshoot their site’s presence in Google Search results. For anyone running a WordPress site, understanding how to leverage this tool can be a game-changer for your SEO strategy. With Google Search Console, you can check how well your site is performing, identify issues that may affect visibility, and understand how visitors are finding your content. It’s user-friendly and packed with valuable insights—perfect for beginners and experienced webmasters alike.
Setting Up Google Search Console for Your WordPress Site

Ready to dive into the world of Google Search Console? Setting it up for your WordPress site is straightforward! Follow these easy steps to connect your site and start optimizing:
- Sign in to Google Search Console: If you don’t have a Google account, create one. Once you’re signed in, go to the Google Search Console homepage.
- Add Your Property: Click on the “Add Property” button. You’ll be prompted to enter your website’s URL. Make sure to choose the correct protocol (http or https) as per your site.
- Verify Ownership: There are several verification methods:
- HTML file upload: Download a verification file and upload it to your site.
- HTML tag: Add a meta tag in the header of your website.
- Google Analytics: If you’re using Google Analytics, you can verify through that as well.
- Submit Your Sitemap: A sitemap helps Google understand the structure of your site. Use a plugin like Yoast SEO or Google XML Sitemaps to generate a sitemap, and then submit it in the “Sitemaps” section of Google Search Console.
- Explore the Dashboard: Familiarize yourself with the different features, including Performance, Coverage, and Enhancements. This is where the magic happens!
And there you have it! With just a few steps, your WordPress site is now linked with Google Search Console. Start monitoring your site’s performance and watch your SEO efforts improve!
Understanding the Google Search Console Dashboard
When you first log into Google Search Console, you’re greeted by a wealth of information presented in a straightforward, user-friendly dashboard. This dashboard serves as your command center for managing and understanding how your website is performing in Google’s search results. Let’s break down its key components:
- Overview Section: Here, you’ll find a snapshot of your website’s performance, including total impressions and clicks over a given time period. This gives you a great starting point to understand how your site is faring in search results.
- Performance Report: Clicking on this will take you deeper into specific metrics like your average position on Google, clicks per query, and click-through rate (CTR). We’ll dive deeper into this in the next section!
- Coverage Report: This section highlights any indexing issues Google may have encountered. You’ll see a list of URLs that were indexed, as well as any errors that need addressing. It’s crucial for ensuring your pages are discoverable.
- Mobile Usability: Given how many people browse the web via their mobile devices, this report shows how your site performs on mobile and highlights any issues that could hinder user experience.
- Enhancements: This area focuses on additional features such as rich results and Core Web Vitals, which measure aspects of loading performance, interactivity, and visual stability.
By familiarizing yourself with these components, you’ll be able to identify strengths and weaknesses in your WordPress site’s SEO strategy, paving the way for actionable improvements.
Using Performance Reports to Analyze Your SEO
The performance reports in Google Search Console are incredibly powerful tools for analyzing your website’s SEO. They offer valuable insights into how your site is performing in search results and help you make data-driven decisions. Here’s how you can use these reports effectively:
- Total Clicks: This metric indicates how many times users clicked on your site in the search results. A high click number suggests your content is appealing and relevant.
- Total Impressions: This shows how many times your site appeared in search results. Monitoring impressions can help you understand if your SEO efforts are increasing visibility.
- Click-Through Rate (CTR): Calculated as clicks divided by impressions, CTR is crucial for gauging engagement. A low CTR might suggest your meta descriptions or titles need optimization.
- Search Queries: Delve into the queries that led users to your site. This information allows you to understand what topics resonate with your audience and can guide future content creation.
- Average Position: This metric indicates where your pages typically rank for different search queries. Tracking changes in this number can help you evaluate the effectiveness of your SEO strategies.
To get the most out of performance reports, consider using them regularly—at least once a month. By analyzing trends over time, you can tweak your SEO strategy based on what’s working and what isn’t. For instance, if you notice a drop in clicks, it might be time to revise your content, improve your keywords, or enhance your meta tags. The real power of Google Search Console lies in its ability to provide actionable insights, so take full advantage!
Improving Indexing with URL Inspection Tool
The URL Inspection Tool in Google Search Console is an incredibly useful feature for webmasters and bloggers looking to enhance their WordPress site’s SEO performance. This tool allows you to check how Google views a specific URL on your site. Here’s how you can utilize it to improve indexing:
- Check Indexing Status: Simply enter the URL you want to inspect, and the tool will let you know if it’s indexed or not. If it’s not indexed, don’t panic; the tool may also offer insights into why.
- View Enhancements: The inspection tool shows whether your URL has mobile usability issues, structured data problems, or other aspects that might hinder SEO. Addressing these can help improve your site’s overall performance.
- Submit for Indexing: If you’ve made changes to a page or a new post and want it to appear on Google, you can use the “Request Indexing” feature. This can help speed up the process of getting your content seen by the audience.
- Analyze Resource Loading: The tool also displays which resources Google could access on your page. If some internal scripts or styles are missing or blocked, it may lead to indexing issues.
By regularly using the URL Inspection Tool, you can ensure that your pages are being properly indexed by Google and that any issues are promptly addressed, leading to better visibility in search results.
Identifying and Fixing Crawl Errors
Crawl errors can be detrimental to your website’s SEO, causing your pages to be overlooked by search engine bots. Google Search Console provides detailed reports that help you identify and fix these errors efficiently. Here’s how to go about it:
- Access Crawl Errors Report: In your Search Console, navigate to the “Coverage” section. This report will show you a list of URLs that Google encountered issues with, categorized into errors, valid with warnings, and valid.
- Understand Common Errors: There are several types of crawl errors, including:
- 404 Errors: Page not found. This usually occurs when a URL was deleted or updated.
- Server Errors: Issues with your hosting provider can lead to this type of error.
- Redirect Errors: Issues with redirects can confuse crawlers and affect user experience.
- Fix the Issues: For 404 errors, you might want to create 301 redirects to direct traffic to a relevant page. For server errors, contacting your host for support can often resolve the issue.
- Resubmit Fixed URLs: Once you’ve addressed the errors, return to the “Coverage” section and select “Validate Fix” to inform Google that the issues have been resolved.
Regularly checking for crawl errors and promptly fixing them is essential for maintaining a strong SEO presence. By ensuring that your site is easily crawlable, you’ll help improve your visibility in search results and provide a better experience for your users.
Optimizing Your Sitemap Submission
Submitting your sitemap to Google Search Console is a crucial step in ensuring that your WordPress site is indexed correctly. Your sitemap serves as a roadmap for search engines, helping them navigate your content more efficiently. So, how can you optimize this process for better SEO results? Let’s break it down!
- Generate an XML Sitemap: First, you need to create an XML sitemap. If you’re using a popular SEO plugin like Yoast SEO or All in One SEO, don’t worry! They do this automatically. Just check the settings to ensure your sitemap is active.
- Submit Your Sitemap: Go to Google Search Console, select your property, and navigate to the “Sitemaps” section. Enter the URL of your sitemap (usually something like
https://yoursite.com/sitemap.xml) and click “Submit.” - Monitor Submission Status: After submission, check the status for any errors. Google will show you how many URLs were submitted and how many were indexed. Aim for a low error count!
- Update Your Sitemap Regularly: As you add more content, remember to update your sitemap. Most SEO plugins will do this automatically, but it’s good to check periodically.
- Check for Redundant URLs: Ensure that your sitemap doesn’t have duplicate or broken URLs. This can confuse search engines and affect your SEO.
By keeping your sitemap optimized and up-to-date, you’ll help search engines crawl your WordPress site more effectively, leading to improved visibility in search results. Remember, a well-structured sitemap can be your secret weapon in the competitive world of SEO!
Using the Coverage Report for Better Visibility
The Coverage Report in Google Search Console is like having a backstage pass to how Google views your website. This valuable tool gives you insights into how well your pages are being indexed, which can significantly impact your WordPress site’s visibility on search engines. Let’s explore how you can leverage this report!
- Understand the Report Sections: The Coverage Report contains several key components:
- Errors: Pages that couldn’t be indexed.
- Valid with warnings: Pages indexed but may have issues.
- Valid: Pages successfully indexed.
- Excluded: Pages that Google chose not to index.
- Identify Errors: Click on the “Errors” tab to check which pages have issues. Common errors include 404s (page not found) or redirect issues. Fixing these can dramatically enhance your website’s performance.
- Validate Fixes: After making corrections, return to the Coverage Report and use the “Validate Fix” option. This tells Google to re-evaluate your changes.
- Monitor Warnings: Pay attention to pages marked as “Valid with warnings.” While they are indexed, they may still detract from your SEO efforts if not addressed.
- Review Excluded Pages: Sometimes, you may want pages to be excluded (like thank-you pages). But for any unexpected exclusions, investigate why they weren’t indexed, and make necessary adjustments.
By actively using the Coverage Report, you can ensure your WordPress site is well-optimized for search engines. Regularly monitoring this report puts you in a strong position to identify potential issues before they affect your site’s visibility. Remember, it’s all about keeping your digital house in order for the best SEO results!
Leveraging Mobile Usability Reports for Enhanced User Experience
In today’s digital world, having a mobile-friendly website is essential, especially for WordPress users looking to boost their SEO. Google Search Console provides a valuable tool known as Mobile Usability Reports. These reports help assess how well your site performs on mobile devices, giving you insights into any issues that could affect user experience.
So, how can you leverage these reports to improve your SEO and user experience? Here’s a simple breakdown:
- Accessing Mobile Usability Reports: Log into your Google Search Console account, navigate to the “Mobile Usability” section under the “Enhancements” tab. Here, you’ll find an overview of mobile usability issues affecting your site.
- Identifying Issues: The report details any problems users might face, such as clickable elements being too close together or text being too small to read. Pay attention to the numbers; they represent how many users might be struggling with these issues.
- Prioritizing Fixes: Not all issues are created equal. Focus on resolving the problems that impact the most users first. For example, if many users are having trouble clicking buttons, fixing their spacing should take priority.
- Testing Changes: After making updates to your site, return to the Mobile Usability Report. Run tests to ensure the changes you’ve made have resolved the issues recognized by Google.
- Continuous Monitoring: Mobile usability should not be a one-time effort. Regularly check these reports to stay on top of new issues that may arise as you update your site or add new content.
By utilizing Mobile Usability Reports effectively, you can greatly enhance the user experience on your WordPress site, leading to lower bounce rates and improved SEO rankings.
Monitoring Backlinks and Internal Linking Structure
When it comes to SEO, links are one of the most crucial elements to consider. Backlinks (links from other sites pointing to yours) and internal links (links within your site) both play significant roles in how Google perceives your site’s authority and relevance. Luckily, Google Search Console can assist you in monitoring both, ensuring you get the most out of your linking strategy.
Here’s how you can effectively monitor backlinks and your internal linking structure:
- Examine Backlinks: Under the “Links” section of Google Search Console, you can find a comprehensive list of sites linking to yours. Knowing who’s linking to you can help you assess the quality of those links, which is vital for your authority.
- Analyze Internal Links: Evaluate your internal linking strategy. Good internal links guide visitors through your site and improve SEO. Identify which pages have the most internal links and determine if they align with your SEO goals.
- Disavow Toxic Backlinks: If you notice low-quality or spammy backlinks pointing to your site, consider using the disavow tool. This prevents Google from counting these links against your site, protecting your rankings.
- Identify Link Opportunities: Use your backlink report to find websites that might benefit from your content. You can reach out for guest blogging or partnership opportunities, potentially gaining valuable backlinks.
By continuously monitoring your backlinks and internal linking structure, you’ll not only improve your site’s authority but also enhance user navigation and overall SEO performance. Remember, a well-planned linking strategy is a cornerstone of effective WordPress SEO!
11. Best Practices for Regularly Checking Google Search Console
Using Google Search Console (GSC) isn’t just a one-and-done activity; it’s something you want to incorporate into your regular workflow. Regular checks are essential for keeping tabs on your website’s performance, identifying and fixing issues, and optimizing your content for better visibility in search results. So, how often should you check GSC, and what should you be looking for? Let’s break it down!
Frequency: Aim to check your Google Search Console at least once a month. However, if you’re running an active site—like a blog or e-commerce store—you might want to log in weekly. This allows you to catch any changes or issues that could affect your SEO efforts more quickly.
Key Areas to Focus On:
- Performance Reports: Analyze clicks, impressions, and average positions for your keywords. Look for trends and see which pages are performing well versus those that need improvement.
- Index Coverage: Check for any indexing issues. If pages are excluded from indexing, it’s important to resolve that to ensure your content is visible in search results.
- Core Web Vitals: Focus on user experience metrics. If your site is slow or not mobile-friendly, it might affect your rankings.
- Mobile Usability: With more users accessing websites via mobile, ensure your site performs well across all devices.
- Security & Manual Actions: Regularly verify that there are no security threats or manual penalties imposed by Google.
By making Google Search Console a routine part of your digital marketing strategy, you’re setting the stage for consistent SEO improvement!
12. Conclusion: Continuous Improvement for Better SEO
Improving your WordPress SEO is not just about optimization; it’s a continuous journey that evolves alongside your content, your audience, and, of course, search engine algorithms. Google Search Console acts as an invaluable tool in this journey, offering insights and data that empower you to make informed decisions.
Here’s a quick recap of the vital points:
- Regular Checks: Make GSC a part of your monthly (or weekly!) routine.
- Monitor Key Metrics: Focus on performance, index coverage, and core web vitals.
- Act on Insights: Don’t just look—take action based on the data to improve your site.
- Stay Updated: SEO isn’t static. Keep learning and adapting to new trends and algorithm updates.
In conclusion, think of your SEO strategy as a living organism—it requires attention, analysis, and adjustments to thrive. By leveraging the power of Google Search Console, you can enhance your website’s visibility, draw more organic traffic, and ultimately achieve your digital goals. Remember, the magic happens when you combine your insights with strategic actions. Happy optimizing!


