Are you ready to dive into the world of building beautiful websites? Let’s talk about two powerful tools you can use: Bootstrap and WordPress. Bootstrap is a popular front-end framework that helps you create responsive websites faster and easier. On the other hand, WordPress is the renowned content management system (CMS) that powers over 40% of the internet. When you combine these two, you get the perfect mix for a stylish and functional website. In the next sections, we’ll explore why Bootstrap is an excellent choice for your
Why Choose Bootstrap for Your WordPress Theme?
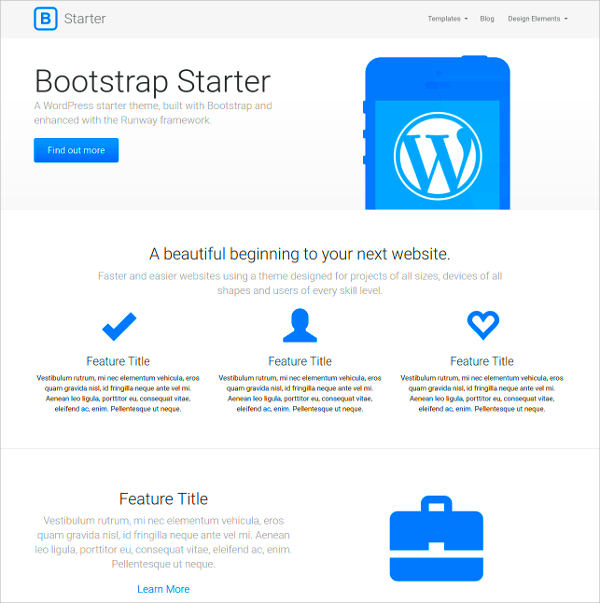
When it comes to building a WordPress theme, Bootstrap offers a wealth of advantages that can’t be ignored. Here are some compelling reasons why you should consider using Bootstrap for your next WordPress project:
- Responsive Design: Bootstrap is built with a responsive grid system that adjusts seamlessly across all devices. Your website will look great on desktops, tablets, and smartphones!
- Easy Customization: With a variety of pre-styled components like buttons, forms, and navigation bars, setting up your theme becomes a breeze. You can tweak these components to fit your style without starting from scratch.
- Wide Community Support: Given its popularity, Bootstrap has a vast community of developers. You’ll find tons of resources, tutorials, and forums to help you along the way.
- Fast Loading Times: Bootstrap’s lightweight structure ensures that your website loads quickly, enhancing user experience and improving SEO performance.
- Consistent UI Elements: Using Bootstrap means maintaining a consistent look and feel across your website. This professionalism can improve user trust and engagement.
In summary, Bootstrap is not just another framework; it’s a game-changer for WordPress themes. It provides both functionality and aesthetics, making it a top choice for web developers and designers alike. So why wait? Let’s get started on creating a stunning website!
Prerequisites for Setting Up Bootstrap in WordPress
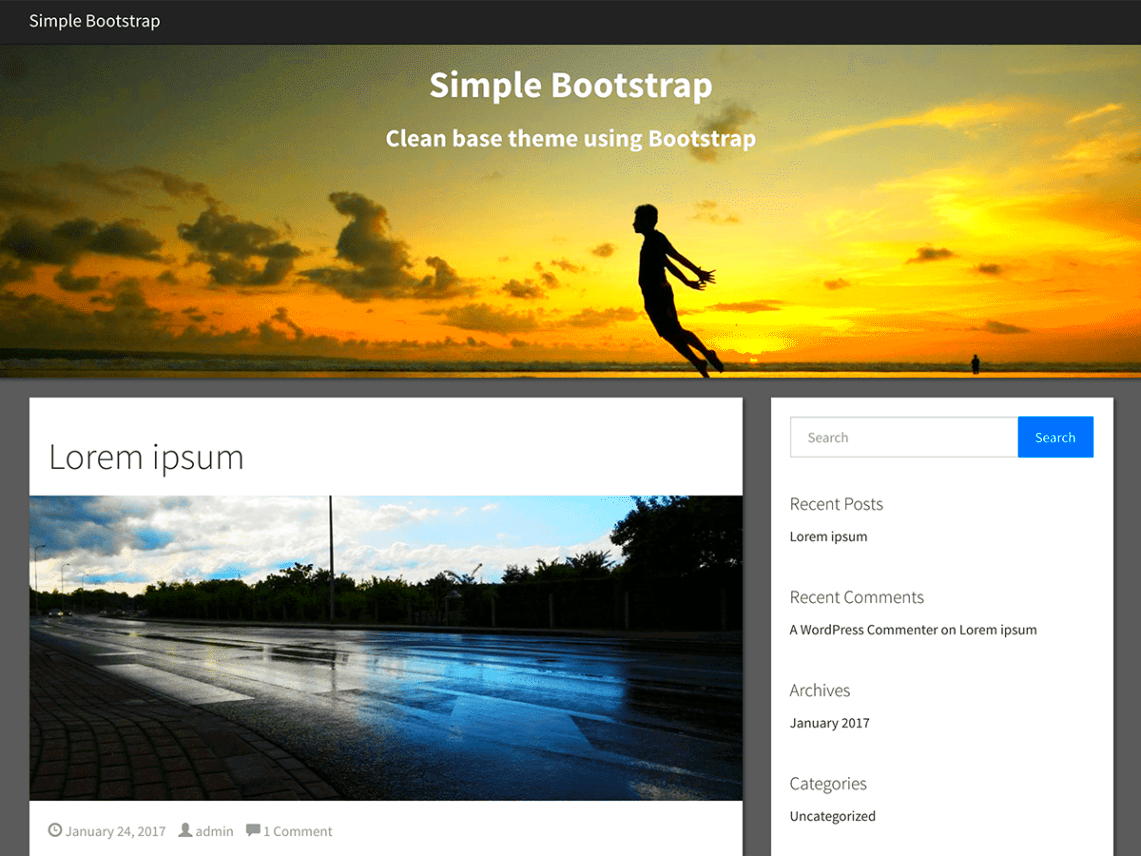
Before diving into the world of Bootstrap and WordPress, it’s essential to ensure you have a few things in place. These prerequisites will set you up for success and help avoid any hiccups during the installation process. Here’s what you need:
- Basic Understanding of WordPress: Familiarity with WordPress is crucial. You should know how to navigate the dashboard, install themes and plugins, and edit posts and pages.
- Access to Your WordPress Site: Make sure you have admin access to your WordPress site. This allows you to install and customize themes and plugins without restriction.
- Knowledge of HTML, CSS, and PHP: While you don’t need to be a coding expert, a basic understanding of HTML and CSS will help you customize your Bootstrap theme effectively. Knowing some PHP can also help when you deal with WordPress functions.
- Bootstrap Files: Download the Bootstrap files from the official Bootstrap website. You can opt for the compiled CSS and JS files or the source files if you’re planning to make custom modifications.
- A Backup Solution: Always back up your site before making significant changes, like installing a new theme. Consider using a plugin like UpdraftPlus for easy backups.
- Child Theme (Optional): If you plan to customize the Bootstrap theme further, it’s wise to create a child theme. This helps in preserving your changes when the parent theme gets updated.
By ensuring you have these prerequisites covered, you’ll find the process of setting up Bootstrap in WordPress to be a breeze!
Installing and Activating Bootstrap in Your WordPress Site
Now that you have done your homework, it’s time for the fun part: installing and activating Bootstrap in your WordPress site. Follow these steps, and you’ll have it up and running in no time:
- Download Bootstrap: Visit the Bootstrap website and download the latest version of the framework. You can choose the compiled CSS and JS option for ease of use.
- Create a Custom Theme Folder: Using an FTP client or your web host’s file manager, navigate to
wp-content/themes/and create a new folder for your Bootstrap theme, e.g.,my-bootstrap-theme. - Add Necessary Files: Move your downloaded Bootstrap files into your newly created theme folder. You’ll typically need the
cssandjsfolders along with astyle.cssfile, which includes theme details. - Set Up style.css: In the
style.cssfile, add the following information at the top: - Activate Your Theme: Log into your WordPress dashboard, navigate to
Appearance > Themes, and you should see your newly created theme in the list. Click on Activate. - Enqueue Bootstrap in functions.php: Create a
functions.phpfile in your theme folder and enqueue the Bootstrap CSS and JS files. Here’s a sample code snippet to get you started: - Check Your Site: Head over to your website and take a look. You should see the basic Bootstrap styles applied. Time for some customization!
| Parameter | Details |
|---|---|
| Theme Name | My Bootstrap Theme |
| Author | Your Name |
| Description | A theme built with Bootstrap for a stylish website. |
| Version | 1.0 |
function my_theme_enqueue_scripts() { wp_enqueue_style('bootstrap-css', get_template_directory_uri() . '/css/bootstrap.min.css'); wp_enqueue_script('bootstrap-js', get_template_directory_uri() . '/js/bootstrap.bundle.min.js', array('jquery'), null, true);}add_action('wp_enqueue_scripts', 'my_theme_enqueue_scripts'); With these simple steps, you’ve successfully installed and activated Bootstrap on your WordPress site. Now it’s time to unleash your creativity and start building a stylish website tailored to your needs!
Creating a Child Theme for Customization
Creating a child theme in WordPress is like crafting your own custom outfit while keeping the original ensemble intact. This approach lets you personalize your theme without losing updates, ensuring your site remains stylish and functional.
Here’s how to create a child theme for Bootstrap:
- Access Your Theme Folder: Using an FTP client or File Manager in your hosting dashboard, navigate to the
/wp-content/themes/directory. - Create a Child Theme Directory: In the
themesfolder, create a new folder for your child theme. You can name it something likebootstrap-child. - Create a style.css File: Inside your child theme folder, create a
style.cssfile with the following information:
/*Theme Name: Bootstrap ChildTemplate: bootstrapVersion: 1.0*/
This code tells WordPress that this is a child theme of the Bootstrap theme.
- Create a functions.php File: Next, create a
functions.phpfile in the same folder. Add this code to enqueue the parent theme styles:
With this setup, your child theme will inherit the styling of the parent Bootstrap theme. This way, any changes you make in the child theme’s CSS won’t be overwritten when the parent theme gets updated.
Once you’ve completed these steps, you can activate your child theme from the WordPress dashboard under Appearance > Themes. Now you’re ready to customize!
Basic Structure of a Bootstrap Theme in WordPress
Creating a Bootstrap theme in WordPress gives your website a fresh and modern look. Understanding the basic structure is crucial for effective development. Let’s break it down:
| File/Directory | Description |
|---|---|
style.css |
The main stylesheet that controls the visual layout of the theme. |
index.php |
The main template file for your theme, it serves as the homepage and primary structure. |
header.php |
Contains the top part of your site, including the header elements and navigation. |
footer.php |
This file is where you’ll add your site’s footer information. |
functions.php |
Handles the backend code, including custom functions and theme features. |
single.php |
This template is for individual blog posts, maintaining a consistent layout. |
page.php |
Allows you to create custom layouts for static pages. |
404.php |
The template displayed when a page isn’t found on your site. |
Here’s a simple workflow to set up your Bootstrap structure within these files:
- Start by integrating the Bootstrap CSS framework in your
style.css. - Use
header.phpto include Bootstrap’s navigation bar for a responsive design. - The
footer.phpcan utilize Bootstrap’s grid system for widget areas, keeping everything visually appealing. - Leverage
functions.phpto register custom menus and support shortcodes, enhancing the functionality of your theme.
By understanding this basic structure, you’ll be well on your way to creating a stunning, Bootstrap-based WordPress theme. Get creative and customize—it’s your website after all!
7. Implementing Bootstrap Components into Your Theme
Once you’ve got your Bootstrap basic theme set up in WordPress, the next exciting step is implementing the various Bootstrap components. These components are pre-designed elements that can enhance your site’s aesthetics and usability without needing extensive coding knowledge. With Bootstrap, you have a treasure trove of options: from modals and alerts to buttons and carousels.
To get started, follow these steps:
- Choose Your Components: Head over to the Bootstrap documentation to explore the available components. Consider which elements would best serve your site’s functionality and design.
- Integrate HTML Markup: For each component, copy the HTML markup provided in the documentation. It’s as simple as that! Paste this code into the respective template files of your theme, such as
header.php,footer.php, orpage.php. - Add Customization: Don’t forget to customize the Bootstrap classes according to your design needs. You might want to adjust button colors or the size of your carousel—Bootstrap gives you the flexibility to make adjustments easily.
It’s also important to note that Bootstrap components rely on jQuery and JavaScript for their interactive features. Make sure to enqueue these scripts properly in your theme’s functions.php file. There’s no need to reinvent the wheel; utilizing these components will not only speed up your development process but also enhance user engagement on your site.
8. Styling Your WordPress Site with Bootstrap
Styling your WordPress site with Bootstrap is where the fun really begins! Bootstrap’s powerful grid system and predefined CSS classes make it feasible to achieve a professional look with minimal effort. Without diving into deep coding waters, you can craft a visually appealing layout that adapts beautifully across devices.
Here’s how to effectively style your site:
- Utilize the Grid System: Bootstrap’s responsive grid system allows you to create fluid layouts. This means you can divide your page into columns that will rearrange beautifully on mobile and tablet screens. For example:
- Implement Custom CSS: While Bootstrap offers a lot of built-in styling options, you may want to add your personal touch. Create a custom CSS file or add styles directly within your theme’s
style.css. This allows you to override Bootstrap’s default styles gracefully. - Use Utility Classes: Bootstrap comes with numerous utility classes for margins, padding, text alignment, and more. They can save you time by not having to write new CSS for every small spacing adjustment.
| Class | Col Width |
|---|---|
| col-md-6 | 50% width on medium devices and above |
| col-sm-12 | 100% width on small devices |
By leveraging Bootstrap’s robust styling capabilities, you’re well on your way to creating a stylish, modern WordPress website that captures the attention of your visitors. With every component and style you implement, remember that the key to a successful website is not just in the looks, but also in how intuitively users can navigate it.
9. Testing and Troubleshooting Your Bootstrap Theme
After successfully setting up your Bootstrap theme in WordPress, it’s time to ensure everything runs smoothly. Testing and troubleshooting your theme is crucial to providing a seamless experience for your visitors.
First, let’s break down the testing process into manageable steps:
- Cross-Browser Compatibility: Test your website on different web browsers like Chrome, Firefox, Safari, and Edge. These browsers can render your theme differently, and you want to ensure that it looks great everywhere.
- Responsive Design: Bootstrap is all about responsiveness. Use your browser’s developer tools (F12 or right-click > Inspect) to check how your site looks on various device sizes. Adjust your elements as necessary to ensure a consistent user experience.
- Functionality Testing: Click around your site! Make sure all links work, forms submit correctly, and any interactive elements behave as expected. If something isn’t functioning right, dig into the JavaScript files linked to those components.
- Loading Speed: Your website’s loading speed greatly affects user experience. Use tools like Google PageSpeed Insights or GTmetrix to analyze your site’s performance and get recommendations for improvement.
If you encounter issues, here are some troubleshooting tips:
| Issue | Solution |
|---|---|
| Layout problems | Check your CSS for conflicting styles that may disrupt the Bootstrap layout. |
| JavaScript errors | Ensure you have included jQuery correctly and that there are no plugin conflicts. |
| Images not loading | Verify the path to your images and ensure they are uploaded correctly in the media library. |
By rigorously testing your Bootstrap theme and troubleshooting any issues, you can provide a polished website that users will love.
10. Conclusion: Enhancing Your Website with Bootstrap and WordPress
Integrating Bootstrap with WordPress is a game changer for anyone looking to create a stylish and functional website. The combination of Bootstrap’s responsive design framework and the powerful content management capabilities of WordPress allows you to build websites that aren’t just visually appealing but also user-friendly and adaptable across devices.
As we wrap up this journey of setting up your Bootstrap basic theme, here are some key takeaways:
- Customization: Bootstrap provides a flexible grid system and a variety of components which you can tailor to meet your site’s unique needs.
- Community Support: Both Bootstrap and WordPress enjoy large communities, meaning you can find numerous resources, tutorials, and forums to help you out.
- Ongoing Updates: By keeping your Bootstrap theme updated, you’ll not only benefit from new features but also maintain security and improve performance.
In essence, utilizing Bootstrap with WordPress gives you the power to enhance your website significantly. Whether you’re a blogger, a business owner, or a creative freelancer, you can create a site that shines, engages visitors, and adapts to their needs. So take the plunge, continue to learn, and let your Bootstrap-infused WordPress site flourish!

