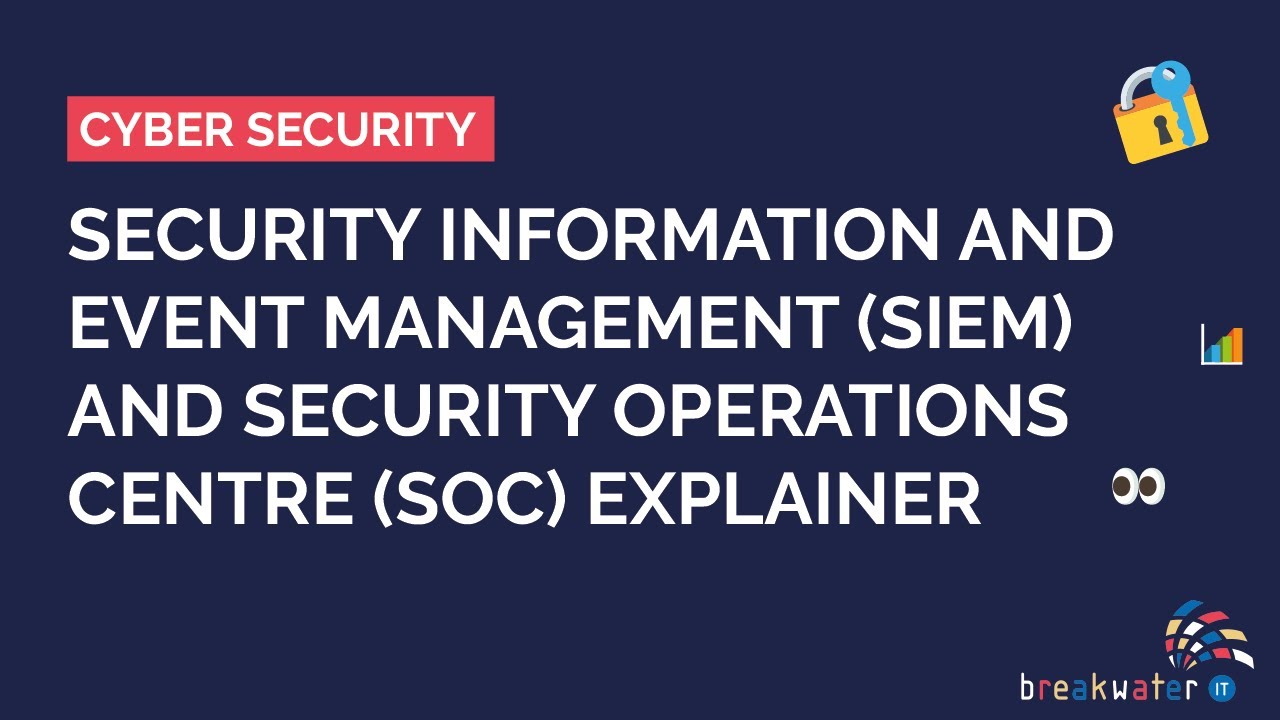
If you’re running a WordPress website, you already know how crucial it is to keep your site safe from hackers, malware, and data breaches. But as your site grows, so does the complexity of managing security. That’s where SIEM—Security Information and Event Management—comes into play. Think of SIEM as your website’s security nerve center, collecting and analyzing logs from different sources to give you a clear picture of what’s happening behind the scenes. Integrating SIEM with WordPress might sound technical, but it’s a game-changer for proactive security. It helps you spot threats early, respond faster, and keep your site running smoothly and securely.
Understanding the Benefits of SIEM Integration for WordPress Security

So, why should you bother integrating SIEM into your WordPress site? Well, the benefits are pretty compelling:
- Real-time Threat Detection: SIEM continuously monitors your website’s logs and activities, alerting you immediately if suspicious behavior is detected. No more waiting for a breach to happen before you notice.
- Centralized Security Management: Instead of juggling multiple security tools, SIEM consolidates data from your WordPress site, server, plugins, and other sources into one dashboard. This makes managing security much simpler and more effective.
- Incident Response and Forensics: When something goes wrong, SIEM provides detailed logs and reports, helping you understand how an attack happened and how to prevent it in the future.
- Compliance Support: For businesses handling sensitive data, SIEM can assist in meeting compliance requirements like GDPR, HIPAA, or PCI DSS by maintaining thorough security logs and reports.
- Reducing False Positives: Modern SIEM solutions use advanced analytics to differentiate between normal activity and genuine threats, so you’re not overwhelmed with alerts.
In a nutshell, integrating SIEM with your WordPress website transforms your security from reactive to proactive. It empowers you with insights, automates threat detection, and ultimately helps you keep your online presence safe and trustworthy.
3. Key Steps to Integrate SIEM with Your WordPress Site
Integrating a SIEM (Security Information and Event Management) system with your WordPress site might sound a bit technical at first, but don’t worry—breaking it down into manageable steps makes the process much smoother. Here’s a simple roadmap to guide you through the key steps:
Step 1: Assess Your Security Needs
Before diving into integration, take a moment to understand what you need from your SIEM. Are you mainly concerned about detecting malicious login attempts, monitoring plugin activity, or tracking server logs? Knowing your priorities helps you choose the right tools and set realistic expectations.
Step 2: Choose a Compatible SIEM Solution
Look for SIEM platforms that can easily connect with WordPress or your hosting environment. Some popular options include solutions like Splunk, LogRhythm, or open-source options such as ELK Stack. The key is ensuring the SIEM can ingest logs from your WordPress site.
Step 3: Enable Logging on Your WordPress Site
WordPress itself generates logs, but you might need to enhance this process. Use plugins or custom code to log important events such as login attempts, plugin installations, or user activity. Also, ensure your server logs are comprehensive—Apache or Nginx logs, database logs, and access logs are all valuable.
Step 4: Forward Logs to Your SIEM
This is where the magic happens. You’ll want to set up log forwarding so that your logs reach your SIEM platform. Common methods include:
- Using log forwarding agents: Install agents like Filebeat or Fluentd on your server to ship logs directly.
- API integrations: Some SIEMs support direct API ingestion from WordPress or your hosting environment.
- Manual log uploads: For smaller setups, periodic manual uploads might suffice, though automation is recommended for real-time monitoring.
Step 5: Configure Alerts and Rules
Once your logs are flowing into the SIEM, set up rules to identify suspicious activity. For example, you might want alerts for multiple failed login attempts, unusual IP addresses, or high-volume traffic spikes. Fine-tuning these rules helps you catch threats early without getting overwhelmed by false positives.
Step 6: Regularly Review and Update Your Security Measures
Security isn’t a set-it-and-forget-it deal. Regularly analyze your SIEM dashboards, refine your alerts, and stay updated with new threats. Keep your WordPress core, themes, and plugins up to date, and review log data periodically to spot patterns or anomalies.
4. Choosing the Right SIEM Solution for WordPress
Picking the perfect SIEM for your WordPress site is a critical step. There’s a wide array of options out there, each with its strengths and quirks. Here’s what to consider to make the best choice for your needs:
1. Compatibility with WordPress and Hosting Environment
Ensure the SIEM can easily integrate with your current setup. Some platforms have specific plugins or connectors for WordPress, or they work well with popular hosting providers and server configurations.
2. Ease of Deployment and Use
You want a solution that doesn’t require a PhD in cybersecurity to operate. Look for user-friendly dashboards, clear documentation, and good community or customer support. Open-source options like the ELK Stack are powerful but may need more technical expertise, while managed solutions might be easier to set up.
3. Scalability
Think about your future growth. Will your website handle more visitors or add new functionalities? Your SIEM should scale accordingly, handling increased log volume without breaking a sweat.
4. Cost and Budget
SIEM solutions range from free open-source tools to expensive enterprise platforms. Define your budget upfront and consider the total cost of ownership, including licensing, hardware, and maintenance.
5. Features and Capabilities
Look for key features like:
- Real-time alerting
- Rich dashboards and reporting
- Automated threat detection
- Integration options with WordPress and server logs
Matching these features with your security goals will help you avoid overspending on unnecessary capabilities.
6. Community and Support
A vibrant community or responsive support team can save you a lot of headaches down the line. Check for active forums, tutorials, and vendor support options.
In summary, choosing the right SIEM for WordPress is about balancing your security needs, technical skills, budget, and future growth plans. Take your time to evaluate options, and remember—security is an ongoing journey, not a one-time setup.
5. Best Practices for Maintaining Secure WordPress and SIEM Integration
Once you’ve set up your SIEM system to work seamlessly with your WordPress site, the next crucial step is maintaining that integration securely and efficiently. The goal here is to ensure your security measures stay effective over time without becoming a burden or a point of vulnerability.
Here are some best practices to keep in mind:
Regular Updates and Patches
Both WordPress and your SIEM tools receive updates frequently—sometimes to patch security flaws. Make it a routine to keep your WordPress core, themes, plugins, and your SIEM software up-to-date. This reduces the risk of exploitable vulnerabilities.
Implement Least Privilege Access
Limit access to your SIEM dashboard and WordPress admin area. Only give permissions to those who absolutely need them. This minimizes the risk of accidental misconfigurations or malicious insider threats.
Secure Data Transmission
Always use encrypted channels like HTTPS and secure APIs when transmitting logs and sensitive data between WordPress and your SIEM system. This prevents man-in-the-middle attacks and data leaks.
Use Strong Authentication and MFA
Enforce strong passwords and multi-factor authentication on all admin and SIEM-related accounts. This adds an extra layer of security, making unauthorized access much harder.
Automate Monitoring and Alerts
Configure your SIEM to automatically monitor logs and generate alerts for suspicious activities, such as multiple failed login attempts or unusual traffic spikes. Regularly review these alerts to stay ahead of potential threats.
Backup Configurations and Logs
Regular backups of your WordPress site and SIEM configurations ensure that you can recover quickly from any security incident or system failure. Store backups securely and test restore procedures periodically.
Conduct Security Audits
Periodically audit your entire setup—both WordPress and your SIEM integration. Use vulnerability scanners and penetration testing tools to identify weak spots before attackers do.
By following these best practices, you’ll create a robust security posture that keeps your WordPress site and your SIEM system working together effectively, helping you detect and respond to threats swiftly and confidently.
6. Common Challenges and How to Overcome Them
Integrating SIEM systems with WordPress isn’t always a walk in the park. Many website owners and security teams face common hurdles along the way. But don’t worry—most of these challenges have practical solutions.
Challenge 1: Compatibility Issues
Sometimes, your SIEM tool may not play nicely with certain WordPress plugins or server configurations. This can cause log mismatches or missed alerts.
- Solution: Choose SIEM solutions that have proven compatibility with WordPress and your hosting environment. Use standardized log formats like CEF or JSON for easier integration. Consult documentation and community forums for tips specific to your setup.
Challenge 2: Managing Large Volumes of Logs
As your website grows, so does the volume of logs. Sifting through massive datasets can be overwhelming and may slow down your SIEM or lead to missed insights.
- Solution: Implement log filtering and prioritization rules to focus on high-risk events. Use dashboards and alerts to highlight critical issues. Consider scalable cloud-based SIEM solutions if local resources are limited.
Challenge 3: Ensuring Real-Time Monitoring
Delayed detection can give attackers a window to cause damage. Achieving real-time or near-real-time monitoring can be technically challenging.
- Solution: Optimize your log forwarding setup for minimal latency. Use push-based log shipping and configure your SIEM to process logs continuously. Regularly test your alerting system to confirm timely notifications.
Challenge 4: Balancing Security and Performance
Adding security layers can sometimes slow down your website or server, impacting user experience.
- Solution: Balance security measures with performance by offloading log processing to dedicated servers or cloud services. Optimize your WordPress site for speed, and schedule intensive security scans during low-traffic periods.
Challenge 5: Keeping Up with Evolving Threats
Cyber threats are constantly changing, and your security setup needs to adapt accordingly.
- Solution: Subscribe to security feeds and threat intelligence services. Regularly update your SIEM rules and signatures to recognize new attack vectors. Attend security webinars and participate in relevant communities to stay informed.
While these challenges can seem daunting, they’re manageable with planning, ongoing maintenance, and a proactive mindset. Remember, the key is to stay flexible, keep learning, and continuously improve your security posture. Integration of SIEM with WordPress is a powerful step toward securing your website, and overcoming these hurdles ensures that you’re prepared for whatever threats come your way.
Conclusion and Next Steps for Enhancing Your WordPress Security with SIEM
Integrating a Security Information and Event Management (SIEM) system with your WordPress site is a powerful step toward robust security. By centralizing and analyzing security logs, SIEM enables proactive threat detection, rapid incident response, and comprehensive visibility into your website’s security posture. As cyber threats continue to evolve, leveraging SIEM tools ensures you stay ahead of potential vulnerabilities and respond swiftly to suspicious activity. Remember, successful integration is not a one-time setup but an ongoing process of monitoring, tuning, and updating your security strategies.
To maximize the benefits of SIEM, consider the following next steps:
- Regularly review your SIEM dashboards and alerts to identify unusual patterns or anomalies.
- Implement automated responses where possible, such as blocking suspicious IPs or disabling compromised accounts.
- Stay updated with the latest WordPress security best practices and ensure your plugins and themes are current.
- Establish a security incident response plan to ensure swift action during a breach.
- Continuously evaluate and refine your SIEM configuration to adapt to new threats and changes in your website environment.
Incorporating SIEM into your WordPress security framework is a strategic investment that significantly enhances your ability to protect your website and users. By taking these proactive steps, you position yourself to detect threats early, mitigate risks effectively, and maintain a secure and trustworthy online presence.


