Getting started with forms on your WordPress site might seem daunting at first, but it’s actually pretty straightforward once you know your options. Forms are essential for gathering information, whether it’s through contact pages, surveys, or registration forms. Luckily, WordPress offers a variety of plugins and techniques that make creating and managing forms simple—even if you’re not a coding expert. In this guide, we’ll walk you through the basics and show you how to set up effective, user-friendly forms that enhance your website’s functionality and engagement.
Why Use Forms on Your WordPress Website
Forms are more than just a way for visitors to send you messages—they’re a powerful tool for building relationships and growing your website. Here’s why incorporating forms into your WordPress site is a smart move:
- Facilitate Communication: Whether it’s a contact form, support request, or feedback survey, forms make it easy for visitors to reach out without cluttering your email inbox.
- Collect Valuable Data: Forms help you gather insights about your audience, preferences, or customer needs, which can inform your marketing strategies.
- Improve User Experience: Well-designed forms provide a smooth way for visitors to interact with your site, making their experience more pleasant and increasing the chances of engagement.
- Automate Processes: Forms can be integrated with email marketing tools, CRMs, or payment gateways, automating tasks like newsletter signups, order processing, or event registration.
- Boost Conversions: Whether it’s capturing leads, selling products, or registering attendees, forms are essential for turning visitors into customers or followers.
In short, adding forms to your WordPress website isn’t just about collecting data—it’s about creating a seamless, interactive experience that benefits both you and your visitors. With the right plugins and techniques, you can craft forms that are not only functional but also engaging and visually appealing.
3. Top Plugins for Building Forms in WordPress
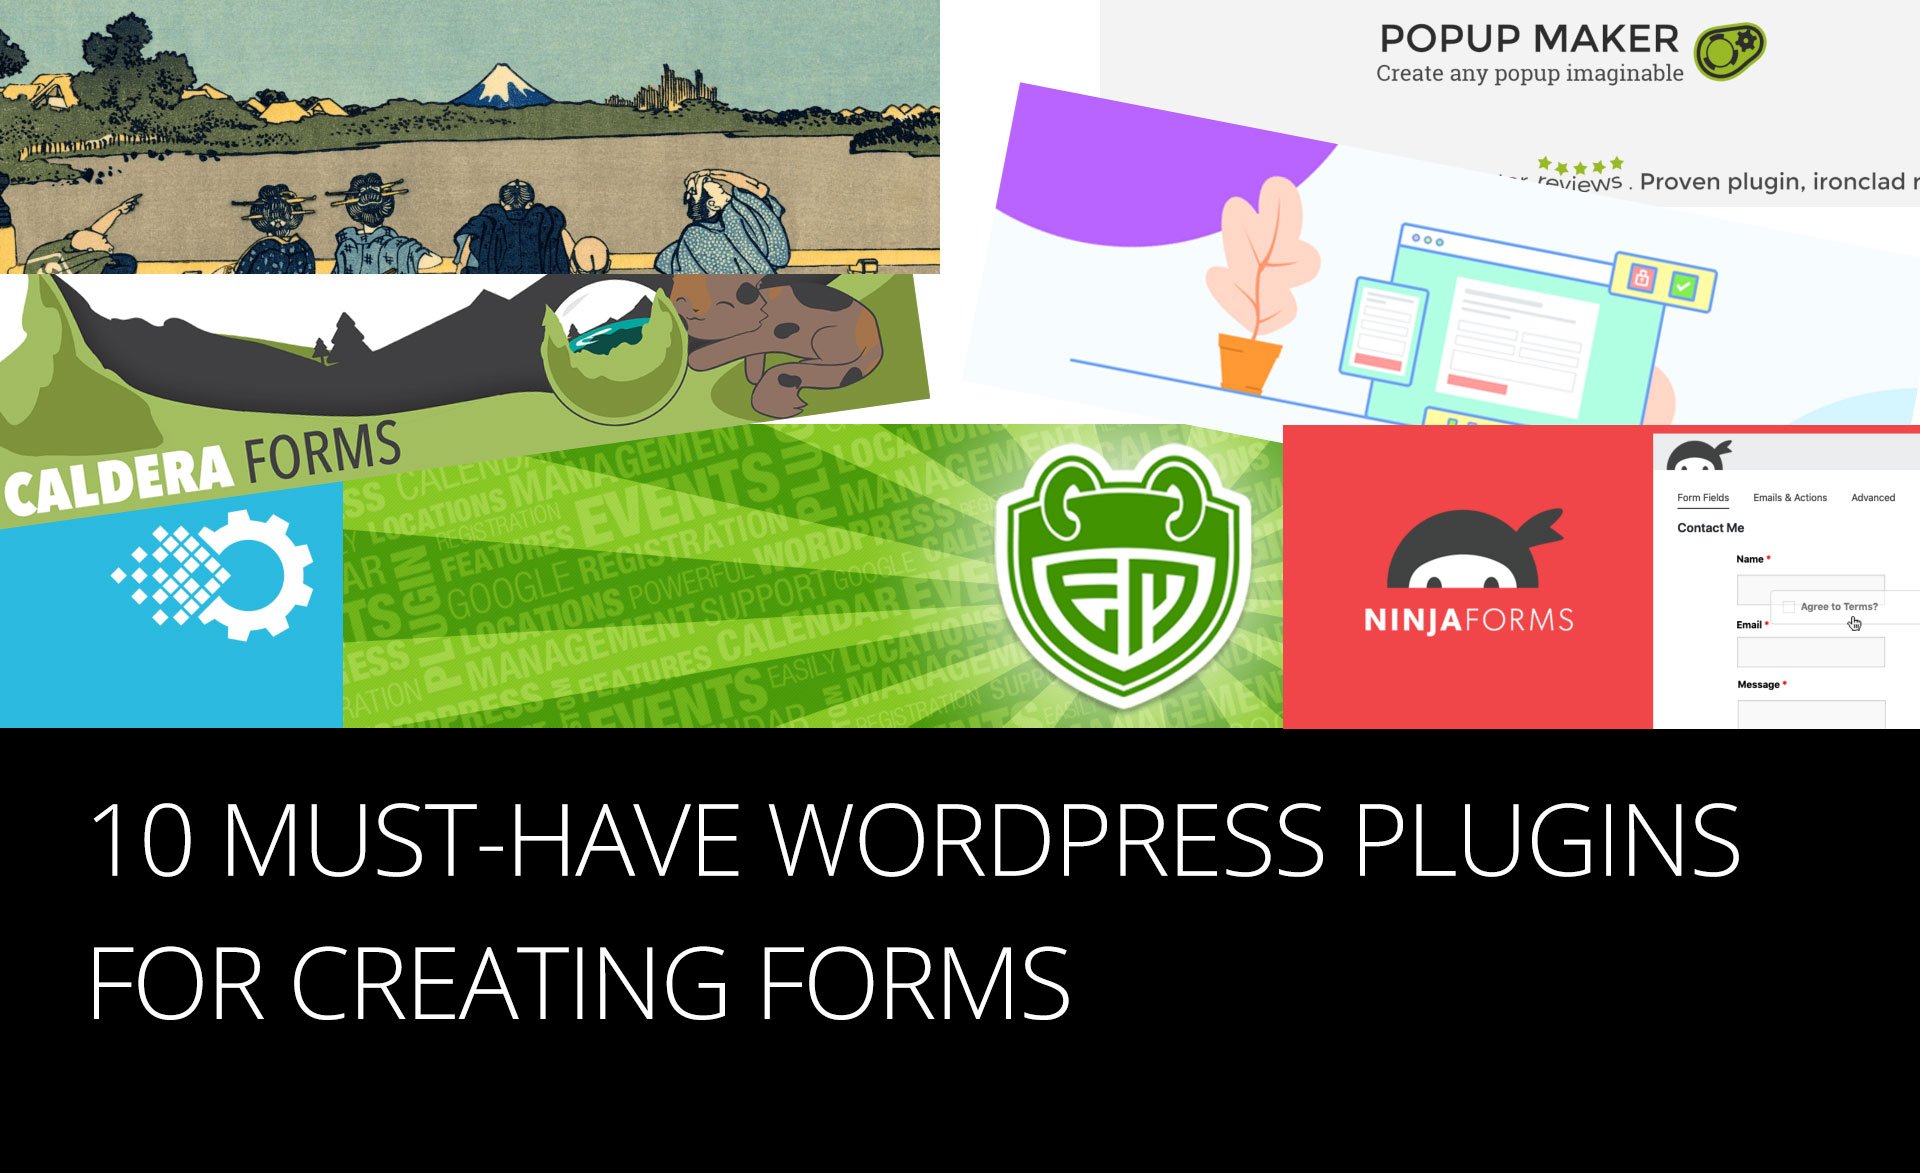
When it comes to creating forms in WordPress, choosing the right plugin can make all the difference. There are plenty of options out there, but some stand out because of their features, ease of use, and reliability. Let’s take a quick look at some of the top contenders:
- WPForms: Known for its user-friendly drag-and-drop interface, WPForms is perfect for beginners and professionals alike. It offers pre-built templates, spam protection, and integrations with popular email marketing tools.
- Gravity Forms: A powerful and flexible plugin that’s ideal for complex forms. It supports conditional logic, multi-page forms, and advanced calculations. It’s a premium plugin, but many find it worth the investment.
- Ninja Forms: An easy-to-use plugin that offers a free core version with plenty of add-ons. It’s highly customizable, with features like file uploads, email notifications, and user registration forms.
- Contact Form 7: One of the oldest and most popular free plugins. While it may lack some of the drag-and-drop convenience, it’s lightweight, flexible, and works well for simple contact forms.
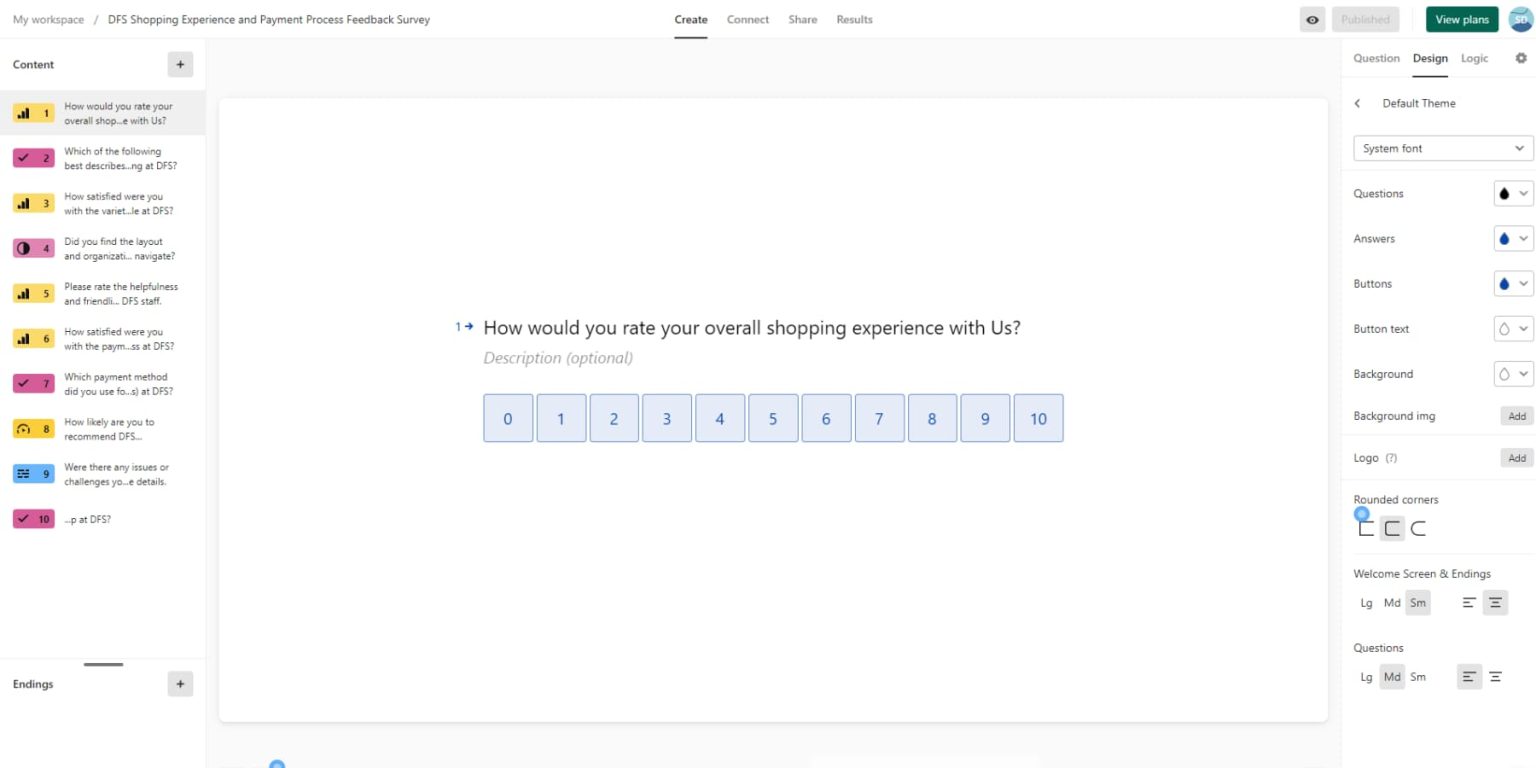
- Formidable Forms: Best for building complex, data-driven forms such as surveys or registration systems. It provides a visual styler and a variety of advanced features.
Choosing the right plugin depends on your specific needs. If you want something quick and easy, WPForms or Ninja Forms are fantastic options. For more complex projects, Gravity Forms or Formidable Forms might be better suited. No matter which you pick, these plugins will help you create beautiful, functional forms without breaking a sweat.
4. Step-by-Step Guide to Creating Forms with WPForms
If you’ve decided to go with WPForms, you’re in for a smooth experience. It’s one of the most popular form builders for a reason — it’s simple, intuitive, and powerful. Let’s walk through the process of creating your first form:
Step 1: Install and Activate WPForms
First things first, head over to your WordPress dashboard. Navigate to Plugins > Add New and search for WPForms. Once you find it, click Install Now and then Activate.
Step 2: Create a New Form
After activation, you’ll see a new menu item called WPForms. Click on it, then select Add New. A wizard will pop up, prompting you to choose a template — for example, a simple Contact Form, Newsletter Signup, or a Custom Blank Form.
Step 3: Customize Your Form
Once you select a template, you’ll be taken to the form builder interface. Here, you can drag and drop fields from the left sidebar to the form area. Common fields include:
- Name
- Message
- Phone Number
- Checkboxes or Radio Buttons
You can also click on each field to customize labels, add descriptions, or set validation rules. Want to add a dropdown menu or file upload? Just drag the relevant field into your form and configure it accordingly.
Step 4: Configure Settings
Next, click on the Settings tab to fine-tune your form. Here, you can:
- Set notifications: Decide who gets notified when someone submits the form.
- Configure confirmations: What message or page the user sees after submitting.
- Integrate email marketing: Connect with services like Mailchimp or Constant Contact.
Step 5: Embed Your Form on Your Website
Once you’re satisfied with your form, click Save. To add it to a page or post, you have two options:
- Use the WPForms Block if you’re editing with the block editor: Just add a WPForms block, then select your form from the dropdown menu.
- Copy the shortcode: Find the shortcode provided in the form editor (something like
[wpforms id="123"]) and paste it into your page or post where you want the form to appear.
Final Tips:
Test your form thoroughly before going live. Make sure notifications work, and the design looks good on both desktop and mobile. With WPForms, creating professional, user-friendly forms is quick and straightforward — perfect for any website owner looking to boost engagement or gather essential information.
5. How to Use Contact Form 7 for Building Forms
If you’re just starting out or looking for a simple, free way to add contact forms to your WordPress site, Contact Form 7 is a fantastic choice. It’s one of the most popular plugins out there, thanks to its ease of use and flexibility. Let’s walk through the basic steps to get your contact form up and running with this plugin.
Installing and Activating Contact Form 7
First things first, you need to install the plugin:
- Go to your WordPress dashboard, hover over Plugins, then click Add New.
- Type Contact Form 7 into the search bar.
- Click Install Now and then activate the plugin.
Creating Your First Contact Form
Once activated, you’ll see a new menu item called Contact. Here’s how to create your form:
- Click on Contact > Add New.
- Give your form a name, like “Contact Us”.
- In the form editor, you’ll see some default fields like Name, Email, Subject, and Message. You can customize these as needed.
- Use the buttons provided to add or remove fields. For example, to add a phone number, just click Tel and it will insert the code.
- Once done, click Save.
Embedding the Form on Your Site
After saving, you’ll see a shortcode at the top, something like [contact-form-7 id="123" title="Contact Us"]. To display your form:
- Copy the shortcode.
- Paste it into any post, page, or widget where you want the form to appear.
Now, visitors can fill out your form, and you’ll receive submissions directly to your email. You can also customize the email notification settings in the form’s settings tab.
Tips for Making the Most of Contact Form 7
- Use additional plugins like Flamingo to store submissions in your database.
- Customize validation messages to improve user experience.
- Leverage reCAPTCHA integration to reduce spam submissions.
Contact Form 7 is straightforward but powerful enough to handle most basic contact needs. With a little customization, it can be tailored to suit your website perfectly.
6. Using Gravity Forms to Create Advanced Forms
If you need more sophisticated forms—think multi-page forms, conditional logic, or payment integrations—Gravity Forms is one of the best premium plugins available. It offers a user-friendly drag-and-drop interface and a wide array of features that make building complex forms a breeze.
Getting Started with Gravity Forms
First, you’ll need to purchase and install Gravity Forms:
- Go to the official Gravity Forms website and choose a plan that fits your needs.
- Download the plugin zip file after purchase.
- Upload it to your WordPress site via Plugins > Add New > Upload Plugin.
- Activate the plugin and enter your license key to access updates and support.
Creating Your Advanced Form
Once installed:
- Navigate to Forms > New Form.
- Give your form a descriptive name.
- Use the drag-and-drop interface to add fields like text, dropdowns, checkboxes, date pickers, and more.
- Configure each field’s settings, including labels, default values, and validation rules.
- Set up conditional logic to show or hide fields based on user responses—this is especially handy for multi-step forms or personalized questionnaires.
Adding Conditional Logic and Calculations
Gravity Forms shines when it comes to dynamic forms:
- Conditional Logic: Show or hide fields, sections, or notifications depending on user selections.
- Calculations: Use calculation fields to perform real-time computations, perfect for quote forms or order forms.
These features help create highly interactive and personalized forms that improve user engagement and data collection accuracy.
Integrating Payments and Third-Party Services
Want to accept payments? Gravity Forms integrates seamlessly with payment gateways like PayPal, Stripe, and Authorize.Net. You can also connect to email marketing tools, CRM systems, and more via add-ons.
For instance, you could build an order form that calculates totals, processes payments, and stores customer data—all in one streamlined workflow.
Managing Submissions and Analytics
Gravity Forms provides a comprehensive dashboard to view and manage submissions. Plus, with add-ons, you can set up notifications, confirmations, and even export data for analysis.
In summary, Gravity Forms is a powerful tool that transforms simple forms into sophisticated, multi-functional data collection systems. It’s ideal for businesses or websites that need advanced features and are willing to invest in a premium solution.
7. Design Tips for Effective WordPress Forms
When it comes to creating forms that actually get results, design is everything. A well-designed form not only looks appealing but also guides your visitors smoothly through the process, making it more likely they’ll complete it. Here are some practical design tips to help you craft effective WordPress forms:
Keep It Simple and Focused
Less is more. Only ask for the essential information you need. Every added field can increase the chances of visitors abandoning the form. Use clear labels and avoid clutter. For example, if you’re collecting contact info, just ask for name and email — nothing more unless necessary.
Use Visual Hierarchy
Guide your visitors’ eyes with strategic placement and styling. Highlight the most important fields or calls to action (CTAs) with bold text or contrasting colors. Make your submit button stand out with a vibrant color and clear text like “Get Started” or “Subscribe Now”.
Ensure Mobile-Friendliness
More people are browsing on their phones than ever before. Make sure your forms are responsive, easy to read, and easy to fill out on small screens. Use larger input fields and buttons, and test your forms across different devices.
Use Clear and Concise Labels
Your labels should be straightforward and easy to understand. Instead of vague labels like “Info”, specify “First Name” or “Email Address”. This reduces confusion and increases form completion rates.
Provide Helpful Feedback
Let users know when they’ve made an error or when their submission is successful. Use inline validation to indicate errors immediately, and thank users with a friendly message after they submit the form. For example, “Thanks for signing up! We’ll be in touch soon.”
A/B Testing
Don’t be afraid to experiment! Try different layouts, colors, or wording to see what resonates best with your audience. Many form plugins support A/B testing, so you can optimize for conversions over time.
Accessibility Matters
Design your forms so everyone can use them, including people with disabilities. Use proper labels, keyboard navigation, and screen reader-friendly features. Accessibility not only broadens your reach but also improves overall usability.
By paying attention to these design principles, you’ll create WordPress forms that are inviting, easy to use, and ultimately more effective at capturing leads, feedback, or registrations. Remember, good design isn’t just about aesthetics—it’s about creating a seamless experience that encourages your visitors to take action.
8. Integrating Forms with Email Marketing and CRM Tools
Once you’ve got a beautifully designed form, the next step is making sure it works its magic behind the scenes. Integrating your WordPress forms with email marketing platforms and Customer Relationship Management (CRM) tools is essential for nurturing leads, building relationships, and automating your marketing efforts.
Why Integration Matters
Imagine capturing a new subscriber’s info through your form, but then manually transferring that data into your email list or CRM. That’s time-consuming and prone to errors. Integration automates this process, ensuring that every new contact is instantly added to your marketing workflows. It saves you time and helps deliver personalized experiences.
Popular Email Marketing and CRM Tools
- Mailchimp: Widely used for email campaigns, automation, and audience management.
- Constant Contact: Great for small businesses with easy-to-use email tools.
- HubSpot CRM: Combines form capture with powerful CRM features.
- ActiveCampaign: Known for automation and advanced segmentation.
- Zoho CRM: Offers extensive CRM capabilities with form integrations.
How to Connect Your Forms
Most WordPress form plugins, like Gravity Forms, WPForms, or Ninja Forms, offer built-in integrations or add-ons for these platforms. Here’s a quick overview of the process:
- Choose Your Plugin: Select a form plugin compatible with your email marketing or CRM service.
- Install and Activate: Add the plugin to your WordPress site and activate necessary add-ons.
- Connect Accounts: Follow the plugin’s instructions to authenticate and connect your email or CRM accounts.
- Map Fields: Match form fields to your email list or CRM contact fields to ensure data syncs correctly.
- Set Up Automation: Configure follow-up emails, tags, or workflows triggered when someone submits the form.
Best Practices for Seamless Integration
- Test Thoroughly: Submit test entries to ensure data flows correctly into your systems.
- Segment Your Audience: Use tags or custom fields to categorize contacts for targeted campaigns.
- Automate Follow-Ups: Send welcome emails, offers, or nurture sequences automatically after form submissions.
- Keep Data Secure: Use secure connections (like OAuth) and comply with privacy regulations such as GDPR.
Conclusion
Integrating your WordPress forms with email marketing and CRM tools is a game-changer. It transforms simple data collection into a powerful automation engine that helps you engage with your audience more effectively. Whether you’re building your email list, nurturing leads, or managing customer relationships, seamless integrations ensure your marketing efforts are efficient, personalized, and scalable. Take the time to connect your forms properly, and watch your engagement grow!
9. Best Practices for Securing Your WordPress Forms and Protecting User Data
When it comes to creating forms on your WordPress site, security should always be a top priority. Forms often collect sensitive information like contact details, passwords, or even payment info, so protecting that data is essential. Luckily, there are several best practices you can follow to keep your forms secure and your users’ information safe.
Use CAPTCHA or reCAPTCHA
One of the simplest ways to prevent spam submissions and bots from filling out your forms is by implementing CAPTCHA or reCAPTCHA. These tools add a challenge-response test that only humans can solve, drastically reducing spam and malicious entries. Most form plugins, like WPForms or Gravity Forms, offer built-in support for Google reCAPTCHA, making it easy to set up.
Enable SSL Encryption
Always ensure your website uses HTTPS by installing an SSL certificate. This encrypts data transmitted between your users’ browsers and your server, protecting sensitive information from being intercepted. Google also favors HTTPS, so it can positively impact your SEO rankings.
Validate and Sanitize User Input
Never trust user-submitted data blindly. Always validate inputs to check if they meet expected formats (like email addresses or phone numbers) and sanitize data to remove potentially malicious code. Many form plugins include built-in validation options, or you can add custom validation for more complex needs.
Limit Submission Frequency
To prevent abuse or spam, consider limiting how often a user can submit a form. Plugins like WPForms have built-in options to limit entries per user or IP address. This helps block flood attacks and reduces server load.
Keep Plugins and WordPress Updated
Running outdated plugins or WordPress versions can expose vulnerabilities. Regularly update everything to ensure you have the latest security patches and features. Many security issues are addressed in updates, so staying current is a simple but effective safeguard.
Implement User Role Restrictions
If your forms are meant for specific users (e.g., logged-in members), restrict form access based on user roles. This prevents unauthorized users from submitting or viewing sensitive forms.
Backup Your Data Regularly
In case of a security breach or other issues, having recent backups of your site and form submissions is crucial. Use reliable backup plugins and store backups securely off-site.
10. Troubleshooting Common Form Issues
Even with the best setup, sometimes things go wrong. Whether your forms aren’t submitting, emails aren’t delivered, or users encounter errors, troubleshooting is key to keeping your site running smoothly. Here are some common issues and how to fix them.
Form Not Submitting
- Check for JavaScript Conflicts: Sometimes, other plugins or themes can conflict with your form scripts. Disable other plugins one by one to identify the culprit.
- Verify Plugin Compatibility: Ensure your form plugin is compatible with your current WordPress version and other plugins.
- Clear Cache: If you’re using caching plugins, clear the cache to make sure the latest form scripts are loaded.
Emails Not Sending
- Configure SMTP: WordPress’s default mail function isn’t always reliable. Set up an SMTP plugin like WP Mail SMTP to ensure emails are sent properly.
- Check Spam Folders: Sometimes, form notifications end up in spam. Ask users to check their spam folders.
- Test Email Settings: Use test emails to verify your email configuration works as expected.
Form Validation Not Working
If validation rules aren’t enforced, check whether your form plugin’s validation options are properly configured. Sometimes, custom code or conflicts can disable validation features.
Styling Issues or Broken Layout
If your form appears broken or unstyled, verify that your theme or CSS isn’t overriding form styles. You can add custom CSS to fix layout issues or consult your theme’s documentation for compatibility tips.
General Tips for Troubleshooting
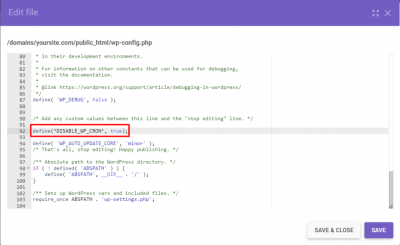
- Enable Debugging: Turn on WP_DEBUG in your wp-config.php file to see errors and warnings that can give clues.
- Check Server Logs: Your hosting server logs can reveal server-side issues affecting form submissions.
- Consult Plugin Documentation: Most form plugins have extensive documentation and support forums where you can find solutions.
By staying proactive with security and troubleshooting, you can ensure your WordPress forms are both safe and reliable, providing a seamless experience for your users while safeguarding their data. If issues persist, don’t hesitate to reach out to your plugin support or a WordPress developer for expert assistance.
Conclusion and Final Tips for Creating Successful Forms on WordPress
Creating effective forms in WordPress is essential for engaging your visitors, capturing valuable data, and enhancing your website’s functionality. Throughout this guide, we’ve explored various plugins, techniques, and best practices to help you design forms that are both user-friendly and highly effective. To ensure your forms perform optimally, keep the following tips in mind:
- Prioritize User Experience: Use clear labels, concise instructions, and logical flow to make filling out your forms intuitive and hassle-free.
- Keep It Simple: Avoid overwhelming users with too many fields; focus on essential information to increase submission rates.
- Utilize Conditional Logic: Implement conditional fields to tailor the form experience based on user responses, making it more relevant and streamlined.
- Test Your Forms: Regularly test your forms across different devices and browsers to identify and fix any issues.
- Integrate with Marketing Tools: Connect your forms with email marketing platforms, CRM systems, or analytics to maximize their impact.
Remember, the key to successful forms lies in balancing functionality with user-friendliness. Choose the right plugins, customize your forms thoughtfully, and continuously optimize based on user feedback and analytics. With these best practices, you’ll create forms that not only gather data effectively but also enhance the overall experience for your website visitors.