Thinking about giving your WordPress site a fresh, modern look? The Blocksy Pro Theme might just be what you need! It’s a lightweight, highly customizable theme designed to help you create stunning websites with ease. Whether you’re a blogger, small business owner, or a developer, Blocksy Pro offers a range of features that make building and managing your site a breeze. From lightning-fast performance to beautiful design options, this theme is all about empowering you to craft a website that stands out. Plus, with its intuitive interface, you don’t need to be a coding wizard to get started.
Prerequisites for Installing Blocksy Pro Theme
Before diving into the installation process, there are a few things you’ll want to have ready. First and foremost, make sure you have access to your WordPress admin dashboard. This is where all the magic happens! You’ll also need:
- WordPress Hosting: Ensure your hosting environment is compatible and running the latest version of WordPress. Blocksy Pro works best with WordPress 5.0 or higher.
- Domain and SSL Certificate: A registered domain and SSL setup help your site stay secure and trustworthy, especially if you plan to sell products or collect user info.
- Blocksy Pro License: Purchase and activate your license from the official website. This is essential to access the premium features and updates.
- Download Files: After purchasing, you’ll receive a download link for the Blocksy Pro plugin and theme files. Keep these handy!
- Backup Your Site: It’s always a good idea to back up your website before making major changes. Use a reliable plugin like UpdraftPlus or BackupBuddy.
Once you’ve gathered these essentials, you’ll be well on your way to transforming your WordPress site with the sleek and versatile Blocksy Pro Theme!
Step 1: Purchase and Download the Blocksy Pro Theme
Alright, let’s get started with the first step: purchasing and downloading the Blocksy Pro theme. The process is pretty straightforward, but it’s important to follow each step carefully so you don’t miss anything.
First things first, head over to the official Blocksy Theme website. This is where you’ll find all the details about the theme and the options available. Look for the “Buy Now” button, usually located at the top right corner of the page.
Once you click on it, you’ll be taken to the purchase page. Blocksy Pro offers different licensing options—such as a single site license or unlimited sites—so think about what suits your needs best. If you’re just starting out or building a small website, a single site license might be enough. For agencies or those managing multiple sites, the unlimited license could be more cost-effective.
After selecting your preferred plan, proceed to checkout. You’ll need to fill in your details, including your email address, payment information, and any discount codes if you have them. Once the payment is processed successfully, you’ll receive a confirmation email with your purchase details.
In that email, look for the download link or login to your account on the Creative Themes website. Once logged in, navigate to your dashboard or account area where you can access your purchased products. There, you’ll find the Blocksy Pro plugin or theme files available for download.
Download the Blocksy Pro plugin (usually a ZIP file). Keep this file safe because you’ll need it to install and activate the premium features on your WordPress site. Remember, the free version of Blocksy is available in the WordPress repository, but the Pro version enhances your site with extra customization options, modules, and support.
And that’s it for the purchase and download step! Now you’re ready to move on to installing the free version of Blocksy, which is a necessary step before upgrading to Pro. Let’s dive into that next.
Step 2: Install the Free Blocksy Theme on WordPress
Great! With the Pro plugin downloaded, the next step is to install the free version of Blocksy on your WordPress site. Think of this as setting the foundation before adding all the premium features.
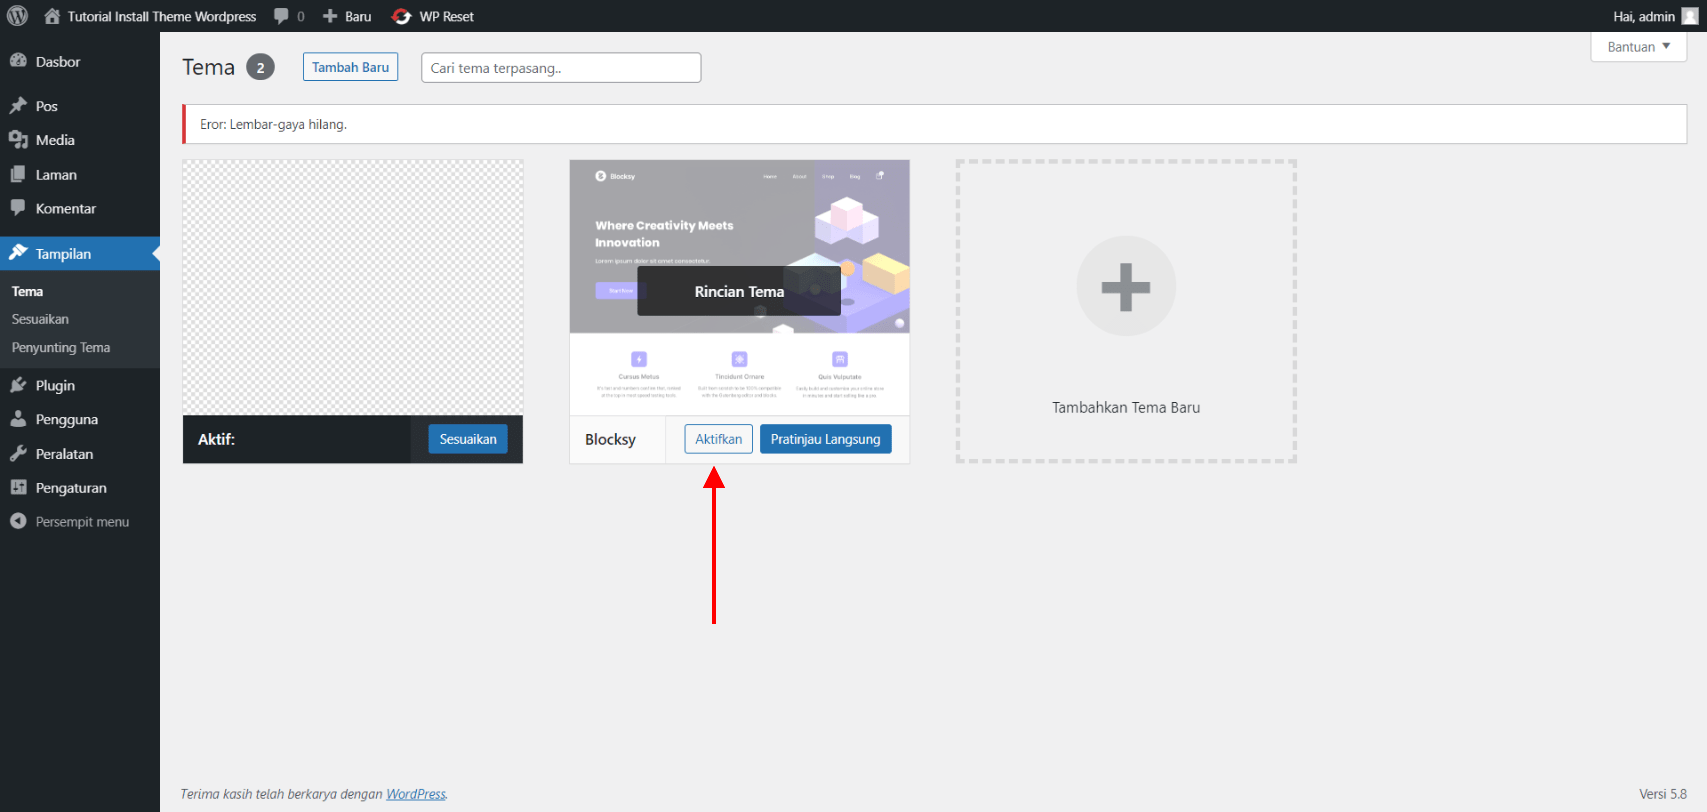
Start by logging into your WordPress admin dashboard. From the sidebar menu, hover over “Appearance” and then click on “Themes.” Once there, click on the “Add New” button at the top.
In the search bar, type “Blocksy” and you should see the theme pop up in the results. It’s developed by Creative Themes, so look for that name to make sure you’re selecting the right one. Click on the “Install Now” button next to the Blocksy theme.
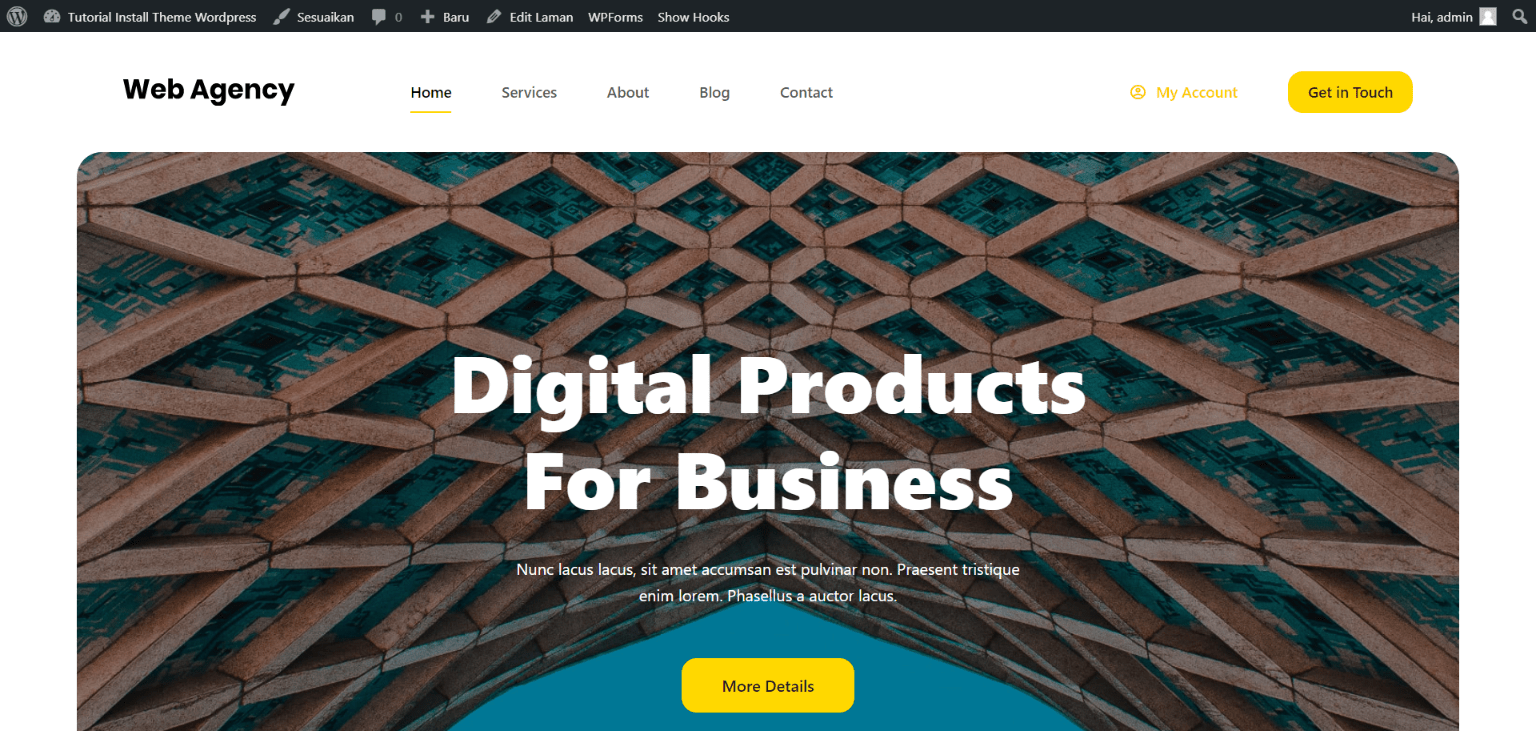
After WordPress installs the theme, the “Install Now” button will change to “Activate.” Click on it to make Blocksy your active theme. You’ll immediately see the theme’s default demo look, which you can customize further down the line.
Once activated, it’s a good idea to install the Blocksy Companion plugin. This plugin adds extra features and customization options that work seamlessly with the theme. To install it:
- Go to “Plugins” > “Add New” in your dashboard.
- Search for “Blocksy Companion.”
- Click “Install Now,” then “Activate.”
Now your site is running the free version of Blocksy, ready for you to start customizing. Remember, this is just the foundation—soon, you’ll upload the Blocksy Pro plugin you downloaded earlier to unlock the full potential of the theme.
To do that, navigate to “Plugins” > “Add New” > “Upload Plugin,” choose the ZIP file of the Blocksy Pro plugin, and click “Install Now.” Once installed, activate the plugin, and you’ll be prompted to enter your license key—this activates your Pro features.
And there you have it! Your site is now running the free Blocksy theme, set up and ready for the upgrade to the Pro version. Next, we’ll walk through how to upload and activate the Blocksy Pro plugin to unlock all those awesome premium features.
Step 3: Upload and Activate the Blocksy Pro Plugin
Alright, you’re almost there! After purchasing your Blocksy Pro license, the next step is to get the plugin installed on your WordPress site. Don’t worry—it’s straightforward. First, you need to download the plugin file from your account on the Blocksy website. Usually, it comes as a ZIP file, something like blocksy-pro.zip.
Once you have the ZIP file saved on your computer, head over to your WordPress dashboard. Here’s what to do:
- Navigate to Plugins > Add New in your dashboard menu.
- Click on the Upload Plugin button at the top.
- Choose the blocksy-pro.zip file you downloaded.
- Click Install Now and wait a few moments while WordPress uploads and installs the plugin.
Once the installation is complete, you’ll see a prompt to activate the plugin. Click on Activate Plugin. Voila! The Blocksy Pro plugin is now active on your site. You might notice a new menu item called “Blocksy” or “Blocksy Pro” in your dashboard, which is your control center for customizing your theme.
If you ever need to update the plugin in the future, just repeat the upload process with the latest ZIP file. Remember, always keep your plugin updated to access new features and security improvements.
Step 4: Enter Your License Key to Activate Blocksy Pro
Great job installing the plugin! Now, to unlock all the premium features that come with Blocksy Pro, you need to activate your license. This step is simple but super important—it’s what verifies your purchase and ensures you receive updates and support.
Here’s how to do it:
- Go to your WordPress dashboard and click on Blocksy > License or navigate to the Blocksy menu in your sidebar.
- Look for the License Key field. This is where you’ll input your license code.
- Log in to your account on the Blocksy website, then go to your License Keys section.
- Copy your license key (it’s a string of numbers and letters), and paste it into the License Key field in your WordPress dashboard.
- Click on Activate License.
If everything goes smoothly, you’ll see a confirmation message saying your license is now active. This means your Blocksy Pro theme is fully unlocked and ready to give you all the bells and whistles.
Should you encounter any issues—like an invalid license message—double-check that you copied the key correctly. If problems persist, contact Blocksy support or visit their help docs. Remember, keeping your license active is crucial for receiving updates, security patches, and support, so don’t forget to renew it when it expires!
7. Customizing Your Blocksy Pro Theme for Optimal Performance
Now that you’ve got your Blocksy Pro theme installed, it’s time to make it truly your own—and ensure it performs at its best. Customization is where your website starts to shine, but it’s also important to strike a balance between looks and speed. Let’s walk through some tips to customize your theme effectively while keeping your site speedy and smooth.
Optimize Your Site’s Appearance
Blocksy Pro offers a wealth of customization options through its intuitive WordPress Customizer. Here’s what to focus on:
- Typography: Choose fonts that are easy to read and match your brand. Limit the number of different fonts to avoid slowing down your site.
- Colors and Palettes: Use a consistent color scheme. Light backgrounds with dark text generally improve readability and performance.
- Header and Footer: Customize these areas to include your logo, navigation menus, or contact info for a professional look.
Leverage Built-in Features
Blocksy Pro comes with features like header builder, footer builder, and page builder integrations. Use these tools to create engaging layouts without heavy code or plugins. Remember:
- Keep your layouts simple and clean—cluttered pages can slow down load times.
- Use the theme’s built-in options to add social icons, call-to-action buttons, and other elements efficiently.
Optimize for Speed
Performance is key for user experience and SEO. Here are some quick wins:
- Minimize CSS and JavaScript: Blocksy automatically minifies assets, but ensure caching plugins are active to serve optimized files.
- Use a caching plugin: Plugins like WP Rocket or W3 Total Cache can dramatically improve load times.
- Image Optimization: Compress images before uploading, and consider lazy loading to improve page speed.
- Limit Plugins: Only install necessary plugins. Excess plugins can conflict or slow down your site.
Mobile Responsiveness
Ensure your website looks great on all devices. Use the Customizer’s mobile preview to tweak layouts specifically for smartphones and tablets. A responsive site not only improves user experience but also benefits your SEO rankings.
Regular Updates and Maintenance
Keep your theme and plugins updated to benefit from security patches and performance improvements. Regularly review your site’s speed using tools like Google PageSpeed Insights or GTmetrix, and make adjustments as needed.
8. Conclusion and Additional Resources
Congratulations! You’re now equipped with the knowledge to install, customize, and optimize the Blocksy Pro theme for your WordPress site. Remember, the key to a successful website is a balance between beautiful design and fast, reliable performance. Take your time exploring the theme’s options, and don’t hesitate to experiment with different styles and layouts until you find what works best for you.
If you’re eager to learn more or run into any issues, here are some helpful resources:
- Official Blocksy Documentation: https://docs.blocksy.net/
- Support Forums: Join the community and get help from other users and developers.
- WordPress.org Forums: For general WordPress questions and troubleshooting.
- Speed Optimization Guides: Check out tutorials on optimizing your site’s performance.
So go ahead—start customizing your site, keep it fast, and make it uniquely yours! Happy building!