If you’re looking to create a website or blog with WordPress, choosing the right hosting provider is a big step. GoDaddy is one of the most popular options out there because it offers a seamless way to get your WordPress site up and running quickly. In this guide, we’ll walk through everything from setting up your account to choosing the best hosting plan, so you can confidently build your online presence. Whether you’re a beginner or looking to switch hosts, understanding how GoDaddy works with
Choosing the Right Hosting Plan on GoDaddy for WordPress
Finding the perfect hosting plan on GoDaddy depends on your website’s needs, traffic expectations, and budget. GoDaddy offers several options tailored for WordPress, so let’s break down what each plan provides and which might be right for you.
Understanding Your Options
- Basic Plan: Ideal for small blogs or hobby sites. It offers essential features, including one website, basic performance, and limited storage. Perfect if you’re just starting out or testing the waters.
- Deluxe Plan: Suitable for growing websites. It includes unlimited websites, more storage, and better performance. Great if you want to expand your online presence or have multiple small sites.
- Ultimate Plan: Designed for high-traffic sites or those needing advanced features. It provides superior performance, daily backups, and enhanced security. Best if you expect significant traffic or run an online business.
Factors to Consider When Picking a Plan
Before making a decision, ask yourself a few questions:
- Traffic Volume: How many visitors do you expect? For low to moderate traffic, a basic or deluxe plan might suffice. For high traffic, consider the Ultimate plan.
- Number of Websites: Do you plan to run multiple sites? If yes, go for a plan that supports unlimited websites.
- Performance Needs: Are speed and uptime critical for your business? Higher-tier plans offer better performance and security features.
- Budget: How much are you willing to invest? Starting small and upgrading later is a common approach for beginners.
Additional Tips
When selecting a plan, also look at features like automatic backups, SSL certificates, and customer support. Sometimes paying a little more upfront can save you headaches later. Remember, you can always upgrade your plan as your site grows, so don’t stress too much about choosing the perfect plan right out of the gate.
In summary, take stock of your website’s current needs and future plans. Match those with GoDaddy’s hosting options, and you’ll be well on your way to launching a successful WordPress website!
3. Registering a Domain Name with GoDaddy
Alright, so you’ve decided to start your online journey, and the first step is choosing the perfect domain name. Think of your domain as your digital address—it’s how people find you on the web! Registering a domain with GoDaddy is pretty straightforward, and I’ll walk you through it step-by-step.
First things first, head over to the GoDaddy website. Once there, you’ll see a search bar right at the top—this is where the magic begins. Type in your desired domain name and hit “Search.”
GoDaddy will then tell you if your chosen domain is available. If it’s already taken, don’t worry! You can try different variations, add words, or consider alternative extensions like .net, .co, or .blog. Sometimes, a small tweak can make all the difference.
When you find an available domain you love, click on it. A pop-up window will show options like adding it to your cart, privacy protection, and more. Here’s what to keep in mind:
- Privacy Protection: This is optional but recommended. It keeps your personal contact info private on the WHOIS database.
- Additional Services: You might see offers for email, website security, or marketing tools—these are optional, so skip what you don’t need right now.
Once you’re ready, click “Add to Cart” and proceed to checkout. You’ll need to create a GoDaddy account if you don’t already have one. After completing your purchase, congrats! You now own a domain name that’s all yours.
Remember, your domain registration is usually annual, so keep track of renewal dates to avoid losing your website. Also, consider setting up auto-renewal if you want to keep things hassle-free.
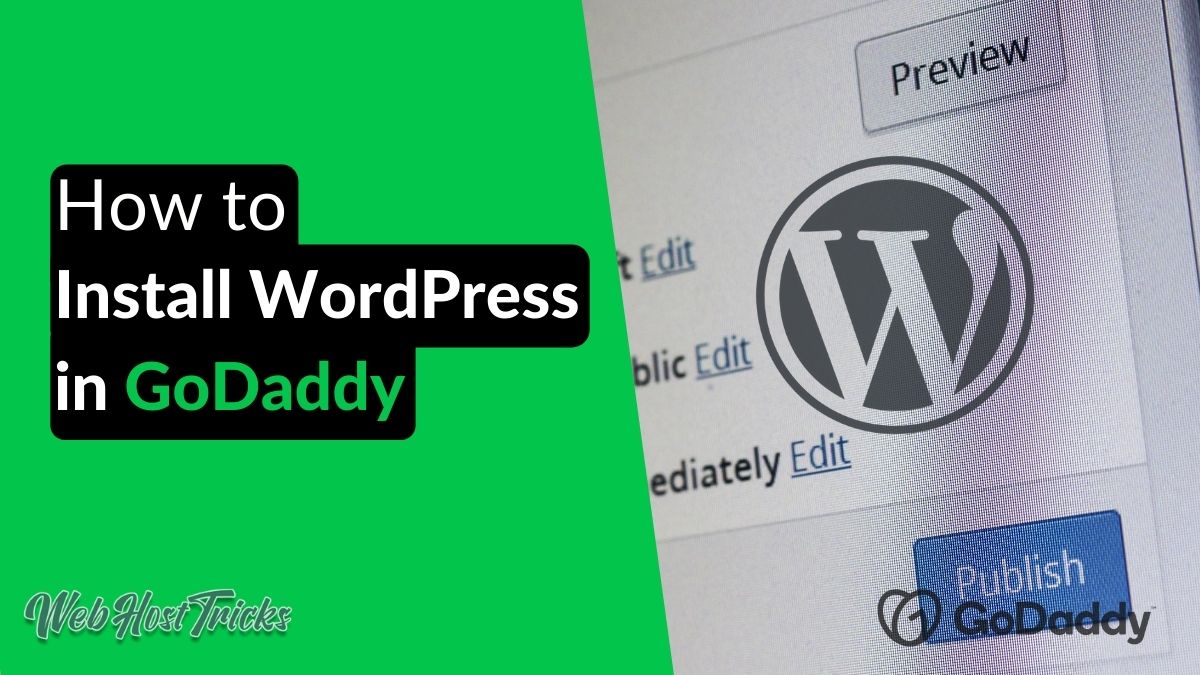
4. Installing WordPress on Your GoDaddy Hosting Account
Great! You’ve got your domain, and now it’s time to get your website up and running with WordPress. Luckily, GoDaddy makes this process super simple, especially if you’re using their hosting plans. Let me guide you through the installation step-by-step.
First, log into your GoDaddy account. Once logged in, head over to your “My Products” page, where all your domains and hosting plans are listed.
Next, locate the hosting account you want to use for your website. If you haven’t purchased hosting yet, you’ll need to do that first. GoDaddy offers a variety of hosting options, including shared hosting, WordPress-specific hosting, and more. For most beginners, their Managed WordPress hosting is a great choice because it’s optimized for
Once your hosting is set up, find the “Manage” button next to your hosting plan. This will take you to the hosting dashboard. Look for an option called “Install WordPress” or “Set Up WordPress”. On most GoDaddy hosting dashboards, there’s a quick install button for WordPress—click it!
| Step | Description |
|---|---|
| 1 | Select the domain you want to install WordPress on from the dropdown menu. |
| 2 | Choose your admin username, password, and site title. Make sure to pick a strong password! |
| 3 | Click “Install” or “Finish” — and wait a few moments while GoDaddy sets everything up. |
Once the installation is complete, you’ll receive a confirmation message with the link to your new WordPress site and the admin login page. Typically, your admin URL will be something like yourdomain.com/wp-admin. Use the credentials you set up to log in.
And voila! Your WordPress site is now installed and ready for customization. From there, you can choose themes, install plugins, and start creating content. Remember, if you hit any snags or need help, GoDaddy’s customer support is pretty helpful, or you can check out their online tutorials.
5. Connecting Your Domain to Your WordPress Website
So, you’ve got your WordPress website all set up and you’re excited to start sharing it with the world—great! Now, the next step is to connect your domain name to your WordPress site. This way, visitors can find you easily using your custom domain rather than a generic URL. Don’t worry; it’s a straightforward process, and I’ll walk you through it step-by-step.
First things first, you’ll need to access your GoDaddy account where your domain is registered. Once you’re logged in, follow these simple steps:
- Go to your Domain Settings: Find the “My Products” section, then locate the domain you want to connect.
- Access DNS Management: Click on “Manage DNS” next to your domain.
- Update DNS Records: Here, you’ll need to point your domain to your hosting provider. Usually, this involves editing the A record to point to your website’s server IP address.
If you’re hosting your WordPress site through GoDaddy’s hosting, the process is even easier because your domain and hosting are already linked in your account. In that case, you might not need to change DNS records manually. However, if you’re using a different hosting provider or a managed WordPress host like Bluehost or SiteGround, you’ll need to update your DNS settings accordingly.
| Step | Description |
|---|---|
| Login to GoDaddy | Access your account dashboard and navigate to your domain’s settings. |
| Access DNS Management | Find “Manage DNS” to view your DNS records. |
| Edit DNS Records | Change the A record to point to your hosting server’s IP address. |
| Save Changes | Make sure to save your updates. DNS changes can take anywhere from a few minutes up to 48 hours to propagate globally. |
Once you’ve updated your DNS records, give it some time to take effect. You can check if your domain is pointing correctly by entering it into your browser. If everything is set up properly, your website should load up using your custom domain name.
6. Configuring Your WordPress Site on GoDaddy
Now that your domain is connected, it’s time to get your WordPress site just the way you want it. Whether you’re starting from scratch or tweaking an existing setup, configuring your site properly ensures it looks good, runs smoothly, and offers a great experience for your visitors.
If you purchased your hosting through GoDaddy, accessing your WordPress dashboard is super simple:
- Log into your GoDaddy account
- Navigate to your products and find your hosting plan.
- Click “Manage” next to your hosting account.
- Access your WordPress Admin Dashboard by clicking on “Manage” under your WordPress install, then selecting “Log In” to go directly to the dashboard.
Once inside your WordPress dashboard, here are some essential steps to get your site configured:
- Set your site title and tagline: Go to Settings > General to add a name and description that reflect your brand or niche.
- Choose a theme: Navigate to Appearance > Themes and explore free or premium themes that suit your style. You can always change it later!
- Install necessary plugins: Plugins add functionality. For example, consider installing an SEO plugin like Yoast SEO, a security plugin like Wordfence, and a caching plugin like WP Super Cache.
- Configure your permalink structure: Head over to Settings > Permalinks and choose a URL structure that’s SEO-friendly, like “Post name”.
- Set up essential pages: Create pages such as Home, About, Contact, and Blog. You can do this via Pages > Add New.
Don’t forget to customize your site’s appearance. You can do this through Appearance > Customize, where you can tweak colors, fonts, header images, and menus to match your brand personality.
Finally, take some time to explore the settings and options available. The more you personalize your WordPress site, the more it will stand out and serve your visitors well. Remember, configuring your site is an ongoing process—you can always add new plugins, update themes, and refine your content as your website grows.
7. Tips for Managing and Updating Your WordPress Website on GoDaddy
Managing and updating your WordPress website hosted on GoDaddy doesn’t have to be intimidating. With a little organization and the right tools, you can keep your site fresh, secure, and running smoothly. Here are some practical tips to help you stay on top of things:
Stay Regular with Backups
Before making any major updates or changes, always back up your website. GoDaddy offers easy backup options through its dashboard, but you can also use WordPress plugins like UpdraftPlus or BackupBuddy. Regular backups ensure that if something goes wrong—whether from a plugin update or a security issue—you can restore your site quickly without losing valuable content.
Keep WordPress, Themes,, and Plugins Updated
Updates are crucial for security and performance. When you see notifications in your WordPress dashboard, don’t delay—they’re there for a reason! To update:
- Navigate to the Dashboard > Updates section
- Update WordPress core, themes,, and plugins one at a time, especially if you’re using multiple plugins
- Check your website after each update to ensure everything functions correctly
If you’re unsure about an update, consider creating a backup beforehand or testing updates on a staging site (more on that later).
Use a Security Plugin
Security is vital, especially if your site handles sensitive data or transactions. Plugins like Wordfence or Sucuri Security can scan for malware, block malicious traffic, and help you monitor your site’s security status. Remember, keeping your site secure isn’t a one-time task—regular scans and updates are part of good website management.
Monitor Website Performance
Use tools like Google Analytics and Google Search Console to track your website’s traffic and performance. Additionally, consider installing a caching plugin like W3 Total Cache or WP Super Cache to improve load times. Fast websites provide a better user experience and can even boost your search engine rankings.
Organize and Clean Up Your Content
Over time, your site can get cluttered with outdated posts, unused plugins, or broken links. Regularly review your content, delete what’s unnecessary, and fix or update broken links. This not only keeps your site looking professional but also improves SEO and user engagement.
Leverage GoDaddy’s Support and Resources
If you ever get stuck, don’t hesitate to reach out to GoDaddy’s customer support or explore their extensive knowledge base and tutorials. They offer 24/7 assistance, which can be a lifesaver when troubleshooting technical issues or learning new features.
8. Troubleshooting Common Issues When Using GoDaddy with WordPress
Sometimes, things don’t go as planned—your website might load slowly, plugins might break, or you could encounter error messages. The good news is that most issues are manageable once you know where to look. Here’s a rundown of common problems and how to troubleshoot them:
Website Won’t Load or Shows a White Screen
This is often called the “White Screen of Death.” It can be caused by plugin conflicts, theme issues, or exhausted PHP memory limits. To fix it:
- Access your site via FTP or GoDaddy’s File Manager
- Rename the plugins folder temporarily (e.g., to plugins_backup)
- Check if your site loads. If it does, activate plugins one by one to identify the culprit
- If not, try switching to a default theme like Twenty Twenty-Three
- Consider increasing PHP memory limits via wp-config.php or contacting GoDaddy support
Plugin or Theme Conflicts
If you recently added a new plugin or theme and your site starts acting up, disable the new addition to see if that resolves the issue. Always test new plugins on a staging site before deploying on your live site.
Login Issues
If you can’t log in to WordPress:
- Reset your password using the “Lost Password” link
- If that doesn’t work, reset the password directly in the database via phpMyAdmin
- Clear your browser cache or try a different browser
Security and Malware Concerns
If your site gets flagged or you notice suspicious activity:
- Run a security scan with a plugin like Wordfence
- Remove any malware or suspicious files
- Change all passwords, including your hosting and admin accounts
- Ensure your WordPress, themes,, and plugins are up to date
Performance Problems
If your site loads slowly:
- Clear your cache
- Disable unnecessary plugins
- Optimize images and use a caching plugin
- Check your hosting plan—sometimes, upgrading to a better plan can make a big difference
Remember, troubleshooting is often a process of elimination. Take it step by step, and don’t hesitate to seek help from GoDaddy’s support or WordPress communities if needed. With patience and a bit of know-how, most issues can be resolved quickly, so you can get back to running your website smoothly.
Conclusion and Next Steps for Your WordPress Website on GoDaddy
Congratulations! You’ve now completed the essential steps to set up and customize your WordPress website on GoDaddy. This powerful combination offers a flexible platform to bring your online vision to life, whether you’re creating a personal blog, a business site, or an online store. Remember, the journey doesn’t end here—continuous improvement and updates are key to maintaining a successful website.
Next, consider focusing on the following areas:
- Optimize Your Content: Regularly update your website with fresh, relevant content to attract and retain visitors. Use engaging images, clear calls-to-action, and SEO-friendly keywords.
- Enhance Website Security: Install SSL certificates, enable security plugins, and keep your WordPress core, themes, and plugins updated to protect against threats.
- Improve User Experience: Use analytics tools to monitor visitor behavior, streamline navigation, and ensure your site loads quickly on all devices.
- Leverage Marketing Strategies: Integrate email marketing, social media, and search engine optimization (SEO) tactics to grow your audience and increase engagement.
Additionally, explore the wide range of plugins and themes available for WordPress to customize your site further. Don’t hesitate to seek support from GoDaddy’s customer service or WordPress communities if you encounter challenges along the way. With dedication and ongoing effort, your website can become a powerful tool for achieving your goals.
Embark on your website journey confidently, knowing you have a solid foundation and clear next steps to ensure continuous growth and success.