If you’re running a website on WordPress.com, making it easy for visitors to reach out to you is a must. A simple contact button can do wonders—whether it’s for inquiries, support, or even just to connect with your audience. But how exactly do you add this handy feature? Don’t worry; it’s easier than you might think! In this guide, we’ll walk through the straightforward steps to add a contact button to your WordPress.com site, helping you improve communication and boost your site’s effectiveness. Ready to make it easier for visitors to contact you? Let’s get started!
Why a Contact Button Is Important for Your Website
Having a contact button on your website is more than just a nice-to-have—it’s a critical element for building trust and encouraging engagement. Think of it as a direct line between you and your visitors. Here’s why it’s so essential:
- Enhances Accessibility: Visitors don’t want to hunt around for your contact info. A prominent button makes it easy for them to find how to reach out.
- Boosts Credibility: A visible contact option signals that you’re approachable and legitimate, which can increase trust in your brand or business.
- Encourages Engagement: Whether they have questions, feedback, or want to collaborate, a contact button lowers the barrier for communication.
- Supports Customer Service: For business sites, quick contact options can improve customer satisfaction and help resolve issues faster.
Plus, with a contact button, you can track how many visitors are reaching out, giving you insights into your audience’s needs and interests. Overall, it’s a simple addition that can make a big difference in how your website interacts with its visitors. So, adding a contact button isn’t just about convenience—it’s about creating a more engaging, trustworthy, and responsive online presence.
3. Step-by-Step Guide to Adding a Contact Button on WordPress.com
Adding a contact button to your WordPress.com site might sound a bit technical at first, but once you get the hang of it, it’s pretty straightforward. Here’s a simple, step-by-step guide to help you do just that:
Step 1: Log into your WordPress.com account
Start by heading over to WordPress.com and logging into your dashboard. Make sure you’re on the site where you want to add your contact button.
Step 2: Navigate to the page or post where you want the button
Go to “Pages” or “Posts” in your dashboard menu, and select the one you want to edit. If you want the button to appear on your homepage, choose that page.
Step 3: Enter the Block Editor
Click on the “Edit” button for the page or post. This will open the WordPress Block Editor, which is a flexible way to add content.
Step 4: Add a Button Block
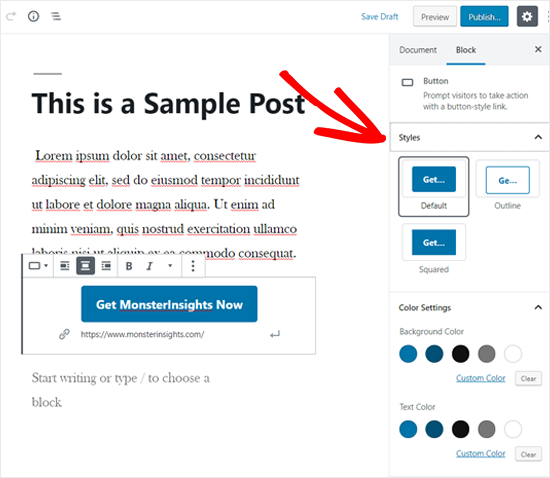
Click the “+” icon to add a new block. From the block options, select “Button” – this will insert a clickable button into your page.
Step 5: Customize your button
Type in the text you want on your button, like “Contact Us” or “Get in Touch”. Then, click on the button to customize its appearance:
- Change the color to match your branding
- Adjust the alignment (center, left, right)
- Resize or style the button if options are available
Step 6: Link your button to your contact method
Click the link icon (usually a chain symbol) inside the button block. You can link your button to:
- An email address (using mailto:[email protected])
- A contact page on your website
- A third-party contact form URL
For example, if you want to open an email client when clicked, enter mailto:[email protected].
Step 7: Save and preview your changes
Once everything looks good, click “Update” or “Publish” to make your changes live. Preview your page to see the contact button in action.
That’s it! You now have a fully functional contact button on your WordPress.com website, making it easier for visitors to reach out to you.
4. Using Built-in Blocks to Create a Contact Button
WordPress.com’s Block Editor is packed with features that make adding a contact button a breeze—no coding required! Here’s how you can leverage built-in blocks to create a professional-looking contact button:
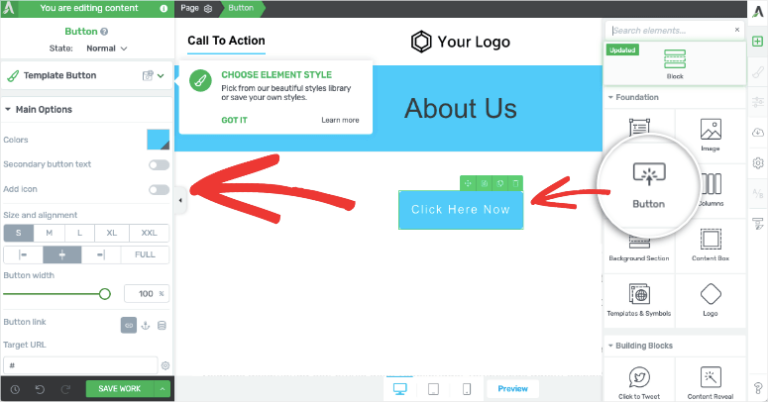
Step 1: Use the Button Block
As mentioned earlier, the easiest way is to use the dedicated “Button” block. It’s designed specifically for clickable elements and offers quick customization options.
Step 2: Enhance with Cover or Group Blocks
For more creative control, consider wrapping your button inside other blocks:
- Cover Block: Add a background image or color behind your button for visual appeal.
- Group Block: Combine multiple elements like text and buttons together, making your section more organized.
Step 3: Add a Spacer for Better Layout
If you want to add some breathing room around your contact button, use a “Spacer” block before or after the button. Adjust its height to get the perfect spacing.
Step 4: Incorporate Icons or Images for Visual Cues
Make your contact button stand out by adding an icon or small image alongside the text:
- Use the “Image” block next to your button for an email or phone icon
- Alternatively, add an SVG icon within the button if your theme supports it
Step 5: Use Call-to-Action (CTA) Blocks
Some themes and plugins offer CTA blocks or sections designed specifically to prompt user interaction. These often include customizable buttons and messaging, perfect for contact prompts.
Tip: Always preview your page on different devices to ensure your contact button looks good everywhere. Make sure it’s prominently placed—like in your header, footer, or sidebar—for maximum visibility.
By leveraging these built-in blocks and features, you can craft a visually appealing, functional contact button that seamlessly integrates into your site’s design. It’s a simple yet powerful way to boost engagement and make it easier for visitors to connect with you.
5. Customizing Your Contact Button for Better User Engagement
Once you’ve added a contact button to your WordPress.com site, the next step is making it as inviting and user-friendly as possible. Customization is key here—it’s not just about adding a button but ensuring it encourages visitors to reach out. Let’s talk about some practical ways to make your contact button stand out and boost engagement.
Choose the Right Text and Color: The text on your button should be clear and inviting. Instead of generic labels like “Contact,” try something more engaging like “Get in Touch,” “Let’s Chat,” or “Send Us a Message.” As for colors, pick a hue that contrasts well with your website’s theme but still aligns with your branding. Bright, eye-catching colors like orange or green often work well to draw attention.
Size and Placement Matter: Your contact button should be easily noticeable without overwhelming your layout. Place it where visitors naturally look—usually in the header, footer, or as a floating button on the side of your page. Make it large enough to click easily on desktops and mobile devices but not so big that it disrupts your design.
Use Icons for Visual Appeal: Adding an icon, like a speech bubble, phone, or envelope, next to your button text can make it more visually appealing and instantly recognizable. Many WordPress themes and plugins allow you to include icons effortlessly.
Personalize the Message Behind the Button: If your site targets a specific audience, tailor your call-to-action to resonate with them. For example, “Schedule a Free Consultation” or “Request a Quote” can be more compelling than a generic message.
Test and Analyze: Don’t be afraid to experiment. Use A/B testing to try different button texts, colors, or placements. Monitor your website analytics to see which options lead to more clicks and inquiries. Small tweaks can make a big difference in user engagement.
Remember, the goal is to make your contact button approachable and easy to use. When visitors see a button that looks inviting and clearly communicates the next step, they’re much more likely to reach out—leading to more connections and potential business opportunities.
6. Alternative Methods to Add a Contact Button on WordPress.com
If you want to explore beyond the standard methods, there are several alternative ways to add a contact button to your WordPress.com website. These options can give you more flexibility, design choices, or functionality depending on your needs.
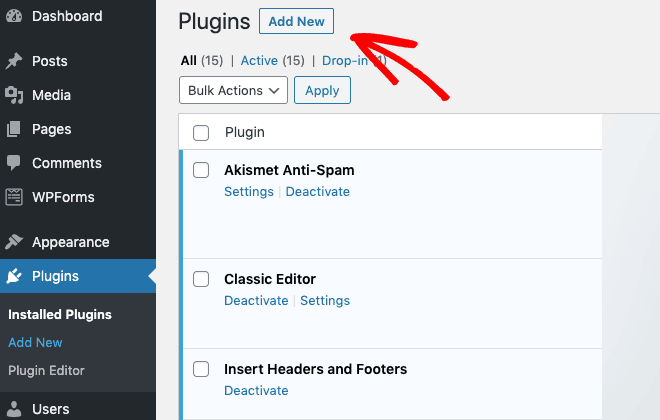
Using a Plugin or Widget: Although WordPress.com has some restrictions compared to self-hosted sites, many plans support plugins and widgets. Look for contact button plugins like WPForms or Jetpack Contact Forms. These tools often come with customizable buttons that you can place anywhere on your site, including sidebars or footer areas.
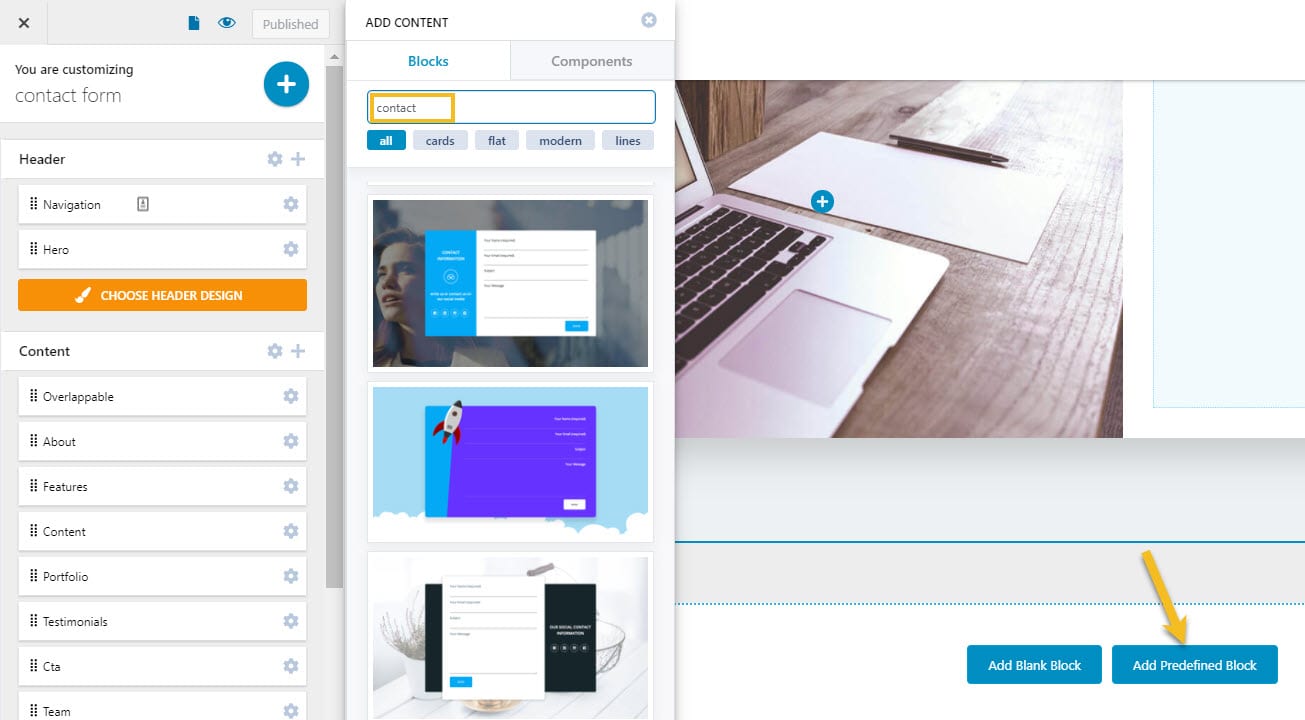
Embedding a Third-Party Service: Services like Calendly, Google Forms, or Typeform allow you to create custom contact forms or scheduling buttons. You can embed these forms directly into your pages or posts using embed blocks or shortcodes. They often include a call-to-action button that users can click to fill out a form or book an appointment.
| Method | Pros | Cons |
|---|---|---|
| Custom HTML Embed | Full control over button design and placement | Requires basic HTML knowledge |
| Third-party Widgets | Easy to set up with minimal coding | Limited customization depending on the service |
| Using Built-in Blocks | Simple and integrated within WordPress editor | Less flexible for advanced designs |
Adding a Floating or Sticky Button: If you want your contact button to stay visible as visitors scroll, consider adding a floating or sticky button. This can be achieved through certain plugins or by adding custom CSS. Sticky contact buttons are effective for encouraging quick contact without requiring users to scroll back to a specific section.
Manual Code Insertion: For those comfortable with code, you can add custom HTML, CSS, or JavaScript snippets directly into your site’s code snippets or through the customizer. This method allows for highly tailored contact buttons with unique animations or behaviors.
In summary, there are plenty of ways to add a contact button beyond the basic methods, each with its own advantages. Whether you prefer using plugins, embedding third-party forms, or custom coding, the goal remains the same: making it as easy as possible for your visitors to get in touch with you. Experiment with these options to find what works best for your site and your audience.
7. Tips for Optimizing Your Contact Button for Mobile Users
Let’s face it — more and more people are browsing websites on their smartphones and tablets. So, it’s super important to make sure your contact button isn’t just visible, but also easy to tap and use on mobile devices. Here are some practical tips to optimize your contact button for mobile users:
Make It Large and Click-Friendly
Ensure your contact button is big enough to tap comfortably. A good rule of thumb is to make it at least 48 pixels tall and wide, with enough spacing around it so users don’t accidentally tap other elements. You can do this easily with custom CSS if needed, but many WordPress themes also have built-in options for button sizing.
Use Clear and Concise Text
The text on your button should be straightforward, like “Contact Us” or “Get in Touch”. Keep it short so users immediately understand what will happen when they tap it. Avoid cluttering the button with too much text or confusing wording.
Choose High-Contrast Colors
Make your button stand out by using colors that contrast well with your website background. For example, if your site has a light background, go for a vibrant color like blue or green. This helps users spot the button instantly, no matter what device they’re on.
Optimize Loading Speed
A slow-loading button or page can frustrate mobile users. Use optimized images and avoid heavy scripts that can slow down your site. Fast-loading pages improve user experience and increase the chances of contact conversions.
Test on Multiple Devices
Before you finalize everything, test your contact button on various smartphones and tablets. Check different screen sizes and operating systems to ensure it looks good and functions correctly everywhere. Tools like BrowserStack or simply testing on your own devices can help catch any issues early.
Consider Adding Tap Animations
A subtle animation or hover effect (which also works on mobile tap) can make your button feel more interactive. Just keep it simple — avoid flashy effects that might slow down your site or distract users.
Use Click-to-Call Buttons for Mobile
If your goal is to get users to call you directly, consider using tel: links. When users tap these on their phones, it automatically opens the dialer with your number ready to call. For example:
| Example | Description |
|---|---|
| <a href=”tel:1234567890″>Call Us Now</a> | Creates a clickable link that initiates a phone call on mobile devices |
By implementing these tips, you’ll make your contact button a mobile-friendly powerhouse, encouraging more users to reach out without frustration or hassle.
8. Common Troubleshooting Tips for Contact Button Issues
Sometimes, despite your best efforts, your contact button might not work as expected. Don’t worry — many issues are easy to diagnose and fix. Here are some common problems and troubleshooting steps to get your contact button back on track:
1. The Button Doesn’t Respond When Clicked
- Check the Link: Make sure the URL or action assigned to the button is correct. For example, if you’re using a mailto link, verify the email address.
- Inspect for JavaScript Conflicts: Sometimes, other plugins or scripts can interfere. Disable recent plugins one by one to see if that resolves the issue.
- Test on Different Browsers and Devices: This helps determine if the problem is browser-specific or device-related.
2. The Button Looks Wrong or Doesn’t Style Properly
- Clear Cache: Especially if you’re using caching plugins, clear your site’s cache to see recent changes.
- Check CSS Conflicts: Custom CSS might override your styles. Use browser developer tools (like Chrome DevTools) to inspect the button and see if styles are being overridden.
- Review Theme Compatibility: Ensure your theme supports custom buttons or contact form blocks properly.
3. The Contact Form Doesn’t Send Messages
- Verify Email Settings: Make sure your email address is correct and that your hosting provider isn’t blocking outgoing emails.
- Use SMTP: If emails aren’t arriving, consider configuring SMTP (Simple Mail Transfer Protocol) for reliable email delivery.
- Check Spam Folders: Sometimes, contact form submissions land in spam. Ask users to check their spam folder.
4. The Button Is Not Visible or Not Positioned Correctly
- Review Visibility Settings: Ensure the button isn’t hidden with CSS or display:none style.
- Check Z-Index: Sometimes, other elements overlay the button. Adjust the z-index property to bring it to the front.
- Responsive Design: Use developer tools to see how your button appears on different screen sizes and adjust your CSS accordingly.
5. Test After Fixes
Always test your contact button after making changes. Clear your browser cache or test in incognito mode to see the latest version. Also, try using different devices and browsers to ensure consistent functionality.
If issues persist despite troubleshooting, consider reaching out to your theme’s support or a web developer. Sometimes, conflicts are more complex and require expert attention.
Conclusion and Additional Resources for Enhancing Your Contact Options
Adding a contact button to your WordPress.com website is a straightforward way to improve communication with your visitors and boost engagement. By choosing the right method—whether using built-in features, plugins, or custom code—you can ensure your contact options are accessible and user-friendly. Remember, a well-placed contact button not only encourages inquiries but also builds trust with your audience.
To further enhance your contact options, consider exploring the following resources:
- WordPress.com Support: Official guides on customizing your site and adding contact features.
- Contact Form Plugins: Plugins like WPForms or Jetpack Contact Form offer easy-to-use forms integrated directly into your site.
- Third-Party Services: Platforms like Google Forms or Typeform provide customizable forms that can be embedded into your pages.
- Design Tips: Ensure your contact button stands out visually by using contrasting colors and clear call-to-action text.
By leveraging these resources and best practices, you can create multiple, accessible contact options that meet the needs of your visitors and support the growth of your website. Regularly review and update your contact methods to keep communication channels open and effective. Happy connecting!