Looking to make your WordPress site stand out with eye-catching sliders? Revolution Slider is one of the most popular and versatile slider plugins out there. It allows you to create stunning, animated slideshows that captivate visitors and showcase your content beautifully. Whether you’re highlighting products, services, or portfolios, Revolution Slider offers a user-friendly way to bring your ideas to life. In this guide, we’ll walk through how to get started and make the most of this powerful tool—so let’s dive in and start creating those stunning slides!
Installing and Activating Revolution Slider Plugin
Getting started with Revolution Slider is straightforward. First, you’ll want to purchase the plugin from CodeCanyon or obtain it through your theme if it includes the plugin bundled. Once you have the plugin zip file, follow these simple steps:
- Login to your WordPress Dashboard. Navigate to your site’s admin area.
- Go to Plugins > Add New. Click on the “Upload Plugin” button at the top.
- Upload the Plugin Zip File. Select the Revolution Slider zip file you downloaded and click “Install Now.”
- Activate the Plugin. After installation, click “Activate Plugin.” You should see Revolution Slider added to your menu.
Once activated, you’ll find a new menu item called “Revolution Slider” in your dashboard sidebar. From here, you’re ready to start creating your first slider! If your theme already includes Revolution Slider, it might be pre-installed—just look for it in your dashboard and activate it if needed. Remember, keeping your plugin updated ensures you have the latest features and security patches, so check for updates regularly. Now that you’ve installed and activated the plugin, you’re all set to craft stunning slides that will wow your visitors!
3. Creating Your First Slider in WordPress
Getting started with Revolution Slider in WordPress might seem a bit daunting at first, but once you get the hang of it, you’ll find it’s actually quite intuitive. Let’s walk through the process of creating your very first slider together.
First things first, make sure you’ve installed and activated the Revolution Slider plugin. Once that’s done, you’ll find a new menu item called “Revolution Slider” in your WordPress dashboard. Click on it to begin.
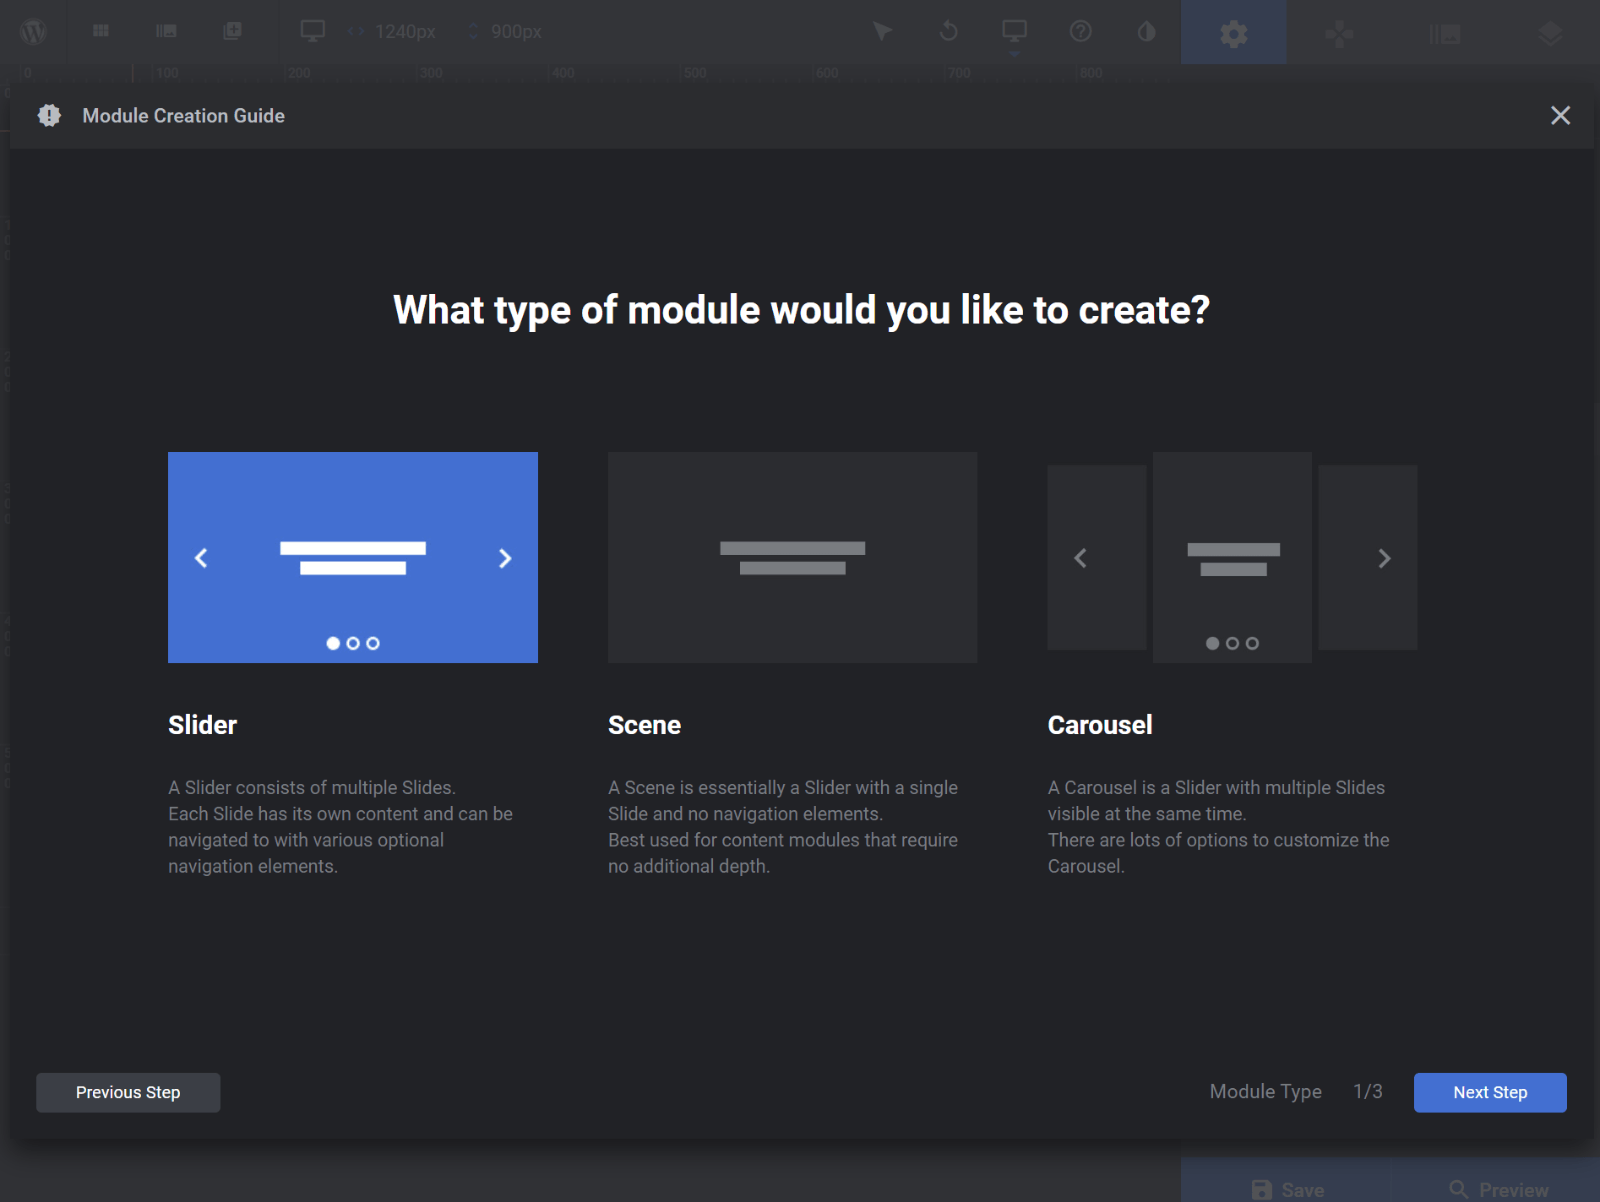
Now, to create a new slider, click the “New Blank Slider” button. You’ll be prompted to give your slider a name—something descriptive so you can easily identify it later. For example, “Homepage Hero” or “Summer Sale Banner.”
Next, set your slider’s dimensions. Depending on where you want to display it, you might choose a full-width slider or a specific pixel size. Don’t worry; you can always tweak this later.
Once your basic setup is complete, click “Create”. Now comes the fun part: adding slides. You’ll see an empty slider canvas. Click on “Add Slide”. You can start with a blank slide or choose from pre-designed templates if you’re short on time.
Each slide is like a mini canvas. You can add images, videos, text, buttons, shapes—you name it. To add content, click on “Add Layer”, then select from the options like Text, Image, Button, etc. This flexibility allows you to craft visually compelling slides tailored to your message.
Don’t forget to save your slider frequently. Once you’re satisfied, hit “Save” and then embed your slider into your website using the provided shortcode or via your theme’s slider options. Voila! You’ve just created your first stunning slider in WordPress.
4. Designing Engaging Slides with Custom Content and Media
The real magic of Revolution Slider lies in its ability to help you craft engaging, dynamic slides that captivate visitors. Let’s explore how you can customize your slides with media and content to make them stand out.
Start by selecting a slide and adding layers—these are the building blocks of your slide design. You can add:
- Text layers: Perfect for headlines, descriptions, or calls-to-action.
- Image layers: Use high-quality photos or graphics to reinforce your message.
- Video layers: Embed videos from YouTube, Vimeo, or your own library for added engagement.
- Button layers: Create clickable buttons that direct visitors to products, services, or contact forms.
When designing each layer, take advantage of the extensive customization options:
- Animations: Add entrance and exit animations to make your layers appear lively and eye-catching.
- Timing: Control when each layer appears and disappears for a seamless flow.
- Styling: Adjust colors, fonts, sizes, and shadows to match your brand identity.
- Linking: Make your buttons or images clickable, linking to your desired pages or offers.
For example, you might create a slide with a vibrant background image, overlay a bold headline, add a descriptive paragraph, and include a call-to-action button—all animated to fade in sequentially. This layered approach ensures your message is clear and visually appealing.
Don’t forget to optimize your media. Use compressed images to keep load times fast and ensure videos are embedded correctly for smooth playback.
Finally, preview your slides regularly to see how they look and feel. Adjust animations, timings, and styles as needed until you achieve the perfect look. Remember, the goal is to create slides that are not just beautiful but also effective in engaging your visitors and guiding them toward your desired action.
5. Configuring Slider Settings for Optimal Performance
Once you’ve got your slides ready, it’s time to fine-tune the settings to make sure your Revolution Slider performs like a champ. Proper configuration not only boosts the visual appeal but also ensures your website loads quickly and provides a smooth user experience. Let’s walk through some key settings to focus on.
1. Slider Size and Layout: Start by choosing the appropriate size for your slider. Whether you want a full-width slider or a fixed height, make sure it complements your website’s design. In the slider settings, you can set the width, height, and layout type (auto, full-width, or full-screen). Keep responsiveness in mind—test on different devices to see how it looks.
2. Transition Effects: The transition effect is what happens between slides. From fades to slides, zooms, or cubes, pick an effect that matches your website’s style. Remember, less is often more—using too many flashy effects can distract visitors. Stick to a couple of smooth transitions for a professional look.
3. Animation Speed and Delay: Adjust the speed of slide transitions and how long each slide stays before moving to the next. Faster transitions can create a dynamic feel, while slower ones give visitors more time to absorb content. Find a balance that’s engaging but not overwhelming.
4. Navigation Settings: Decide how users will navigate your slider. You can enable arrows, bullets, or both. Consider adding touch navigation for mobile users. You can also customize the position, style, and behavior of these navigation elements to match your branding.
5. Lazy Loading and Optimization: To keep your site speedy, enable lazy loading for images. This way, only images visible on the screen load initially, reducing load times. Additionally, optimize your images beforehand—use modern formats like WebP and compress files without sacrificing quality.
6. Responsive and Mobile Settings: Revolution Slider offers specific options for mobile devices. Make sure your slider looks great on all screens by adjusting font sizes, spacing, and navigation for smaller devices. Test your slider on various devices to ensure seamless responsiveness.
By carefully configuring these settings, you ensure that your slider is not only visually stunning but also performs flawlessly. Remember, the goal is to catch attention without slowing down your site or causing frustration for your visitors. Take your time experimenting with different options until you find the perfect balance.
6. Adding Slides to Your WordPress Website
Now that your slider is set up and optimized, it’s time to add your slides! Adding slides is straightforward, but it’s also where you get to showcase your creativity. Let’s go through the step-by-step process to add and customize slides in Revolution Slider.
1. Access the Slider Dashboard: From your WordPress admin dashboard, navigate to Revolution Slider > Sliders. Here, you’ll see a list of your existing sliders or the option to create a new one. Click on the slider you want to edit or hit Add New Slider to start fresh.
2. Creating a New Slide: Inside your chosen slider, click on Add Slide. You’ll be presented with options to choose a pre-made template or build from scratch. For maximum customization, select Blank Slide or a blank template.
3. Uploading and Adding Content: Each slide can contain images, videos, and overlay text. Use the slide editor to upload your media files:
- Background Image or Video: Upload a high-quality background image or embed a video.
- Layer Content: Add text, buttons, or shapes as layers. Customize fonts, colors, and animations to match your brand.
4. Positioning and Animating Layers: Click on each layer to move, resize, or style it. You can also add entrance and exit animations, delays, and durations to make each element pop. Use the preview feature to see how your animations look in real-time.
5. Saving Your Slide: Once satisfied, hit Save Slide. Repeat the process to add multiple slides—think about creating a compelling story or showcase that flows seamlessly.
6. Rearranging Slides: You can reorder your slides by dragging and dropping them within the slider editor. This helps you control the sequence and storytelling flow.
7. Preview and Publish: After adding your slides, preview the entire slider to see how it looks live. If everything’s perfect, save your changes and insert the slider into your page or post using the shortcode or the Revolution Slider widget.
Adding slides is your chance to tell a visual story—whether it’s highlighting products, promoting offers, or sharing your brand’s message. Take your time crafting each slide, using engaging images and compelling copy, and your visitors will be drawn in from the moment they land on your page.
7. Tips for Making Your Slides More Attractive and Effective
Creating visually stunning and effective slides isn’t just about adding pretty images; it’s about crafting a compelling story that captures your visitors’ attention and encourages them to take action. Here are some practical tips to elevate your Revolution Slider and ensure your slides stand out:
Focus on High-Quality Visuals
Start with crisp, high-resolution images that resonate with your brand or message. Blurry or pixelated images can undermine your slide’s professionalism. Use images that are relevant and evoke emotion or curiosity.
Keep Text Clear and Concise
Use minimal text to communicate your message. Large, bold fonts work well for headlines, while supporting details can be smaller. Remember, visitors often skim, so make your message easy to digest at a glance.
Use Contrasting Colors
Ensure your text stands out against the background by choosing contrasting colors. This enhances readability and draws attention to key messages. Tools like color contrast checkers can help you choose the right palette.
Leverage Animation and Transitions Wisely
Animations can add a dynamic feel to your slides, but overdoing it can be distracting. Use subtle transitions and animations that complement your content. For example, fade-ins or slide-ins can add elegance without overwhelming the viewer.
Include Clear Calls-to-Action (CTAs)
Every effective slide should guide visitors towards the next step. Whether it’s “Learn More,” “Get Started,” or “Buy Now,” make your CTA prominent and compelling. Use buttons or highlighted text to make them stand out.
Maintain Consistency
Keep a consistent style across all slides—use the same color schemes, fonts, and layout principles. This creates a cohesive visual experience and reinforces your brand identity.
Test and Optimize
Don’t set and forget your slides. Regularly review their performance, gather feedback, and tweak the design or messaging accordingly. A/B testing different versions can reveal what resonates best with your audience.
8. Troubleshooting Common Issues with Revolution Slider
Even the most robust tools can sometimes run into hiccups. Here’s a quick guide to troubleshoot some common issues with Revolution Slider, so you can get back to creating stunning slides without frustration:
Slider Not Displaying or Loading Incorrectly
- Check shortcode placement: Ensure you’ve placed the slider shortcode correctly on your page or post.
- Verify plugin activation: Make sure Revolution Slider plugin is activated in your WordPress plugins menu.
- Clear caches: If you’re using caching plugins or server caches, clear them to see recent changes.
- Check for conflicts: Deactivate other plugins temporarily to see if there’s a conflict causing the issue.
Slides Are Not Animating or Transitions Are Not Working
- Review animation settings: Make sure animations are enabled and configured correctly within each slide’s settings.
- Update your browser: Sometimes, outdated browsers can cause display issues. Clear your cache or try a different browser.
- Disable conflicting scripts: Check if other scripts or plugins are interfering with Revolution Slider scripts.
Images Not Showing or Broken Links
- Check image URLs: Ensure images are correctly uploaded to your media library and linked properly.
- File permissions: Verify that your image files have the correct permissions so they can be accessed publicly.
- Optimize image size: Large images can cause loading delays. Optimize them for web use.
Responsive Issues
- Preview on different devices: Use the built-in responsive preview feature to see how your slides look on desktops, tablets, and smartphones.
- Adjust mobile settings: If elements don’t display well on mobile, tweak the responsive settings within Revolution Slider to optimize layout and font sizes.
Getting Support
If you’ve tried troubleshooting and still face issues, consult the official Revolution Slider documentation or reach out to their support forums. Sometimes, a plugin update or conflict with your theme can cause issues that are best handled by the developers.
Remember, patience is key. Most issues have straightforward solutions once you identify the root cause. With a little troubleshooting, you’ll soon have your slides looking perfect and functioning flawlessly.
Conclusion and Next Steps for Eye-Catching WordPress Slides
Creating stunning slides with Revolution Slider in WordPress is a powerful way to elevate your website’s visual appeal and engage visitors effectively. Throughout this guide, we’ve explored the essential steps, from choosing the right templates to customizing animations and transitions. Remember, the key to impactful slides lies in clarity, consistency, and creativity. Use bold visuals, concise text, and smooth effects to capture attention and communicate your message effectively.
As you move forward, consider the following next steps to enhance your slider creation process:
- Experiment with Templates: Start with pre-designed templates to save time and customize them to fit your brand.
- Optimize for Mobile: Ensure your slides look great on all devices by testing responsiveness.
- Incorporate Calls-to-Action: Use clear buttons and prompts to encourage user interaction.
- Leverage Advanced Features: Explore layer animation, parallax effects, and dynamic content for more engaging slides.
- Regularly Update Content: Keep your slides fresh and relevant to maintain visitor interest.
Finally, always preview your slides thoroughly before publishing, and gather feedback from peers or visitors to refine your designs. With practice and creativity, your WordPress slides will become a compelling visual centerpiece that enhances your website’s overall impact.