In today’s digital landscape, securing your applications is more crucial than ever, especially when it comes to plugins for platforms like WordPress. That’s where JSON Basic Authentication comes into play. It offers a simple yet effective way to manage user authentication through a JSON format, ensuring that only authorized users can access specific features or data within your plugin. In this post, we’ll dig into what JSON Basic Authentication really is and why it’s beneficial for WordPress developers and users alike.
Understanding JSON and Basic Authentication

To implement JSON Basic Authentication, it’s essential to first grasp the core concepts of JSON and Basic Authentication. Let’s break these down:
What is JSON?
JSON, or JavaScript Object Notation, is a lightweight format used for data interchange. It’s easy for humans to read and write, and easy for machines to parse and generate. Here are a few key characteristics of JSON:
- Text-Based: JSON is a text format that is completely language-independent.
- Structured Data: It uses key-value pairs, making it easy to represent data structures.
- Hierarchical: JSON supports nested data, allowing for complex data representations.
What is Basic Authentication?
Basic Authentication is a straightforward authentication scheme built into the HTTP protocol. It allows users to send their credentials (username and password) with each request. Here’s how it generally works:
- The client sends a request to the server.
- The server responds with a challenge for authentication.
- The client resends the request with an Authorization header containing Base64-encoded credentials.
- The server validates the credentials and grants access if they are correct.
When combined, JSON and Basic Authentication can significantly simplify securing your WordPress plugin. By leveraging these technologies, you can efficiently manage user access and protect your valuable resources.
Setting Up Your WordPress Development Environment
Setting up a proper development environment is a crucial first step towards building your WordPress plugin. Think of it as laying a strong foundation before constructing your house. Fortunately, WordPress provides a convenient way to establish a local environment for developers.
Here are the steps to set up your WordPress development environment:
- Install a Local Server: You can use software like XAMPP, MAMP, or LocalWP. These tools will allow you to run WordPress on your computer by simulating a server environment.
- Download WordPress: Go to wordpress.org and download the latest version of WordPress. Make sure to unzip it in the correct directory set by your local server.
- Create a Database: Use phpMyAdmin (included in XAMPP, MAMP, etc.) to create a new database for your WordPress installation. You’ll need this database to store your content and plugin data.
- Configure wp-config.php: Open the wp-config-sample.php file in your WordPress folder and fill in your database details. Save it as wp-config.php.
- Install WordPress: Now, you can navigate to
http://localhost/your-folder-namein your web browser. Just follow the on-screen instructions to complete the installation.
With your WordPress environment set up, you’re ready to start diving into plugin development! It’s exciting to see your code come to life in this local playground.
Creating the Plugin Structure
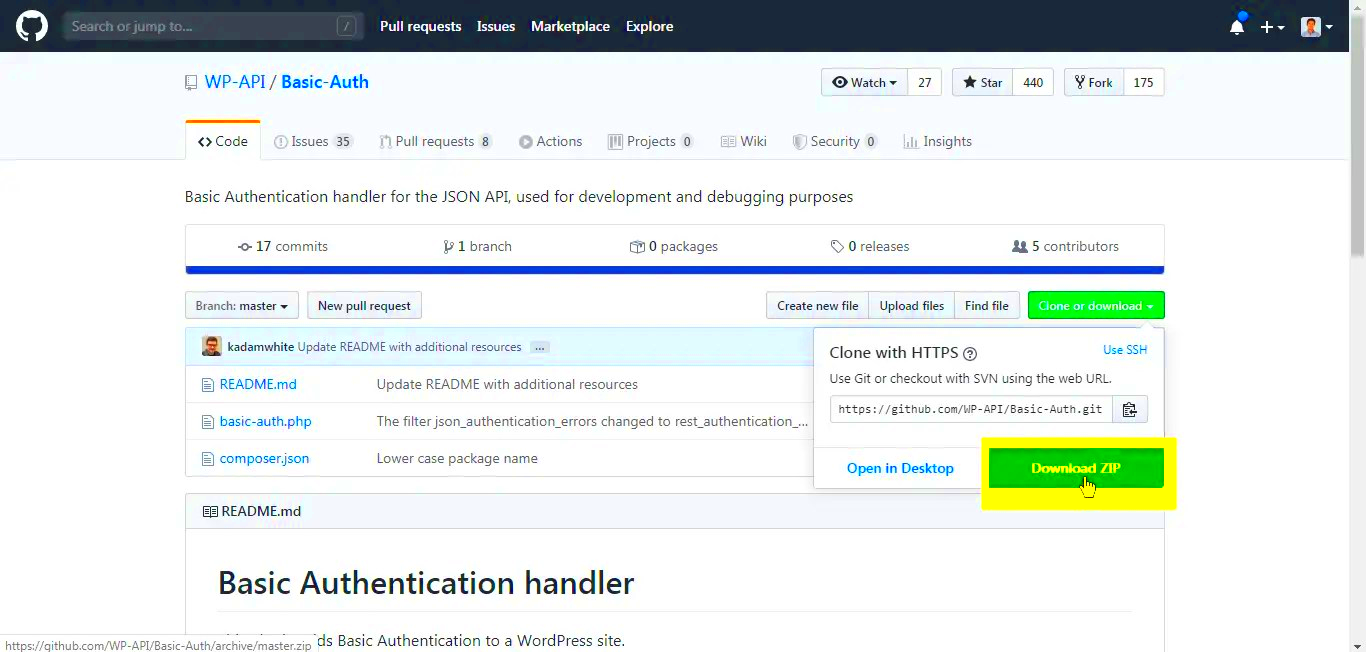
Now that your WordPress development environment is up and running, let’s dive into creating the plugin structure. Just like an architect drafts blueprints before building, creating a structured foundation for your plugin will save you a lot of headaches down the road.
Here’s how to create your WordPress plugin structure:
- Create a Plugin Folder: Navigate to the wp-content/plugins directory within your WordPress installation. Here, create a new folder named after your plugin. For example, if you’re building a JSON Basic Authentication plugin, you could name it
json-basic-auth. - Create a Plugin File: Inside your plugin folder, create a PHP file that matches the name of your plugin (e.g.,
json-basic-auth.php). This will be the main file where all your code resides. - Add Plugin Header Comments: At the top of your PHP file, add the following code snippet to define your plugin:
/*Plugin Name: JSON Basic AuthDescription: A WordPress plugin for implementing JSON basic authentication.Version: 1.0Author: Your Name*/ - Set Up Subdirectories: For better organization, consider creating subdirectories for assets like CSS, JS, and images. For instance:
/css/js/images
- Enqueue Scripts and Styles: In your main plugin file, you can enqueue CSS and JavaScript files using hooks. This will ensure they load dynamically when your plugin is activated.
Congratulations! You’ve set up the basic structure for your plugin. Having a clean, organized file structure makes development easier and more intuitive. The next steps will involve diving into the actual coding to implement JSON basic authentication.
Implementing JSON Basic Authentication
Implementing JSON Basic Authentication in your WordPress plugin is a crucial step to ensure secure communication between your plugin and client applications. This method enables you to protect your API endpoints by requiring a username and password sent via HTTP headers. Here’s how you can set it up:
Firstly, you need to register your custom endpoint using the WordPress REST API. This is where your JSON Basic Authentication will be applied. Use the following code snippet to create a new endpoint:
add_action('rest_api_init', function () { register_rest_route('your_namespace/v1', '/your_endpoint', array( 'methods' => 'GET', 'callback' => 'your_callback_function', 'permission_callback' => 'your_permission_callback', ));});In the above snippet, replace your_namespace and your_endpoint with relevant details specific to your plugin.
Next, to implement JSON Basic Authentication, you’ll need to authenticate the incoming requests. This can be done within your your_permission_callback function. Here’s how you can validate the credentials:
function your_permission_callback() { $username = 'your_username'; $password = 'your_password'; if (!isset($_SERVER['PHP_AUTH_USER']) || !isset($_SERVER['PHP_AUTH_PW'])) { return new WP_Error('no_auth', 'Authentication required', array('status' => 401)); } if ($_SERVER['PHP_AUTH_USER'] !== $username || $_SERVER['PHP_AUTH_PW'] !== $password) { return new WP_Error('invalid_credentials', 'Invalid credentials', array('status' => 403)); } return true;}With this implementation, your endpoint will now require valid credentials for access, ensuring that only authorized users can interact with your API. Keep in mind, for a production environment, you should implement a more secure way to handle user credentials, such as using environment variables.
Testing Your Authentication Mechanism
Once you have implemented JSON Basic Authentication in your WordPress plugin, it’s time to test it. Ensuring that your authentication mechanism is robust and functioning as expected is crucial for the security of your application. Here are some practical steps to thoroughly test your setup:
1. Using CURL: One of the simplest ways to test your authentication is through the command line using CURL. Here’s an example command:
curl -u your_username:your_password https://your-domain.com/wp-json/your_namespace/v1/your_endpointIf you receive a 200 status code, congratulations! Your authentication is working. If you get a 401 or 403 error, double-check your credentials and endpoint URL.
2. Browser Testing: You can also test your JSON Basic Authentication by accessing the endpoint directly in a web browser. If prompted for credentials, that means the authentication is functioning properly. Enter your username and password to see if you can access the endpoint.
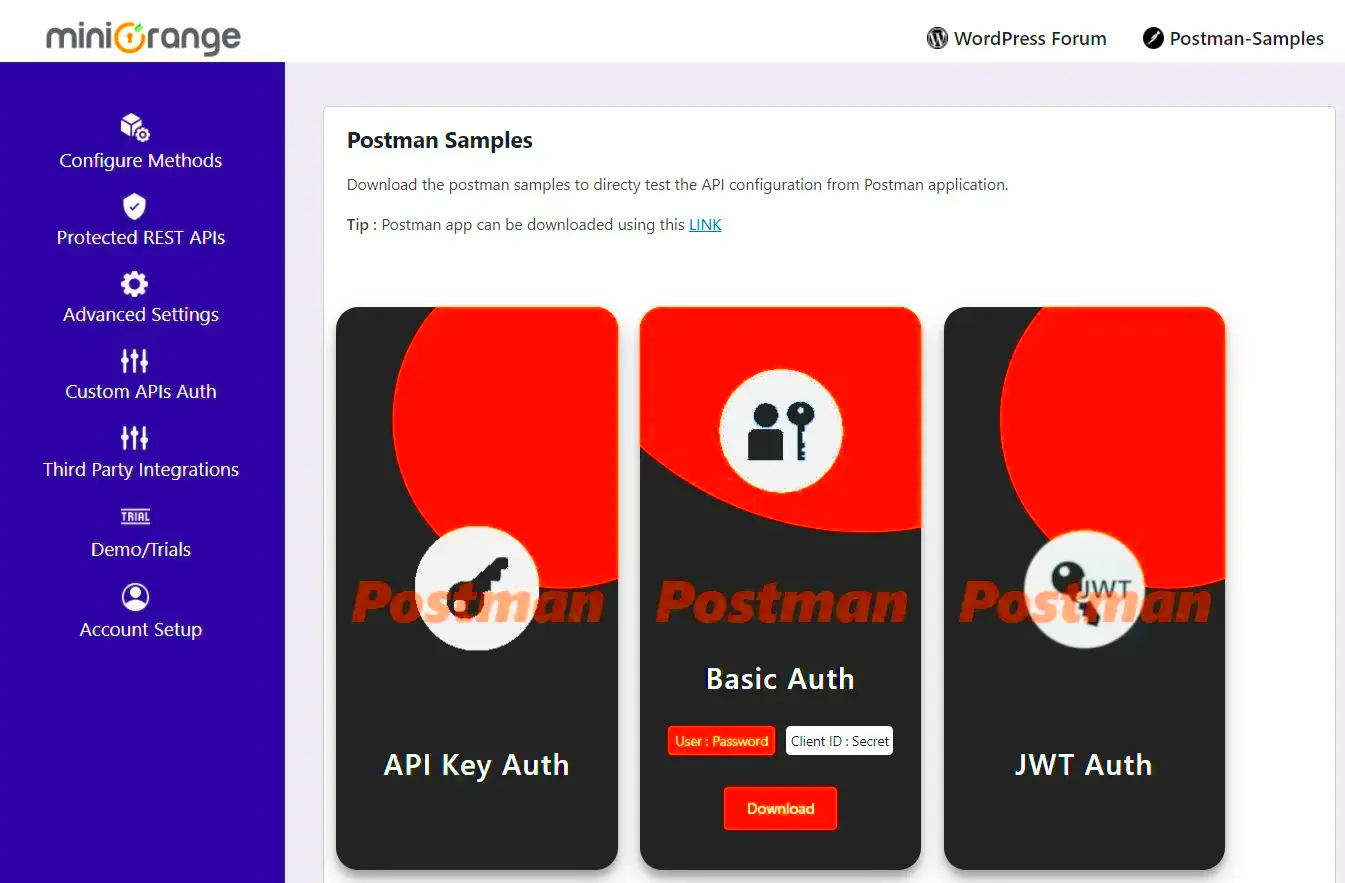
3. Postman Testing: Another great tool is Postman. You can set up a GET request with the necessary URL, and under the “Authorization” tab, select “Basic Auth”. Input your username and password, and click Send. Check the response status code and body to verify it’s behaving as intended.
4. Testing Invalid Credentials: Make sure to test with incorrect credentials to confirm that your application responds appropriately, returning 401 or 403 statuses as expected.
5. Logging and Monitoring: Finally, implement logging to help track authentication attempts, both successful and failed. This data can be invaluable for spotting unauthorized access attempts or other security incidents.
By following these steps, you can ensure that your JSON Basic Authentication is correctly implemented and is protecting your WordPress plugin’s endpoints effectively.
Common Issues and Troubleshooting
Implementing JSON Basic Authentication in your WordPress plugin can sometimes come with its own set of challenges. But don’t fret! Below, we’ll explore some of the most common issues you might encounter and how to effectively troubleshoot them.
1. Unauthorized Access Errors
Seeing an “Unauthorized” response when trying to access your API? This is often related to incorrect username or password credentials. Double-check that the credentials you’re using to authenticate are correct. Additionally, ensure that your API endpoint is set up properly. If you’re using a custom endpoint, verify that the URL matches exactly with what you’ve set in your plugin.
2. CORS Errors
If you’re trying to access your API from a different domain, you might face Cross-Origin Resource Sharing (CORS) issues. These can be resolved by enabling CORS in your WordPress plugin. Use the following code snippet in your plugin files to add the appropriate headers:
header('Access-Control-Allow-Origin: *');3. SSL Issues
JSON Basic Authentication works best over HTTPS. If you’re seeing any SSL-related errors, ensure that your site is properly set up with an SSL certificate and that your API calls use “https://” instead of “http://”.
4. Plugin Conflicts
Sometimes, other plugins can interfere with the functioning of your JSON Basic Authentication. To troubleshoot this, temporarily disable other plugins and see if the issue persists. If it works, you can enable them one by one to find the culprit.
By being aware of these common issues and how to troubleshoot them, you can save time and make your development process smoother!
Best Practices for Securing Your Plugin
When it comes to securing your WordPress plugin, implementing JSON Basic Authentication is just the beginning. Here are some best practices to follow to ensure your plugin is robust and secure:
1. Use HTTPS
Always ensure that your API calls are made over HTTPS. This secures the data in transit, making it harder for unauthorized users to intercept sensitive information like usernames and passwords.
2. Token-Based Authentication
Consider using token-based authentication (like JWT) as an alternative to basic authentication, especially for APIs. This approach offers an additional layer of security and eliminates the need to transmit a username and password with every request.
3. Implement Rate Limiting
To protect against brute-force attacks, limit the number of requests that can be made to your API within a specific timeframe. This can reduce the risk of unauthorized access.
4. Validate User Input
Make sure to validate and sanitize all user inputs. This will help prevent common vulnerabilities like SQL Injection or Cross-Site Scripting (XSS).
5. Regularly Update (and Secure) APIs
Keep your API endpoints updated, and regularly patch any vulnerabilities that are discovered. Using a versioning system for your APIs can help with managing changes while maintaining compatibility.
6. Utilize Application Security Plugins
Consider using security plugins that can help monitor and fend off potential attacks. Plugins such as Wordfence or iThemes Security can provide an extra layer of security for your plugins.
By implementing these best practices, you can significantly enhance the security of your WordPress plugin and protect both your users and your data.
Conclusion and Further Resources
Implementing JSON Basic Authentication in your WordPress plugin is a powerful way to secure the endpoints you create, ensuring that only authorized users can access sensitive data. Throughout this guide, we have explored key aspects of JSON authentication and its integration into WordPress plugins. With a solid understanding of both JSON and WordPress coding practices, you can streamline user interactions and enhance the overall user experience.
As you move forward with implementing JSON Basic Authentication, consider the following:
- Security Measures: Always prioritize security in your plugins. Use SSL certificates and keep your authentication tokens secure.
- User Experience: Ensure that the authentication process is seamless. Offer clear error messages and user guides.
- Testing: Thoroughly test your implementation across different scenarios to identify and fix any potential issues before deployment.
To further enhance your understanding and implementation skills, explore the following resources:
| Resource | Description |
|---|---|
| WordPress REST API Authentication Documentation | A comprehensive guide on how to implement various authentication methods in the WordPress REST API. |
| Creating a WordPress Plugin in 30 Minutes | A quick tutorial for those getting started with WordPress plugin development. |
| JavaScript Guide | A fundamental resource for understanding JavaScript, which is essential for working with JSON and AJAX requests. |
In conclusion, implementing JSON Basic Authentication can significantly bolster the security of your WordPress plugin while offering flexibility in how users interact with your site’s data. Utilize the resources provided to deepen your understanding and continually improve your plugin’s functionality.

