Managing media files in WordPress can be a game-changer for your website’s performance and your workflow. If you’ve ever felt overwhelmed by the number of images, videos, and documents cluttering your media library, you’re not alone! Media management is crucial to ensure your site runs smoothly, loads quickly, and provides a great user experience. In this section, we’ll explore why effective media management matters and how it can save you time and frustration down the road.
Understanding the WordPress Media Library
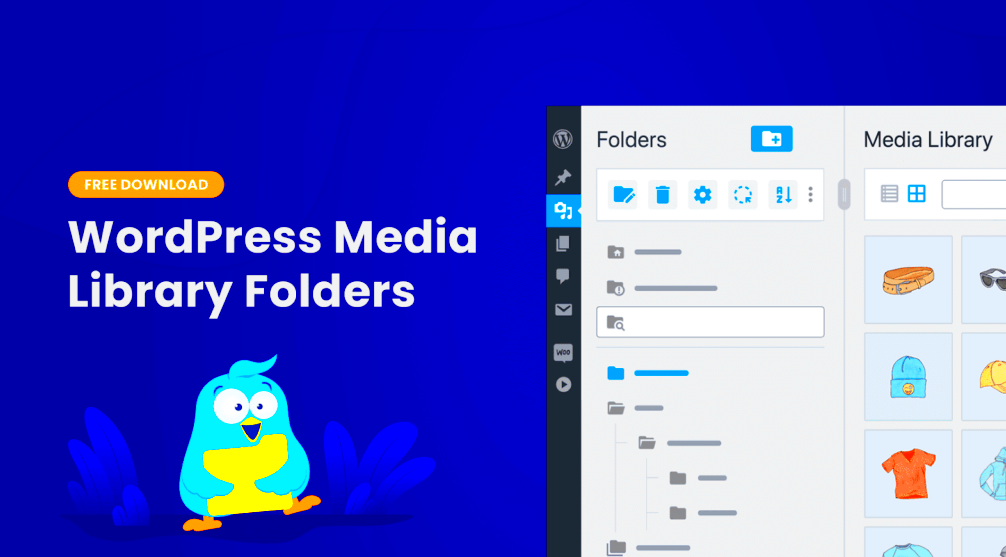
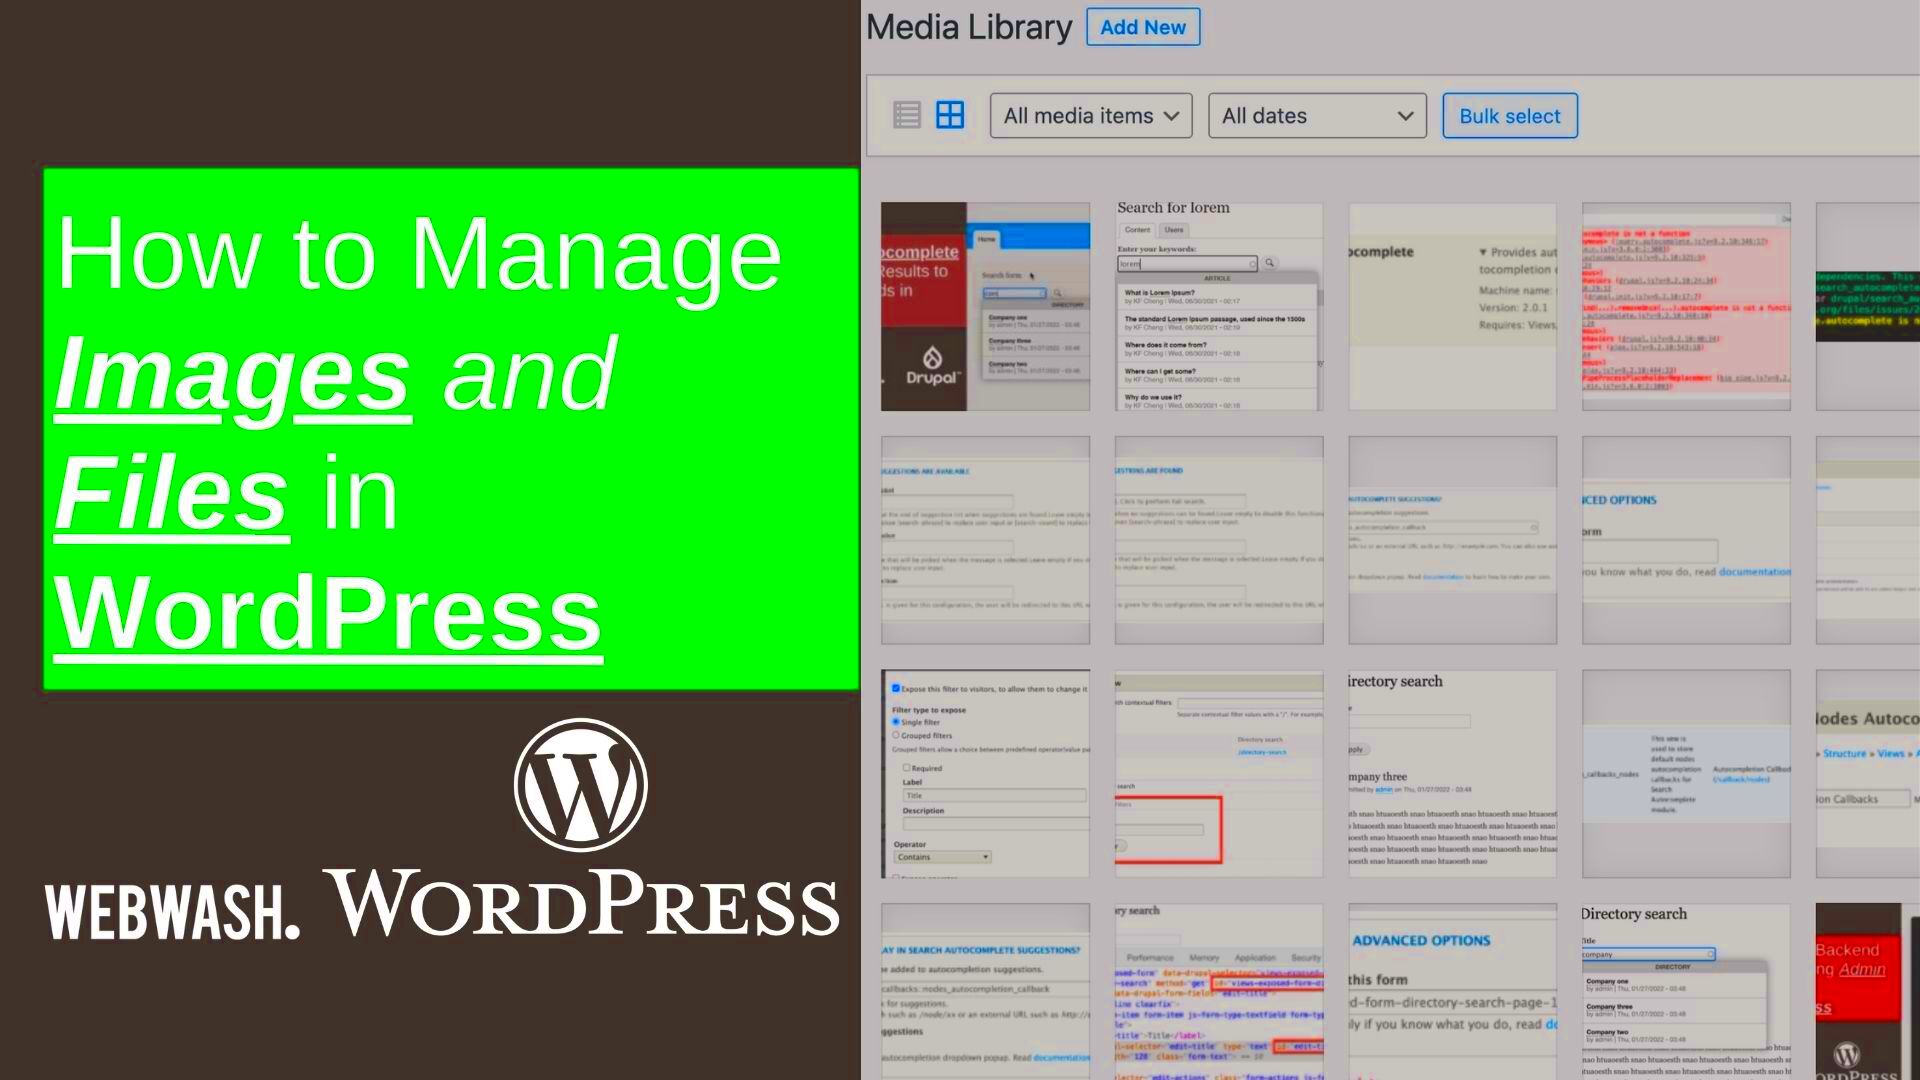
The WordPress Media Library is like the hub of all your media files. It’s where you can upload, manage, and organize all your visual content. But to truly take advantage of its features, you should understand how it operates. Let’s break it down:
- Upload Files: You can easily upload files by dragging and dropping them into the library, or you can use the “Add New” button.
- Sort and Filter: The Media Library includes sorting and filtering options to help you find your files quickly. You can filter by type, such as images, audio, video, and documents.
- Edit Metadata: After uploading, you can edit file details like titles, captions, alt text, and descriptions. This is crucial for SEO and accessibility.
- Bulk Actions: If you need to edit or delete multiple files at once, you can select them and use bulk actions for speedier management.
- Attachment Pages: Each media file has an attachment page, allowing you to view media details and manage comments if enabled.
Having a solid grasp of the Media Library’s capabilities will not only streamline your media management but also enhance your content strategies. Whether you’re running a blog, an e-commerce site, or a portfolio, organizing your media is key!
Organizing Media Files with Folders and Categories
When it comes to managing your media files in WordPress, organization is key. You wouldn’t toss your documents into a messy drawer without a second thought, right? The same principle applies to your digital files. Properly organizing your media files can save you time and stress down the road. Let’s dive into how to effectively categorize and manage your files!
While WordPress doesn’t have a built-in folders feature, you can still organize your media library effectively using categories and plugins. Here’s how:
- Utilize Categories: First, consider using categories for your uploads. By categorizing media files based on content type (like images, videos, or PDFs), you can quickly find what you need.
- Tagging: Besides categories, use tags for more specific organization. For instance, if you have a series of blog posts about travel, tag all related images with “travel” to enhance the searchability.
- File Naming Conventions: Implement a consistent naming convention for file uploads. Instead of “IMG_1234.jpg,” use descriptive names like “sunset-beach-vacation.jpg”. This not only helps with organization but also benefits SEO.
- Media Library Plugins: Consider using plugins like WP Media Folder or FileBird. These tools provide a more robust filing system with drag-and-drop capabilities, making it easier to manage your files.
Ultimately, a well-organized media library not only enhances your productivity but also can lead to improved site performance. So, start categorizing today for a more streamlined WordPress experience!
Uploading Media Files: Best Practices
Uploading media files to your WordPress site might seem like a straightforward task, but there are best practices that can elevate the quality and performance of your site. Let’s explore how you can optimize your uploads to create a seamless experience for your users.
Here are some best practices to consider when uploading media files:
| Practice | Description |
|---|---|
| Optimize Image Size | Before uploading images, make sure they are optimized for web. Tools like TinyPNG or ImageOptim can compress files without sacrificing quality. |
| Use the Right File Format | Choose the appropriate file format for your images. For photographs, JPEG is typically best, while PNG is ideal for graphics and images with transparency. |
| Set Alt Text and Titles | Always fill out the alt text and title fields during upload. This improves accessibility and helps with SEO, making your media files easier to find. |
| Limit File Uploads | Avoid uploading unnecessary files. If you can, utilize links to external media or cloud storage services to keep your WordPress site lightweight. |
By following these best practices, you’ll ensure that your media files enhance rather than hinder your WordPress site. A little extra effort during the upload process goes a long way in creating an impressive digital experience!
Optimizing Media Files for Web Performance
When it comes to your WordPress site, media files can significantly affect your website’s loading speed and overall performance. Optimizing these files is crucial for enhancing user experience, boosting your SEO rankings, and reducing server load. Here are some simple yet effective strategies to optimize your media files:
- File Format Selection: Choosing the right file format is the first step. For images, JPEG is typically best for photographs due to its balance of quality and size, while PNG is preferable for graphics with transparency.
- Image Compression: Use image compression tools. Plugins like Smush or ShortPixel can help reduce file sizes without sacrificing quality. Aim for compression settings that reduce the size by at least 50%.
- Responsive Images: WordPress automatically generates multiple sizes of images you upload. Make sure to utilize the appropriate size for each context, which saves loading time on mobile devices.
- Lazy Loading: Implement lazy loading for images, which means images only load when they appear in the viewport. This can drastically improve loading times, especially for long scrolling pages.
- CDN Usage: Consider using a Content Delivery Network (CDN) to serve your media files. A CDN can distribute the load, making files load faster for users who are geographically distant from your server.
By optimizing your media files, not only will your site perform better but you’ll also provide a smoother experience for your visitors. Less waiting means more engagement!
Using Image Editing Tools within WordPress
WordPress offers some handy image editing tools right within its platform, making it easier than ever to tweak your images without needing to rely on external software. Here’s how you can leverage these built-in tools effectively:
- Cropping and Resizing: You can crop or resize images directly from the Media Library. Simply click on the image and select the “Edit Image” option. This is particularly useful to ensure your images fit perfectly within your website layout.
- Image Rotation: If your images are uploaded sideways, don’t fret! Use the rotate feature to adjust the image orientation to make sure your photos look just right.
- Image Filters: WordPress allows you to apply basic filters to your images. You can adjust brightness, contrast, and saturation to improve the overall aesthetics of your visuals.
- Alt Text Addition: When editing images, don’t forget to add alt text. This not only benefits SEO but also supports accessibility for visually impaired users.
- Undo Actions: Made a mistake? No problem! You can easily undo the last actions done in the image editor, allowing for a bit of creative trial and error.
Using these tools can save you a lot of time and make your content creation process smoother. So next time you upload a media file, take a moment to explore the editing options available right at your fingertips!
Implementing Accessibility for Media Files
When it comes to managing media files in WordPress, accessibility should be at the forefront of your considerations. Why? Because everyone deserves to access your content, regardless of their abilities. Ensuring your media files are accessible not only expands your audience but also helps you comply with legal standards in many regions.
Here are some key practices to implement accessibility for your media files:
- Descriptive Alt Text: Always add alt text to your images. This description is crucial for users who rely on screen readers. It should succinctly describe the image while conveying its context.
- Video Captions: For video files, including captions is essential. They not only assist those with hearing impairments but also benefit users in sound-off environments.
- Transcripts for Audio Files: If you publish podcasts or audio files, consider providing transcripts. This text allows access for users who are deaf or hard of hearing and also those who prefer reading.
- Use High Contrast: Ensure that the text overlaid on images or videos is easily readable. High contrast between text and background enhances visibility.
- Keyboard Navigation: Verify that users can navigate through your media content using just a keyboard. This is especially important for individuals who cannot use a mouse.
By making these simple yet effective changes, you’re not just improving accessibility; you’re enhancing the overall user experience for all. Remember, inclusivity is key to a successful website!
Utilizing Plugins for Enhanced Media Management
WordPress offers a myriad of plugins that can streamline the process of managing your media files. These tools often come with enhanced features that save time, boost efficiency, and improve user experience. Here’s a look at some popular plugins that can significantly enhance your media management:
| Plugin Name | Description | Main Features |
|---|---|---|
| Media Library Organizer | A plugin that helps you categorize and sort your media files for easy retrieval. | – Drag-and-drop organization – Custom taxonomy settings – Bulk sorting options |
| Envira Gallery | A powerful gallery management plugin that simplifies image showcase creation. | – Responsive galleries – Social media integration – Customizable lightbox effect |
| Smush Image Compression | This plugin optimizes your images without compromising quality, ensuring faster load times. | – Bulk image smushing – Lazy loading feature – Automatic resizing |
| FileBird | A tool designed to help you manage your media library like a pro, with folders. | – Create folders – Easily drag and drop files – Search functionality |
By utilizing these plugins, you’ll find media management becomes a breeze. It’s all about making your workflow effortless and ensuring your media files are well-organized and optimized!
Backup and Security for Media Files
Backing up and securing your media files in WordPress is crucial for preventing data loss and protecting your website from potential threats. Imagine putting in hours of work uploading images, videos, and audio files, only to lose them due to a server crash or a malicious attack. That’s a nightmare no one wants to face! So how do you ensure your media files are safe and sound? Here are some effective strategies:
- Regular Backups: Use plugins like UpdraftPlus, BackupBuddy, or VaultPress to create automatic backups. Schedule backups to run daily or weekly, depending on how frequently you update your media.
- Secure Hosting: Choose a reputable hosting provider that offers robust security measures. Look for features like firewalls, DDoS protection, and daily backups.
- Set Proper Permissions: Make sure that file permissions are correctly set, to limit who can upload, edit, or delete media files. Generally, setting permissions to 644 for files and 755 for folders is a safe approach.
- Utilize a CDN: A Content Delivery Network (CDN) helps distribute your media files across multiple servers, which not only boosts your website speed but also adds an extra layer of security.
- Monitor File Integrity: Regularly check the integrity of your media files using tools like Sucuri or Wordfence. These tools can help identify unauthorized changes or potentially malicious files.
Incorporating these practices will go a long way in keeping your media files protected and ensuring you have peace of mind while managing them on your WordPress site.
Conclusion: Streamlining Your Media Management Workflow
Managing media files in WordPress doesn’t have to feel overwhelming. By adopting effective strategies, you can streamline your workflow and make the entire process smoother. Here’s a quick recap of what we’ve discussed:
- Organize Your Files: Use a consistent naming convention and categorize your files into folders or use tagging systems to keep everything in order.
- Optimize Before Uploading: Compress images, adjust resolutions, and convert videos to the best formats to improve load times and performance.
- Take Advantage of Plugins: Tools like Media Library Assistant and Enhanced Media Library can supercharge your media management by adding functionality you may not have thought of.
- Regularly Backup and Secure: Implement scheduled backups and security measures to protect your files from loss or unauthorized access.
- Stay Updated: Keep your plugins, themes, and WordPress version updated to avoid vulnerabilities.
By implementing these strategies, you’ll not only save time but also enhance the user experience on your site. A well-structured media library can transform the way you create content, making it easier for you to find and use media assets when you need them. Now that you have the tools and knowledge at your disposal, it’s time to get started. Happy organizing!

