Blogspot and WordPress are two popular platforms for bloggers and website owners, each with their unique features and benefits. Blogspot, owned by Google, allows users to create free blogs with ease. It’s user-friendly and great for those just starting. On the other hand, WordPress, renowned for its flexibility and numerous customization options, empowers users to build everything from simple blogs to complex websites. With a variety of plugins and themes,
Why Transition from Blogspot to WordPress?
Transitioning from Blogspot to WordPress can be a game-changer for your blogging journey. Here are some compelling reasons why making this move is worth considering:
- Greater Control: WordPress offers full ownership of your content. No more worries about platform limitations or sudden changes in policies.
- Customization Options: With thousands of themes and plugins available, you can create a website that truly reflects your brand and style.
- SEO Benefits: WordPress is designed with SEO in mind, giving you tools to optimize your content and improve your visibility on search engines.
- Scalability: Whether you’re aiming for a small personal blog or a large business site, WordPress can grow with you as your needs evolve.
- Community Support: The WordPress community is vast and supportive, making it easy to find help, tutorials, and resources.
In summary, while Blogspot serves as a great starting point, WordPress provides the tools and freedom necessary to elevate your blog or website. So, if you’re ready for a transformation, it might just be the right time to make the switch!
Preparing Your Blogspot for Migration
So, you’ve decided to make the leap from Blogspot to WordPress? That’s fantastic! But before diving headfirst into the migration process, you’ll want to ensure your Blogspot is perfectly primed for a smooth transition. Think of it as sprucing up your house before moving to a new one—everything needs to be in order!
Here are some key steps to prepare:
- Backup Your Content: Before starting any migration, always back up your existing blog. Download your posts, pages, and media files. You can do this by going to your Blogspot settings and exporting your content.
- Think About Your Structure: Analyze how your Blogspot is structured. Take note of any categories, labels, or pages you might want to replicate on WordPress. This way, you’ll have a clear plan on how to set everything up in your new home.
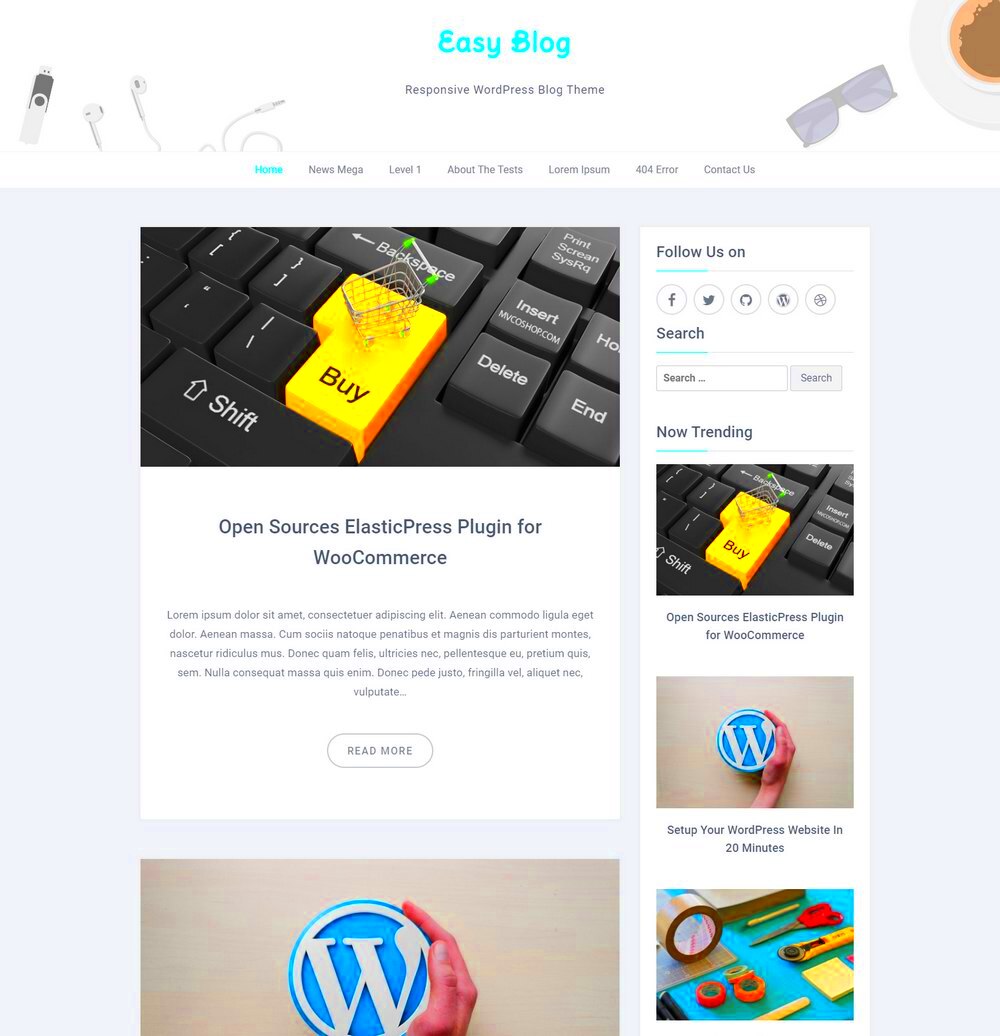
- Plan Your Design: Explore WordPress themes that reflect your blog’s personality. Save a few favorites to tweak once you’ve migrated all your content. Remember, the look and feel of your blog is just as important as the content!
- Redirect Your Traffic: You’ll need to create a redirect from your old Blogspot URL to your new WordPress address. This ensures that your loyal readers find your new blog without any hiccups.
By taking these steps, you’re not just moving; you’re upgrading your blog to a platform that offers more flexibility and features. With everything prepared, you’re ready to map out your migration journey!
Choosing the Right WordPress Hosting
Now that you’re all set to migrate, one of the most crucial decisions you’ll make is choosing the right WordPress hosting. It’s like picking a fantastic neighborhood for your new home—your blog’s performance and reliability depend heavily on it!
Here’s what to consider when choosing your hosting provider:
- Speed and Performance: Look for hosts that offer excellent uptime (99.9% is ideal). Speed matters—your readers will bounce if your site takes too long to load. Some popular providers known for performance include:
| Hosting Provider | Speed (Approx.) | Uptime Guarantee |
|---|---|---|
| Bluehost | 275 ms | 99.99% |
| SiteGround | 350 ms | 99.98% |
| WP Engine | 400 ms | 99.95% |
- Customer Support: Reliable support can save your blog during a crisis. Opt for hosts that provide 24/7 live chat or phone support. You’ll want someone to turn to if things go south!
- Scalability: Choose a host that grows with you. If your blog suddenly goes viral, you don’t want to be stuck on a plan that can’t handle the traffic.
- Cost: Compare pricing but be wary of extremely cheap options. Sometimes you get what you pay for! Look for a balance between affordability and quality.
Choosing the right hosting is pivotal for a seamless blogging experience. With the right foundation, your newly migrated WordPress blog will not only attract readers but also keep them coming back for more!
Exporting Your Blogspot Content
So, you’ve decided to take the leap from Blogspot to WordPress! Exciting times ahead! The first step in this journey is exporting your Blogspot content. Don’t worry; it’s easier than it sounds. Here’s how you can do it:
- Log in to your Blogspot account: Start by signing into the Blogspot account that houses your blog. You need to access your dashboard to get to the export option.
- Go to Settings: On the left sidebar, navigate to the “Settings” option. This is where you can manage all your blog’s settings.
- Scroll down to Import & Backup: Keep scrolling until you stumble upon the “Import & Backup” section. This is where the magic happens!
- Click on Back up Content: You’ll see a button that says “Back up content” next to ‘Export your blog.’ Click on it, and a pop-up will appear.
- Save the File: Once the pop-up appears, choose the download destination for the XML file. This file contains all your posts, comments, and even your gadget settings.
And voila! You’ve successfully exported your Blogspot content. This XML file will be your magic key to transferring your blog to WordPress. Just remember to keep it safe!
Setting Up Your WordPress Site
Now that you have your Blogspot content saved, it’s time to set up your WordPress site! This part is just as fun, and here’s how to do it step by step:
- Choose a Hosting Provider: WordPress.org requires you to host your site. Select a reliable hosting provider like Bluehost, SiteGround, or WP Engine. Make sure to pick one that offers one-click WordPress installations.
- Register Your Domain: During the hosting setup, you’ll have the option to choose a domain name. Make it catchy and relevant to your blog content.
- Install WordPress: Most hosting providers have a simple one-click WordPress installation process. Follow the prompts, and you’ll have your WordPress site up and running in no time!
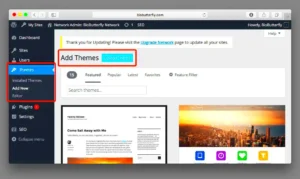
- Select Your Theme: Browse through thousands of free and premium themes. Choose one that resonates with the style you had on Blogspot while allowing for customization.
- Install Essential Plugins: Plugins enhance your site’s functionality. Consider installing plugins for SEO (like Yoast SEO), security (like Wordfence), and backups (like UpdraftPlus).
And just like that, you’re on your way to having a fully functional WordPress site! It’s a breeze, isn’t it? Soon, you’ll be importing your content and customizing your new space just the way you like it.
Importing Content from Blogspot to WordPress
Making the leap from Blogspot to WordPress can feel a bit daunting, but luckily, WordPress offers an intuitive way to make that transition smooth as butter! Whether you’re migrating a personal blog or a more extensive site, this step is crucial to preserve your content. Here’s how you can import your posts and pages with ease.
To start with, you’ll need to follow these steps:
- Export Your Blogspot Content: Go to your Blogspot settings and look for the ‘Export Blog’ option. This will generate an XML file containing all your posts, comments, and pages – a really handy little file!
- Set Up Your WordPress Site: If you haven’t already, install WordPress on your hosting service. It’s free and easy to set up, and you can choose from a vast library of themes to customize it to your taste.
- Import the XML File: Navigate to the WordPress admin dashboard, click on ‘Tools,’ then ‘Import.’ From the list, select ‘Blogger.’ You may need to install the Blogger Importer Plugin if prompted. Upload the XML file you exported from Blogspot.
- Assign Authors: During this import process, WordPress will ask you to assign authors to the imported posts. You can either assign them to existing users or create new ones. Make sure everything is linked correctly!
- Final Touches: After the import process finishes, tune up your posts. Check for formatting issues, images that didn’t transfer, and updating hyperlinks to reflect your new WordPress domain.
And just like that, you’re on your way to revamping your blog! Your old posts and pages are now nestled comfortably in your shiny new WordPress site, ready for further customization.
Customizing Your WordPress Theme
Now that your content is safely tucked in, it’s time to make your WordPress site uniquely yours! Customizing your theme doesn’t have to feel like rocket science. WordPress was built with user-friendliness in mind, and there are plenty of straightforward ways to jazz up your blog’s appearance.
Here’s how to dive into theme customization:
- Access Your Theme Customization Settings: Go to your WordPress dashboard and click on ‘Appearance’ followed by ‘Customize.’ This section lets you preview changes in real-time!
- Choose a Theme: If you haven’t picked a theme yet, you can start with one of WordPress’s free themes or purchase a premium one. Options are abundant, whether you want a minimalist design or something more elaborate!
- Edit Your Header and Footer: These two areas often make the first impression. You can add your site title, logo, and menu items. If your theme supports it, customizing the footer can also enhance branding.
- Color Schemes and Fonts: Adjust the color palette and fonts to reflect your style. Consistency is key—make sure your colors and font choices align with your blog’s theme.
- Add Widgets: Widgets are fantastic for adding extra functionality. You can include recent posts, social media feeds, or a newsletter subscription form. Go to ‘Appearance’ > ‘Widgets’ to explore options.
- Responsive Design: Don’t forget to check how your theme looks on mobile devices. A responsive design ensures your site looks great regardless of the device used.
Remember, customization is about showcasing your personality and presenting your content in the best light. Take your time and experiment with different settings until you find the perfect look. Happy customizing!
9. Essential Plugins for Your WordPress Blog
When you’re transitioning from Blogspot to WordPress, one of the most exciting aspects is the world of plugins. These handy tools can enhance functionality, improve user experience, and ultimately make your blog stand out. So, let’s dive into some essential plugins you should consider:
- Yoast SEO: This is a must-have for anyone looking to optimize their content for search engines. The plugin provides real-time feedback on your SEO efforts, helping you write better-optimized posts.
- Akismet: Say goodbye to spam comments! Akismet automatically filters out spam comments, keeping your blog clean and user-friendly.
- Jetpack: Jetpack bundles various useful features in a single plugin, from analytics to security, thus simplifying the management of your blog.
- WP Super Cache: Speed matters! This plugin generates static HTML files from your dynamic WordPress blog, improving load time and enhancing user experience.
- Contact Form 7: A simple yet effective way to create and manage contact forms, ensuring visitors can reach out to you easily.
- UpdraftPlus: Backups are crucial. This plugin makes it easy to back up your files and database to the cloud, providing peace of mind.
- Elementor: If you love customization but don’t know how to code, Elementor is a powerful page builder that allows you to design stunning pages easily.
- MonsterInsights: Understanding your audience is key. This plugin integrates Google Analytics seamlessly, providing insights into your visitors’ behavior.
- WPForms: Create beautiful, user-friendly forms with this drag-and-drop form builder, perfect for surveys or feedback forms.
By integrating these essential plugins, you can significantly enhance the functionality and efficiency of your new WordPress blog.
10. Redirecting Blogspot Links to Your New WordPress Site
After successfully migrating from Blogspot to WordPress, you need to ensure your visitors still find your content. This is where link redirecting comes into play. Let’s look at how you can redirect your Blogspot links effectively:
- Set Up a 301 Redirect: A 301 redirect tells search engines that a page has permanently moved to a new location. To set this up on your Blogspot blog, use the following steps:
- Go to your Blogspot dashboard.
- Navigate to Settings > Search preferences.
- Under the Errors and redirections section, paste your new WordPress URL in the Custom Redirects field.
- Save your settings.
By carefully redirecting your Blogspot links, you’ll retain your audience and search engine rankings, making your transition to WordPress a success!
11. Maintaining SEO During the Transition
Transitioning from Blogspot to WordPress can feel like a monumental task, especially when you want to ensure your SEO rankings remain intact. After all, nobody wants to lose the hard-earned visibility they’ve built over time. But fear not, maintaining your SEO during this switch is entirely possible with some careful planning and execution.
Here are some practical steps to help you keep your SEO on track:
- 301 Redirects: The first and most crucial step is to set up 301 redirects. This tells search engines that your content has moved permanently. Redirect all your Blogspot posts to their new WordPress URLs. Use a plugin like Redirection to simplify this process.
- Keep Your URLs Consistent: Try to keep your website’s URL structure similar to what you had on Blogspot. Search engines favor consistency, so if you can maintain the same slugs (the part of the URL after the main domain), it helps retain your rankings.
- Preserve Meta Descriptions and Title Tags: When transferring your content, ensure that your meta descriptions and title tags are preserved. This directly affects how search engines display your content.
- Submit Your Sitemap: Once your new WordPress site is live, submit the updated sitemap to Google Search Console. This helps Google re-index your site and understand its structure.
- Monitor Analytics: Keep a close eye on your analytics during and post-transition. This way, you can quickly spot any significant drops in traffic or ranking and address them before they snowball.
With these measures in place, your SEO should remain robust, ensuring a smoother transition to your new WordPress site.
12. Testing Your New WordPress Site
Once you’ve successfully migrated your Blogspot onto WordPress, it’s time for the fun part—testing your new site! Just like a new car, you wouldn’t want to take it for a spin without checking that everything functions properly, right? Testing your WordPress site ensures a seamless experience for your visitors and helps you catch any issues before going live.
Here are some essential testing tasks you should carry out:
- Check for Broken Links: Use tools like Screaming Frog or Broken Link Checker to identify any broken links that may have slipped through during the transition. Fixing them ensures a better user experience and helps maintain your SEO.
- Test Your Site’s Functionality: Make sure all functionalities work as expected. Test forms, comment sections, and any interactive features to see if they are functioning correctly.
- Responsive Design Check: With the variety of devices available, ensure that your new site is mobile-friendly. Use Google’s Mobile-Friendly Test to verify that your site looks great on all screen sizes.
- Speed Test: Website speed is crucial for user experience and SEO rankings. Use tools like GTmetrix or Google PageSpeed Insights to identify any speed issues and take action to optimize your site.
- Browser Compatibility: Make sure your site is compatible with various browsers—Chrome, Firefox, Safari, and others. This way, everyone has a good experience no matter how they access your site.
By running through these tests, you can confidently launch your new WordPress site, knowing that everything is in tip-top shape for your audience!
Final Thoughts and Conclusion
Transforming your Blogspot into a WordPress theme may seem like a daunting task, but with the right approach and tools, it can be a seamless process. By migrating your content and utilizing the vast array of features offered by WordPress, you open the door to endless possibilities for customization, functionality, and improved design.
Here are some key takeaways to consider when making the transition:
- Content Migration: Use available tools to transfer your posts, comments, and media smoothly.
- Choosing a Theme: Pick a WordPress theme that resonates with your brand and enhances user experience.
- SEO Benefits: WordPress offers superior SEO tools compared to Blogspot, improving your visibility.
- Plugins: Leverage the power of plugins to add functionality to your blog with ease.
- Customization: Enjoy greater control over your blog’s design and layout with WordPress’s flexible options.
Additionally, consider the following comparison table illustrating specific aspects of Blogspot and WordPress:
| Feature | Blogspot | WordPress |
|---|---|---|
| Customization | Limited | Extensive |
| SEO | Basic | Advanced |
| Plugins | No | Thousands Available |
| Theme Options | Basic Templates | Numerous Choices |
In conclusion, transitioning from Blogspot to WordPress empowers you with enhanced tools and options, paving the way for a successful blogging journey. Embrace the change and watch your blog flourish!


