Getting into your WordPress site is the first step toward managing your content, customizing your design, and engaging with your audience. But have you ever wondered what happens behind the scenes when you log in? Understanding the ins and outs of WordPress login and authentication not only helps you troubleshoot issues but also boosts your site’s security. In this guide, we’ll walk through the basics of how
Understanding the WordPress Login Process
At its core, the WordPress login process is like a digital handshake—it verifies that you are who you say you are before granting access to your site’s dashboard. Here’s a simple breakdown of what happens step-by-step:
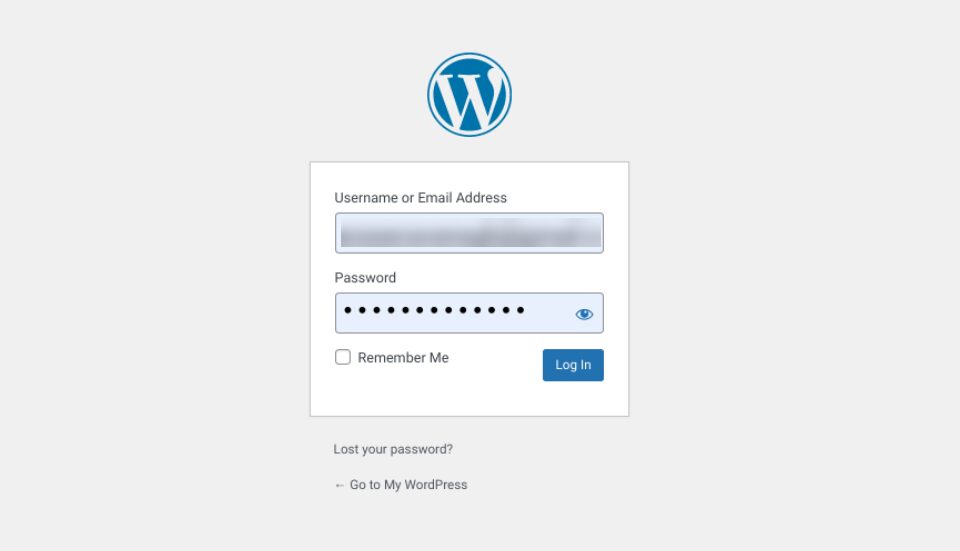
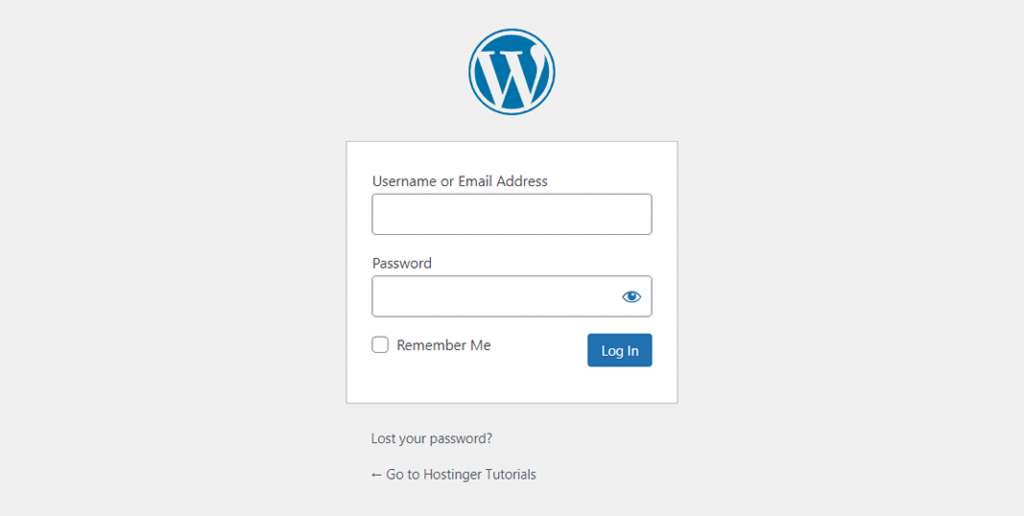
- Accessing the Login Page: When you navigate to yoursite.com/wp-login.php or click the login link, WordPress loads the login form where you enter your username and password.
- Submitting Credentials: Once you hit “Log In,” your browser sends your username and password to the server via a secure connection (usually HTTPS).
- Verification: WordPress then checks your credentials against its database. It looks for the username, and if found, compares the entered password (which is hashed for security) with the stored hash.
- Authentication Success: If the credentials match, WordPress creates a session for you, usually stored as a cookie in your browser, allowing you to navigate your site without logging in again during that session.
- Redirects & Access: You’re typically redirected to the dashboard or the page you were trying to access before logging in.
But what about security? WordPress uses various measures to keep your login secure, including hashing passwords, setting secure cookies, and offering two-factor authentication options. Understanding these steps helps you appreciate the importance of strong passwords and secure connections. Plus, knowing how the process works can help you spot problems, like login errors or potential security issues, and take appropriate action to keep your website safe.
3. Setting Up and Managing User Accounts
One of the first steps in making your WordPress site truly yours is setting up and managing user accounts effectively. Whether you’re running a small blog or a large e-commerce site, managing user roles and permissions is key to maintaining control and security.
When you install WordPress, a default administrator account is created. But as your site grows, you’ll want to add other users with different levels of access. WordPress makes this easy through its built-in user management system. To add a new user, go to Users > Add New in your WordPress dashboard.
User Roles and Permissions
Understanding user roles is essential. Here’s a quick rundown of the default roles and what they can do:
- Administrator: Has access to all the features, including site settings, plugin management, and user management.
- Editor: Can publish and manage posts and pages, but can’t change site settings or install plugins.
- Author: Can write, edit, and publish their own posts.
- Contributor: Can write and edit their own posts but cannot publish them.
- Subscriber: Can only manage their profile and read content.
If your needs are more specific, you can create custom roles or modify existing ones using plugins like Members or User Role Editor. These tools give you granular control over what each user can do, which is especially handy for larger teams.
Managing User Accounts
Regularly reviewing user accounts helps keep your site secure. Remove users who no longer need access, and ensure that user information, such as email addresses and roles, is up to date. To do this:
- Navigate to Users > All Users.
- Click on a user to edit their profile.
- Update their details or change their role as needed.
- For removing a user, select Delete from their profile options. You can choose to reassign their content to another user or delete it altogether.
Additionally, for larger sites, consider implementing a registration system if you want visitors to create accounts themselves. You can enable this in Settings > General by checking the box next to Membership: Anyone can register. Just remember to assign appropriate default roles to new registrants and monitor new accounts for spam or misuse.
Best Practices for User Account Management
Here are some quick tips to keep your user management smooth and secure:
- Limit administrator access: Only trusted users should have admin rights.
- Use strong passwords for all accounts, especially admin ones.
- Regularly review user roles and activity to spot any suspicious or unnecessary accounts.
- Enable two-factor authentication for added security on user logins.
Managing user accounts might seem straightforward at first, but paying attention to details and regularly reviewing access levels can save you headaches down the line. It helps keep your site secure, organized, and functioning smoothly.
4. Enhancing Security for WordPress Login
WordPress login pages are often targeted by hackers and malicious bots trying to gain unauthorized access. Fortunately, there are plenty of ways to beef up your login security and protect your website. Let’s dive into some of the most effective strategies.
Use Strong, Unique Passwords
This might sound obvious, but it’s surprising how many people use simple or reused passwords. Make sure every account, especially admin accounts, has a complex password that combines uppercase and lowercase letters, numbers, and symbols. Consider using a password manager to generate and store these passwords securely.
Implement Two-Factor Authentication (2FA)
Adding 2FA is like giving your login an extra layer of armor. Even if someone guesses your password, they’d still need a second form of verification—like a code sent to your phone or generated by an app. Plugins like Google Authenticator or Two-Factor make setup straightforward and significantly boost your login security.
Limit Login Attempts
Brute-force attacks happen when hackers try many passwords until they find the right one. Limiting login attempts can thwart this. Plugins like Limit Login Attempts Reloaded or WP Limit Login Attempts block IPs after a certain number of failed tries, making it much harder for attackers to succeed.
Change the Default Login URL
The default /wp-login.php or /wp-admin URLs are well-known targets. Changing your login URL to something unique can reduce spam and hacking attempts. Plugins like WPS Hide Login allow you to customize your login page URL easily.
Enable SSL/TLS Encryption
Securing your login page with HTTPS encrypts data transmitted between your browser and the server. This prevents eavesdroppers from intercepting sensitive login information. Obtain an SSL certificate (many hosting providers include this for free) and ensure your site loads over HTTPS.
Regularly Update WordPress, Themes,, and Plugins
Keeping everything up to date ensures you have the latest security patches. Outdated software is a common entry point for hackers. Set your site to auto-update or check regularly for updates.
Monitor and Log Login Activity
Tracking login attempts and user activity helps you spot suspicious behavior early. Plugins like WP Security Audit Log or Sucuri Security provide detailed logs and alerts, giving you insights into who’s accessing your site and when.
Additional Tips
| Security Measure | Benefit |
|---|---|
| Disable XML-RPC | Prevents remote access attacks and brute-force attempts via XML-RPC. |
| Implement CAPTCHA | Blocks automated login attempts by requiring users to verify they’re human. |
| Set Up Firewall Rules | Blocks malicious IPs and filters suspicious traffic before it reaches your site. |
By combining these strategies, you can create a robust security environment for your WordPress login page. Remember, security isn’t a one-time setup—it’s an ongoing process. Regularly reviewing your security measures helps keep your site safe from evolving threats.
5. Implementing Two-Factor Authentication on WordPress
Alright, let’s talk about an extra layer of security—Two-Factor Authentication (2FA). If you’re serious about protecting your WordPress site from unauthorized access, 2FA is a must-have. It’s like having a second lock on your door—so even if someone guesses your password, they’ll still need that special code to get in.
Implementing 2FA might sound complicated, but with the right plugins and a little setup, it’s pretty straightforward. Here’s how you can add 2FA to your WordPress login process:
Choose a Reliable 2FA Plugin
- Google Authenticator – Popular and easy to use, it generates time-based codes on your smartphone.
- Authy – Offers multi-device support and backup options.
- Wordfence Security – Provides comprehensive security features including 2FA.
For this guide, let’s assume you’re using the Google Authenticator plugin. It’s free, simple, and widely trusted.
Install and Activate the Plugin
- Navigate to your WordPress dashboard.
- Go to Plugins > Add New.
- Search for Google Authenticator.
- Click Install Now and then Activate.
Configure the Plugin
Once activated, head over to the plugin settings—usually under Users > Your Profile or a dedicated menu.
Follow these steps:
- Enable the 2FA option.
- Scan the QR code with your Google Authenticator app on your phone.
- Save your secret key somewhere safe in case you need to reset.
Now, when you log in, you’ll see a prompt to enter the 6-digit code generated by your app. This simple step dramatically improves your site’s security, preventing unauthorized access even if your password gets compromised.
Best Practices for Using 2FA
- Keep your backup codes in a safe place—these are your lifeline if you lose access to your app.
- Consider enabling 2FA for all user roles, especially admins.
- Periodically review your 2FA settings and update your backup options.
Adding 2FA is a game-changer for security. It might take a few extra seconds during login, but peace of mind is totally worth it. Plus, your visitors and customers will thank you for protecting their data!
6. Troubleshooting Common Login Issues
Sometimes, despite your best efforts, login problems can pop up. Don’t worry—many issues are straightforward to resolve. Let’s walk through some of the most common login hiccups and how to fix them.
1. Forgot Password
This one’s a classic. If you can’t remember your password, simply click the Lost your password? link on the login page. Follow the instructions to reset it via email. Make sure your email address is correct in your profile settings to receive the reset link.
2. Account Locked or Temporarily Disabled
If you or someone else entered the wrong password too many times, your site might lock the account temporarily. Usually, this lock lasts for a few minutes. If it persists, check your security plugin settings—some plugins allow you to customize lockout durations or whitelist certain IPs to prevent lockouts.
3. Plugin Conflicts
Sometimes, security or login-related plugins can conflict, causing login issues. To troubleshoot:
- Deactivate all plugins except the ones essential for login security.
- Try logging in again.
- If it works, reactivate plugins one by one to identify the culprit.
4. Browser Cache or Cookies
Your browser might be storing outdated login data. Clear your cache and cookies, then attempt to log in again. Using incognito mode can also help determine if the issue is browser-related.
5. Incorrect Username or Email
Double-check that you’re entering the correct username or email associated with your account. Sometimes typos or case sensitivity can trip you up.
6. Issues with 2FA
If you’re having trouble with 2FA (like not receiving codes or app errors):
- Ensure your device’s clock is synchronized correctly—time discrepancies can prevent code validation.
- Use backup codes if you’re unable to generate a new one.
- Reinstall or reconfigure your 2FA app if necessary.
If all else fails, reaching out to your site’s administrator or hosting support can help resolve more stubborn problems. Remember, regular backups and keeping your plugins updated also prevent many login issues down the line.
Sometimes, troubleshooting feels like detective work, but with patience, most login problems are fixable. Stay calm, follow these steps, and you’ll be back in your WordPress dashboard in no time!
7. Best Practices for Secure WordPress Authentication
Ensuring your WordPress login process is secure is crucial to protect your website from unauthorized access and potential threats. Whether you’re running a personal blog or a large business site, adopting best practices for authentication can save you headaches down the line. Let’s explore some tried-and-true tips to keep your login process rock-solid.
Use Strong, Unique Passwords
It might sound obvious, but using strong, unique passwords for your admin accounts is the first line of defense. Avoid common passwords like “password123” or “admin,” and instead, create complex combinations of letters, numbers, and symbols. Consider using a password manager to generate and store these passwords securely. Remember, changing your passwords periodically adds an extra layer of security.
Enable Two-Factor Authentication (2FA)
Two-factor authentication requires users to verify their identity with a second piece of information—like a code sent to their phone—beyond just a password. This significantly reduces the risk of unauthorized access even if someone gets hold of your password. There are many plugins available, such as Google Authenticator or Authy, that make enabling 2FA straightforward.
Limit Login Attempts
Brute-force attacks, where hackers try multiple password combinations rapidly, are common. Limiting login attempts can thwart these attempts by blocking IP addresses after a set number of failed tries. Plugins like Limit Login Attempts Reloaded or WP Limit Login Attempts are excellent tools to implement this best practice.
Implement Role-Based Access Control
Assigning the minimum necessary permissions to users reduces potential damage if an account is compromised. For example, don’t give all users admin privileges unless absolutely necessary. Use the built-in WordPress roles wisely or customize roles with plugins like User Role Editor.
Keep WordPress, Themes, and Plugins Updated
Outdated software often has vulnerabilities that hackers can exploit. Regularly update your WordPress core, themes, and plugins to patch security flaws. Many security breaches happen because sites are running outdated versions.
Use SSL/TLS Encryption
Securing your website with HTTPS encrypts data transferred between your site and visitors, including login credentials. Obtain an SSL certificate—many hosts offer free options like Let’s Encrypt—and ensure your login pages are served over HTTPS.
Monitor and Audit Login Activity
Keeping an eye on login activity helps you spot suspicious behavior early. Plugins like WP Security Audit Log can track user activity and notify you of unusual login attempts, giving you a chance to act swiftly.
Backup Your Site Regularly
While backups don’t directly prevent hacking, they ensure you can restore your site quickly if an attack occurs. Use reliable backup plugins such as UpdraftPlus or BackWPup to automate this process.
8. Conclusion and Additional Resources
Securing your WordPress login and authentication process is a vital step in protecting your website. By following best practices like using strong passwords, enabling two-factor authentication, limiting login attempts, and keeping everything updated, you can greatly reduce the risk of unauthorized access.
Remember, security isn’t a one-time setup but an ongoing process. Regularly review your security measures, stay informed about new threats, and leverage the right tools and plugins to maintain a safe environment for your visitors and yourself.
If you’re looking to deepen your understanding or implement advanced security measures, here are some excellent resources:
- WordPress Hardening Guide
- WordPress Security Best Practices by Sucuri
- Authy Two-Factor Authentication Plugin
- Kinsta’s Complete Guide to WordPress Security
Securing your WordPress login isn’t just about protecting your site; it’s about giving yourself peace of mind so you can focus on creating great content and growing your online presence. Stay vigilant, keep learning, and your website will thank you for it!