If you’re running a live stream or a community platform, you probably want everything to run smoothly and look professional. Owncast is an open-source streaming server that makes it easy to host your own live streams, while WordPress is one of the most popular website builders out there. Combining these two might sound technical, but it’s actually quite straightforward and super beneficial. Integrating Owncast with WordPress allows you to create a seamless experience for your viewers and visitors—making it easier to promote your streams, manage your content, and keep everything in one place. Let’s walk through how to authenticate Owncast with
Understanding the Benefits of Authenticating Owncast with WordPress
There are plenty of good reasons to connect Owncast with your WordPress site. First off, it streamlines your workflow. Instead of juggling multiple platforms or constantly switching between your streaming dashboard and website, you can embed your live streams directly on your WordPress pages. This makes it super easy for your visitors to watch your content without leaving your site, which can boost engagement and viewer retention.
Another big benefit is branding and customization. When you authenticate Owncast with WordPress, you can match the look and feel of your stream to your website’s branding—colors, logos, and layout. This creates a more professional appearance and helps reinforce your brand identity.
Security and access control are also improved. By authenticating through WordPress, you can restrict who can view your streams or access certain content, using your existing user management system. For example, you could set up a membership system or require login credentials, ensuring only authorized viewers can watch your streams.
Plus, integrating Owncast with WordPress can help with analytics and tracking. You can use your WordPress plugins or tools to monitor viewer stats, engagement, and traffic sources, giving you valuable insights into your audience. This data can guide your content strategy and help you grow your community.
Finally, if you’re already familiar with WordPress, adding Owncast doesn’t mean starting from scratch. Many tutorials, plugins, and community support make it easier to set up and maintain your live streaming integration. Overall, authenticating Owncast with WordPress helps you create a more unified, professional, and engaging online presence—perfect for creators, communities, or anyone serious about streaming.
3. Prerequisites for Setting Up Authentication
Before diving into the setup process, it’s a good idea to make sure you have everything in place for a smooth experience. Here’s a quick checklist of what you’ll need:
- Owncast Server: Make sure your Owncast streaming server is up and running. If you haven’t installed it yet, you can find the official setup guides on the Owncast website.
- WordPress Website: Have your WordPress site up and running. It’s best if you have admin access to install plugins and make configuration changes.
- SSL Certificate: Secure your site with HTTPS. Many hosting providers offer free SSL certificates via Let’s Encrypt, which is essential for secure authentication.
- Authentication Plugin: A WordPress plugin that enables user authentication via JWT (JSON Web Tokens) or similar methods. For this setup, we’ll use a plugin compatible with JWT authentication, such as “JWT Authentication for WP REST API”.
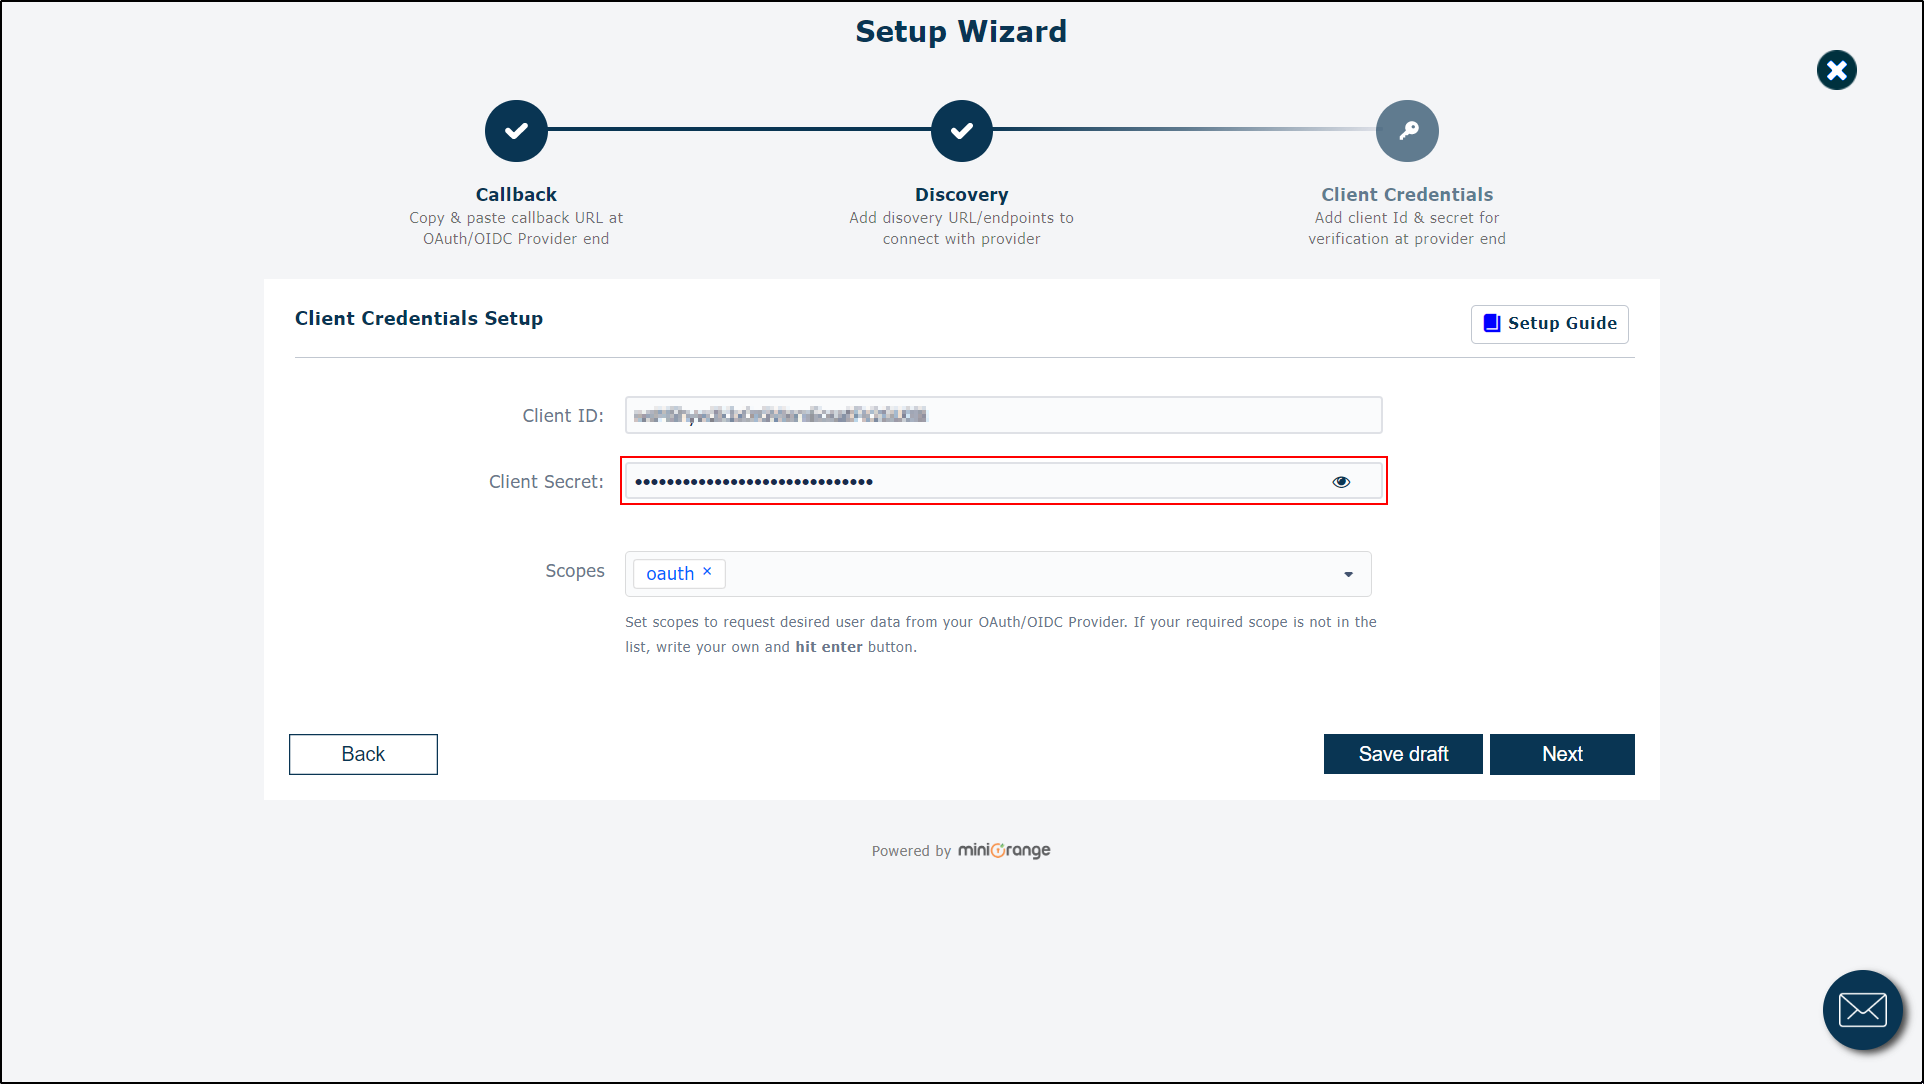
- API Credentials: You’ll need to generate or set up API credentials (like a client ID and secret) if your chosen plugin or custom setup requires it.
- Basic Knowledge: Familiarity with WordPress admin panel, plugin installation, and some understanding of OAuth or JWT authentication concepts will make the process easier.
Once you’ve confirmed you have these components ready, you’re all set to begin configuring your Owncast and WordPress integration. Don’t worry if some of this sounds technical — I’ll guide you step-by-step so you can get everything connected seamlessly!
4. Step-by-Step Guide to Authenticating Owncast with WordPress
Great! Now that you’ve got all your prerequisites sorted, it’s time to connect Owncast with your WordPress site for smooth authentication. Here’s how to do it:
Step 1: Install and Activate JWT Authentication Plugin on WordPress
Navigate to your WordPress admin dashboard, go to Plugins > Add New. Search for “JWT Authentication for WP REST API”. Install and activate the plugin. This plugin will handle the authentication process, allowing Owncast to verify user credentials.
Step 2: Configure the JWT Plugin
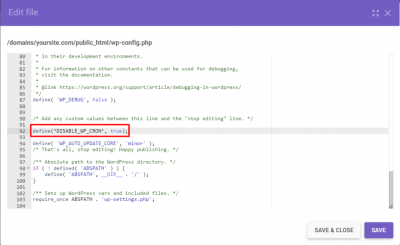
After activation, go to Settings > JWT Authentication. You’ll need to set a secret key — a strong random string that secures your tokens. Add this key to your wp-config.php file like so:
define('JWT_AUTH_SECRET_KEY', 'your-strong-random-secret-key');Save the changes. Also, ensure your site is accessible via HTTPS, as JWT tokens should be transmitted securely.
Step 3: Set Up the Endpoint and Test Authentication
Use a tool like Postman or your browser to test the authentication endpoint:
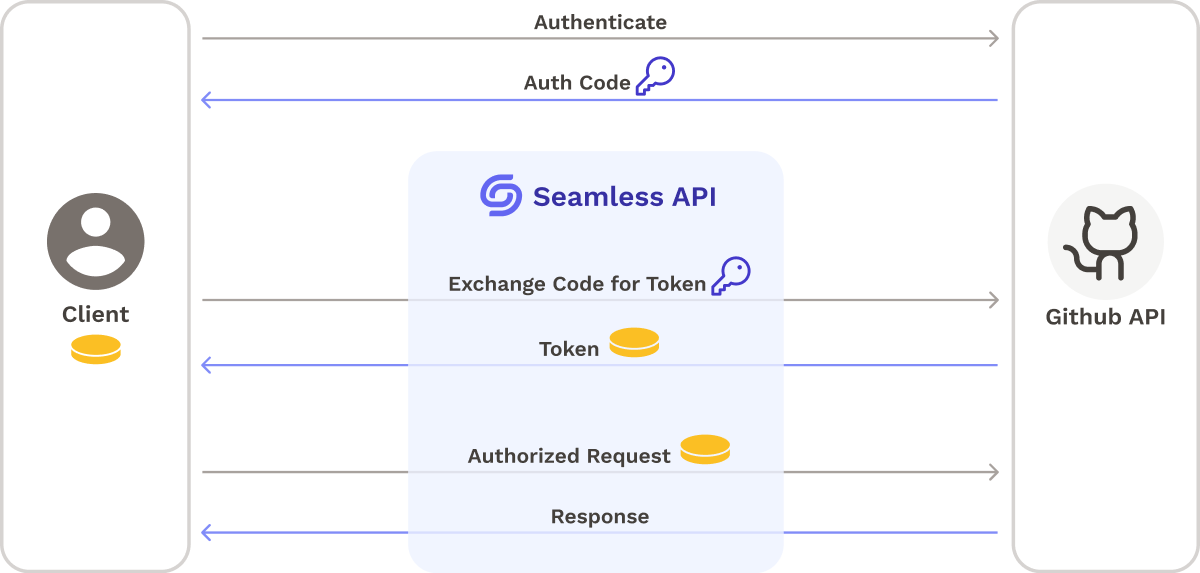
https://yourdomain.com/wp-json/jwt-auth/v1/tokenMake a POST request with your WordPress username and password. If successful, you’ll receive a JWT token. Keep this token handy — it’s your ticket to authenticating users on Owncast.
Step 4: Configure Owncast to Use Your WordPress Authentication
Now, go to your Owncast admin dashboard. Locate the Authentication Settings section. Here, you’ll need to specify that Owncast should use JWT tokens issued by your WordPress site.
- Enter your website’s URL in the appropriate field.
- Specify the JWT token endpoint, which is https://yourdomain.com/wp-json/jwt-auth/v1/token.
- Configure Owncast to send login requests with user credentials to this endpoint.
Depending on your Owncast version or setup, you might need to add custom code or leverage built-in options for JWT validation. If your version doesn’t support direct configuration, consider adding a custom plugin or script that verifies tokens against your WordPress site.
Step 5: Test the Integration
Finally, test the setup by logging into your Owncast streaming page. When you attempt to access restricted content or admin features, your site should verify your credentials via WordPress, allowing seamless login without separate accounts.
And that’s it! With these steps, you’ve successfully integrated Owncast authentication with your WordPress site. Now, your viewers and admins can enjoy a unified login experience, making your streaming setup more secure and user-friendly.
5. Configuring Owncast Settings for Authentication
Alright, now that you’ve set up your Owncast server and installed the necessary plugins on WordPress, it’s time to configure Owncast itself to recognize and work with your authentication setup. This step ensures that only authorized viewers can access your live streams, giving you better control and security.
First off, you’ll want to access your Owncast admin dashboard. Usually, you can do this by navigating to http://yourdomain.com/admin or wherever you’ve hosted your Owncast instance. Log in with your admin credentials.
Once you’re inside, look for the Settings menu, then find the Authentication section. Here, you’ll see options to enable or disable authentication methods. For seamless integration with WordPress, you’ll generally want to enable External Authentication.
Next, you’ll need to specify the authentication provider. Since you’re integrating with WordPress, you’ll likely be using a plugin that exposes an API or authentication endpoint for Owncast to verify users. Enter the API URL provided by your WordPress plugin setup. It might look something like http://yourwebsite.com/wp-json/auth/v1/validate-user. This endpoint will handle the validation of whether a user is logged in and authorized to view the stream.
Make sure to also configure the following:
- Require Authentication for Viewing: Enable this to block unauthenticated users from accessing the stream.
- Session Timeout: Decide how long a user’s session remains active before requiring re-authentication.
- Custom Error Messages: Personalize the message shown to users who aren’t logged in or authorized.
Finally, save your settings. It’s a good idea to test the configuration by opening your stream in an incognito window or different browser where you’re not logged into WordPress. If everything’s set up correctly, you should be prompted to log in through your WordPress authentication system before accessing the stream.
Remember, every setup might have slight variations depending on the plugin you’re using, so consult the plugin documentation for specific API endpoints or additional configuration options. Configuring Owncast properly ensures that your live content stays secure and only accessible to your intended audience.
6. Integrating Authentication with WordPress Plugins
Now comes the fun part—getting your WordPress site to communicate effectively with Owncast for authentication. Thankfully, a variety of plugins can help bridge this gap, making the entire process smooth and user-friendly.
One popular approach is to use a plugin like WP OAuth Server or JWT Authentication for WP & REST API. These plugins allow your WordPress site to act as an authentication provider, generating tokens that Owncast can verify.
Here’s a quick overview of how to set this up:
- Install and activate an authentication plugin: For example, JWT Authentication for WP & REST API.
- Configure the plugin: Follow the plugin’s documentation to set up secret keys, token expiration, and API endpoints. Typically, you’ll generate a secret key and note down the API URL for token requests.
- Create a custom login flow or link: You might want to add a login button on your WordPress site that users can click to authenticate and receive a token.
- Set up Owncast to validate tokens: In Owncast’s admin panel (as discussed earlier), you’ll specify the token validation endpoint, usually something like
http://yourwebsite.com/wp-json/jwt-auth/v1/token/validate. - Test the integration: Log in as a user on your WordPress site, obtain a token, and attempt to access your stream. If configured properly, Owncast should verify the token and grant access.
Additionally, some plugins provide shortcodes or widgets that embed login forms directly into your WordPress pages, making it easy for your audience to authenticate without leaving your website.
For a more seamless experience, consider customizing the user flow so that when visitors click on your stream link, they are automatically prompted to log in if they haven’t already. This can be done with some custom PHP snippets or by leveraging the plugin’s hooks and filters.
Another tip: ensure your site uses HTTPS. Securing your API tokens and user credentials is crucial, especially when dealing with live streaming content that might attract a large audience.
In summary, integrating WordPress authentication with Owncast involves selecting the right plugin, configuring API endpoints, and ensuring Owncast can validate users effectively. With a little setup, your viewers will enjoy a secure, seamless streaming experience that keeps your content protected while providing easy access for your trusted audience.
7. Testing the Authentication Setup
Alright, now that you’ve gone through the setup process, it’s time to put your Owncast and WordPress integration to the test. The goal here is to ensure that your viewers can seamlessly authenticate via your WordPress site and access your live streams without a hitch. Let’s walk through some simple steps to verify everything is working as expected.
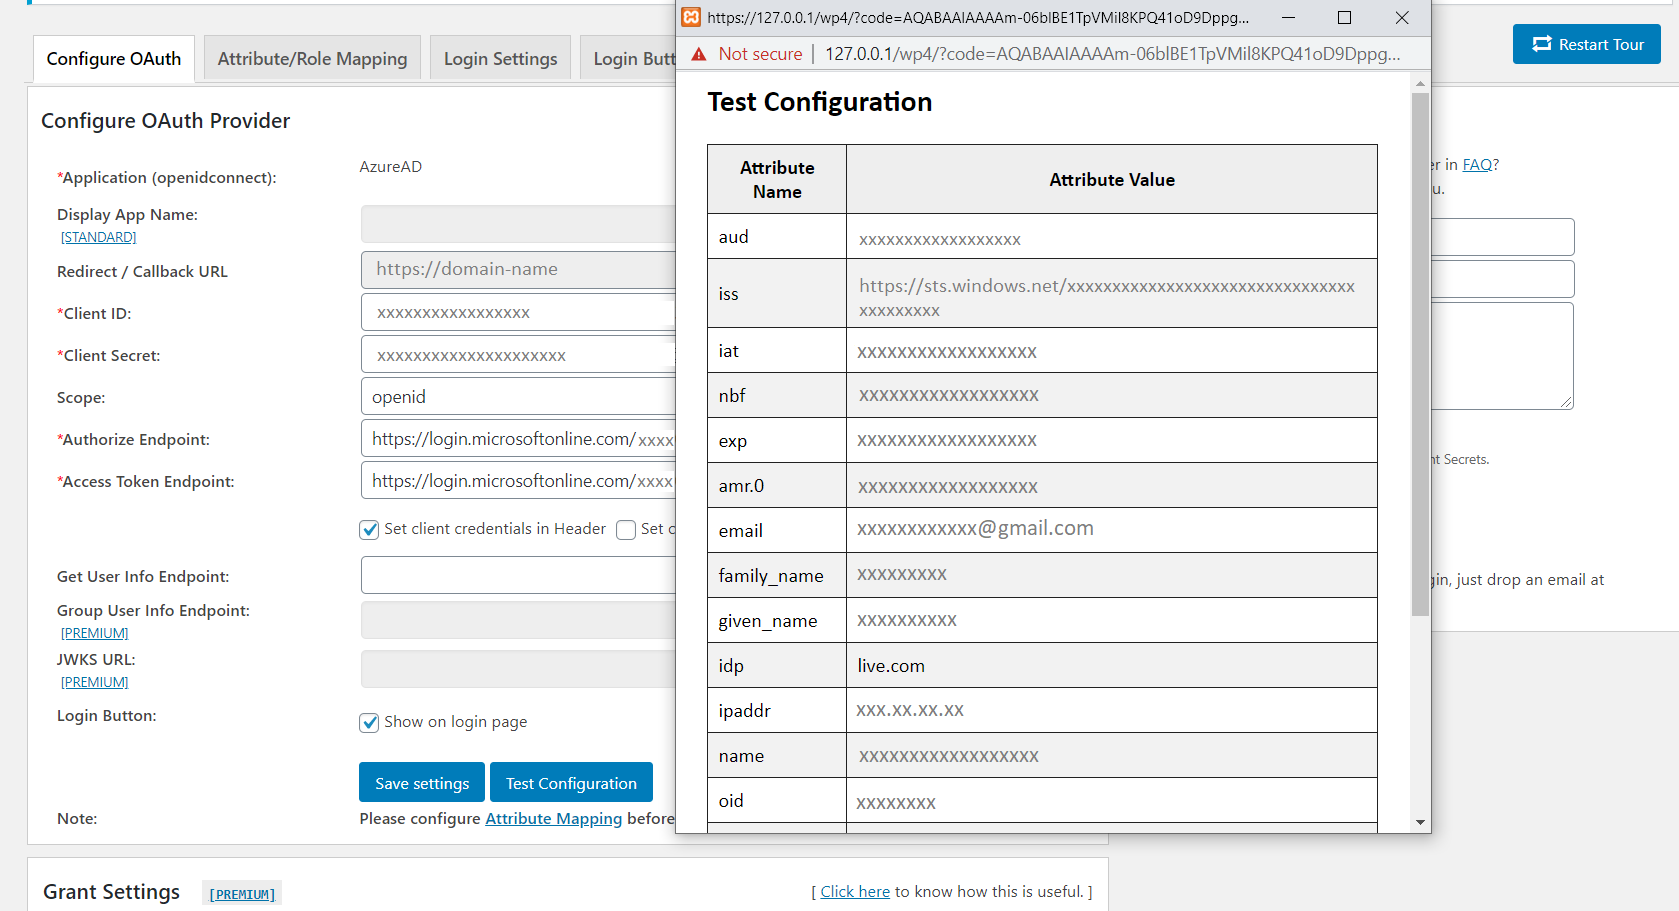
First, open your website in an incognito or private browsing window. This helps simulate a new visitor who hasn’t logged in yet. Navigate to your live stream page—if the authentication is configured correctly, you should see the login prompt or a message indicating you need to authenticate.
Next, try logging in with a user account you’ve set up in WordPress. Once logged in, refresh the stream page. The viewer should now have access to the live stream without needing to re-authenticate. If your stream is protected, the content should load smoothly, and you shouldn’t see any access denied messages.
Additionally, test with different user roles—admin, editor, subscriber—to confirm that permissions are respected. For example, a subscriber might be allowed to view the stream, but not access admin features, depending on your setup.
Here are some quick troubleshooting checks:
- Does the login redirect correctly? When logging in through WordPress, does it redirect back to the stream page?
- Are cookies and sessions working? Make sure your browser isn’t blocking cookies, as they are essential for authentication sessions.
- Is the Owncast plugin functioning? Check for any error messages or logs in your WordPress admin area.
- Are your server URLs correct? Confirm that your plugin settings point to the right Owncast server URL.
If everything looks good during testing—your viewers can log in, see the stream, and permissions are working correctly—you’re all set! Remember, thorough testing helps catch any unforeseen issues before your audience starts tuning in.
8. Troubleshooting Common Issues During Authentication
Even with careful setup, sometimes things don’t go as planned. Don’t worry—most common authentication issues have straightforward solutions. Let’s go over some typical problems and how you can troubleshoot them.
1. Login Fails or Redirects to the Wrong Page
If users can’t log in or are redirected to unexpected pages, double-check your WordPress login URL and plugin configuration. Make sure the plugin is configured to redirect back to the correct stream page after login. Also, verify that your site’s URL and SSL settings match between WordPress, Owncast, and your server.
2. Authentication Not Recognized on Stream Page
If users log in successfully but still see an access denied message on the stream, it likely means session cookies aren’t being stored correctly. Clear your browser cache, cookies, and try again. Ensure your browser isn’t blocking third-party cookies, especially if your site uses multiple domains or subdomains.
3. Plugin or API Errors
Check your server logs and the WordPress debug log for errors related to the plugin or API calls. Sometimes, incorrect API keys or server URLs can cause communication issues. Revisit your plugin settings and confirm all credentials are correct.
4. SSL or HTTPS Issues
If your site uses HTTPS but your Owncast server does not, or vice versa, you might encounter mixed content errors. Make sure both your website and Owncast server are accessible via HTTPS to avoid browser security warnings and failed authentication.
5. Permissions and User Roles
Ensure that the WordPress users who need access have the correct roles and permissions. If your plugin restricts access based on roles, verify that the user’s role aligns with your settings.
Extra Tips:
- Update everything: Keep WordPress, your plugin, and Owncast up to date to benefit from the latest security patches and features.
- Test in different browsers: Sometimes browser-specific issues can affect cookies or session handling.
- Reach out for support: If issues persist, consult the plugin’s documentation or community forums. Often, other users have faced similar issues and found solutions.
Remember, troubleshooting is part of the process. With patience and systematic checks, you’ll have your Owncast and WordPress authentication working smoothly in no time. Happy streaming!
9. Enhancing Security and User Management
When it comes to integrating Owncast with WordPress, security should always be a top priority. After all, you’re not just connecting two platforms—you’re opening a window into your community, and you want to make sure it stays safe and well-managed. So, let’s talk about some practical ways to boost security and streamline user management.
Implement Strong Authentication Methods
- Use Strong Passwords: Encourage your users and admins to create complex passwords that are hard to guess.
- Enable Two-Factor Authentication (2FA): If possible, add 2FA for your WordPress admin accounts. This extra layer of security helps prevent unauthorized access even if passwords are compromised.
Manage User Roles and Permissions
WordPress offers a flexible user role system. Assign roles carefully based on what each user needs to do. For example:
| Role | Permissions |
|---|---|
| Administrator | Full control over site, including Owncast settings |
| Editor | Manage content and moderate chat if applicable |
| Subscriber | Access to live streams and community features |
Limiting permissions reduces the risk of accidental or malicious changes.
Secure API Endpoints
If you’re using API keys or tokens to connect Owncast with WordPress, make sure these are stored securely. Avoid exposing them in public repositories or in easily accessible files. Consider rotating keys periodically for added safety.
Regular Updates and Backups
Keep your WordPress, plugins, and Owncast installation up to date. Updates often include security patches that protect against known vulnerabilities. Also, schedule regular backups—so if something does go wrong, you can restore your site quickly without losing data.
Monitoring and Logging
Use security plugins or server tools to monitor login attempts and track user activity. This way, you can spot suspicious behavior early and take action before it escalates.
By taking these steps, you’re not just making your integration seamless—you’re creating a secure environment where your community can thrive without worries. Security isn’t a one-time setup; it’s an ongoing process that keeps your platform safe and reliable for everyone involved.
10. Conclusion and Additional Resources for Seamless Integration
Integrating Owncast with WordPress might seem a bit technical at first, but with the right approach, it becomes a straightforward process that significantly enhances your online presence. By following the steps we’ve discussed—from setting up the plugin, configuring the connection, customizing the appearance, to boosting security—you’re well on your way to creating a seamless, engaging live streaming experience for your community.
Remember, the key is to stay proactive. Keep your software updated, manage user permissions wisely, and always prioritize security. The more comfortable you are managing these tools, the more you’ll enjoy the benefits of a unified platform that connects your live streams with your website effortlessly.
For additional help and advanced features, here are some resources you might find useful:
- Owncast Official Documentation — Comprehensive guides on setup, customization, and troubleshooting.
- WordPress Support Forums — Community help for plugin issues and best practices.
- WordPress Plugin Repository — Find plugins that can extend your site’s functionality, including security tools.
- WordPress Security Best Practices — Expert tips on keeping your site secure.
- Owncast Security Tips — Specific advice for safeguarding your live streaming setup.
With these resources and a proactive mindset, you’ll be able to maintain a secure, integrated environment that delights your audience and keeps your community safe. Happy streaming!

