If you’re thinking about starting a website, you’ve probably heard of WordPress. This powerful content management system (CMS) powers over 40% of all websites on the internet, making it the go-to choice for bloggers, businesses, and anyone looking to establish an online presence. In this section, we’ll give you a quick rundown of what WordPress is and why it’s so popular.
At its core, WordPress is a user-friendly platform that allows you to create and manage your website without needing to know how to code. With its extensive library of themes and plugins, you can customize your site to fit your unique vision. Whether you’re building a personal blog, a portfolio, or an e-commerce store, WordPress offers the flexibility and functionality needed to make it a reality.
Understanding WordPress.org vs. WordPress.com
One crucial aspect to grasp before diving into WordPress is the difference between WordPress.org and
| Feature | WordPress.org | WordPress.com |
|---|---|---|
| Hosting | Self-hosted; you need your own hosting provider | Hosted on WordPress servers; no need for external hosting |
| Customization | Full control over themes and plugins | Limited customization; only available to paid plans |
| Monetization | Unlimited monetization options | Ads are only available on premium plans |
| Support | Community support available; paid support optional | Limited support based on your plan |
| Cost | Free software; hosting fees apply | Free with basic features; paid plans for more options |
In summary, WordPress.org is ideal for users seeking complete control and flexibility over their websites, while WordPress.com is perfect for those who prefer a more guided setup and manageable options. Your choice will significantly impact your website’s capabilities, so choose wisely based on your goals!
Setting Up Your Domain and Hosting
Before diving into the exciting world of WordPress, you’ll need to take a crucial first step: securing a domain name and hosting for your website. Think of your domain name as the address for your online home. It’s what visitors will type into their browsers to find you. Here’s how to tackle this essential part:
- Choose Your Domain Name Wisely: This is your chance to be creative! Your domain should reflect your brand or the content you plan to share. Keep it short, memorable, and easy to spell.
- Check Domain Availability: Use domain registrars like GoDaddy or Namecheap to check if your desired domain name is available. If it’s taken, you might have to get creative with extensions or variations.
- Select a Hosting Provider: Hosting is where your website “lives” on the internet. There are numerous options available. Here are a few popular choices:
| Hosting Provider | Key Features |
|---|---|
| Bluehost | User-friendly, 24/7 support, free domain for one year |
| SiteGround | Excellent customer service, WordPress optimization, daily backups |
| HostGator | Affordable plans, easy WordPress installation, and site building tools |
Once you’ve selected your hosting provider, you can purchase your domain name and set up your hosting account. Make sure to follow the provider’s instructions to connect your domain to your hosting. Voilà! You’re ready to start building your website.
Installing WordPress: A Step-by-Step Guide
Once you have your domain and hosting sorted, the next step is to install WordPress. The good news? WordPress installation is often straightforward, thanks to one-click installations offered by many hosting providers. Here’s a simple step-by-step guide to get you started:
- Log into Your Hosting Account: Use your credentials to access the dashboard provided by your hosting service.
- Find the WordPress Installation Option: Look for a section dedicated to website management. You might find an option labeled “WordPress Installer” or “One-click Install.”
- Choose Your Domain: Select the domain where you’d like to install WordPress. Make sure it’s the correct one!
- Fill Out the Installation Details: This typically includes your website name, admin username, password, and email. Make sure these credentials are something you’ll remember!
- Click Install: Hit that button, sit back, and let the installer work its magic. It only takes a few moments!
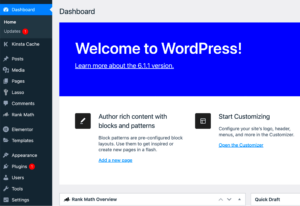
After the installation is complete, you’ll receive a confirmation message along with your admin URL, which is where you’ll manage your site. Simply click on that link, log in with your new credentials, and welcome to your new WordPress dashboard! Now, you’re ready to start customizing and adding content to your new website.
Choosing the Right Theme for Your Website
Picking a theme for your WordPress website is like dressing yourself for a big day. You want to look good, feel comfortable, and make a lasting impression. With thousands of themes available, it can feel overwhelming. But don’t worry! Let’s break it down into manageable steps.
First off, consider your website’s purpose. Are you creating a blog, an eCommerce store, or a portfolio? Different themes cater to different needs. For example:
- Blog: Choose a clean, minimalistic theme that focuses on readability.
- eCommerce: Look for themes with built-in shopping cart functionalities.
- Portfolio: A theme that highlights visuals will suit you best.
Next, think about customization. Some themes offer extensive customization options, while others provide a more rigid structure. If you want to make your site truly yours, opt for a theme that allows you to adjust colors, fonts, and layouts with ease. Don’t forget to check if the theme is responsive, meaning it looks good on both desktop and mobile devices!
Lastly, pay attention to user reviews and ratings. A well-rated theme often indicates good support and regular updates. You can even explore the demo version to see how it looks and functions before making a commitment. Remember, your theme sets the stage for your content, so choose wisely!
Essential Plugins for Functionality and Performance
Plugins are like the secret sauce to your WordPress website—they enhance functionality and performance, allowing you to do everything from improving SEO to adding social sharing buttons. But with over 50,000 plugins available, it’s crucial to choose wisely!
Here’s a list of some essential plugins every WordPress site should consider:
- Yoast SEO: To optimize your site for search engines, making sure you get found by your audience.
- WooCommerce: If you’re running an online store, this plugin transforms your site into a full-fledged eCommerce platform.
- Jetpack: For boosting site performance, security, and managing backups and spam.
- WPForms: A user-friendly plugin to create contact forms, surveys, and more without any coding.
- Akismet: Helps protect your site from spam comments, keeping your community safe and clean.
Now, while plugins are super helpful, be cautious about overloading your site. Too many plugins can slow down performance and lead to conflicts. Always check for reviews and compatibility with your theme and WordPress version.
In conclusion, choosing the right plugins greatly contributes to your website’s success. Invest some time in selecting the best ones for your specific needs, and you’ll be on the path to creating a smoothly operating website!
7. Creating Your First Post and Page
So, you’ve set up your WordPress site—awesome! Now it’s time to dive into the fun part: creating your first post and page. Don’t worry; it’s a straightforward process that’ll have you feeling like a pro in no time.
First, let’s tackle posts. Posts are typically used for blogs, news updates, or anything you’d want to share regularly. To create your first post, follow these simple steps:
- Navigate to the Dashboard: From your WordPress dashboard, look for the “Posts” section on the left sidebar.
- Select “Add New”: Click on “Add New” to open the editor.
- Write Your Title: At the top, you’ll see a space for your post title. Go ahead and give it an eye-catching title!
- Compose Your Content: Below the title, you can write your content. WordPress uses a block editor, so you can add text, images, videos, and more just by clicking the plus (+) icon.
- Format Your Post: Use headings, bullet points, and bold text to make your content easy to read.
- Add Tags and Categories: On the right sidebar, assign relevant categories and tags to your post to help organize it.
- Publish: Hit the “Publish” button when you’re ready to share it with the world!
Now, let’s create a page. Pages are generally static and include content like “About Us” or “Contact.” Follow these steps to create your first page:
- Go to the Pages Section: On the dashboard, click on “Pages” and then “Add New.”
- Enter a Title: Just like with posts, enter your page title.
- Add Content: Use the same block editor to add your content.
- Publish: Once you’re satisfied, click “Publish” to make it live.
And voila! You’ve just created your first post and page. It’s that easy!
8. Understanding the WordPress Dashboard and Settings
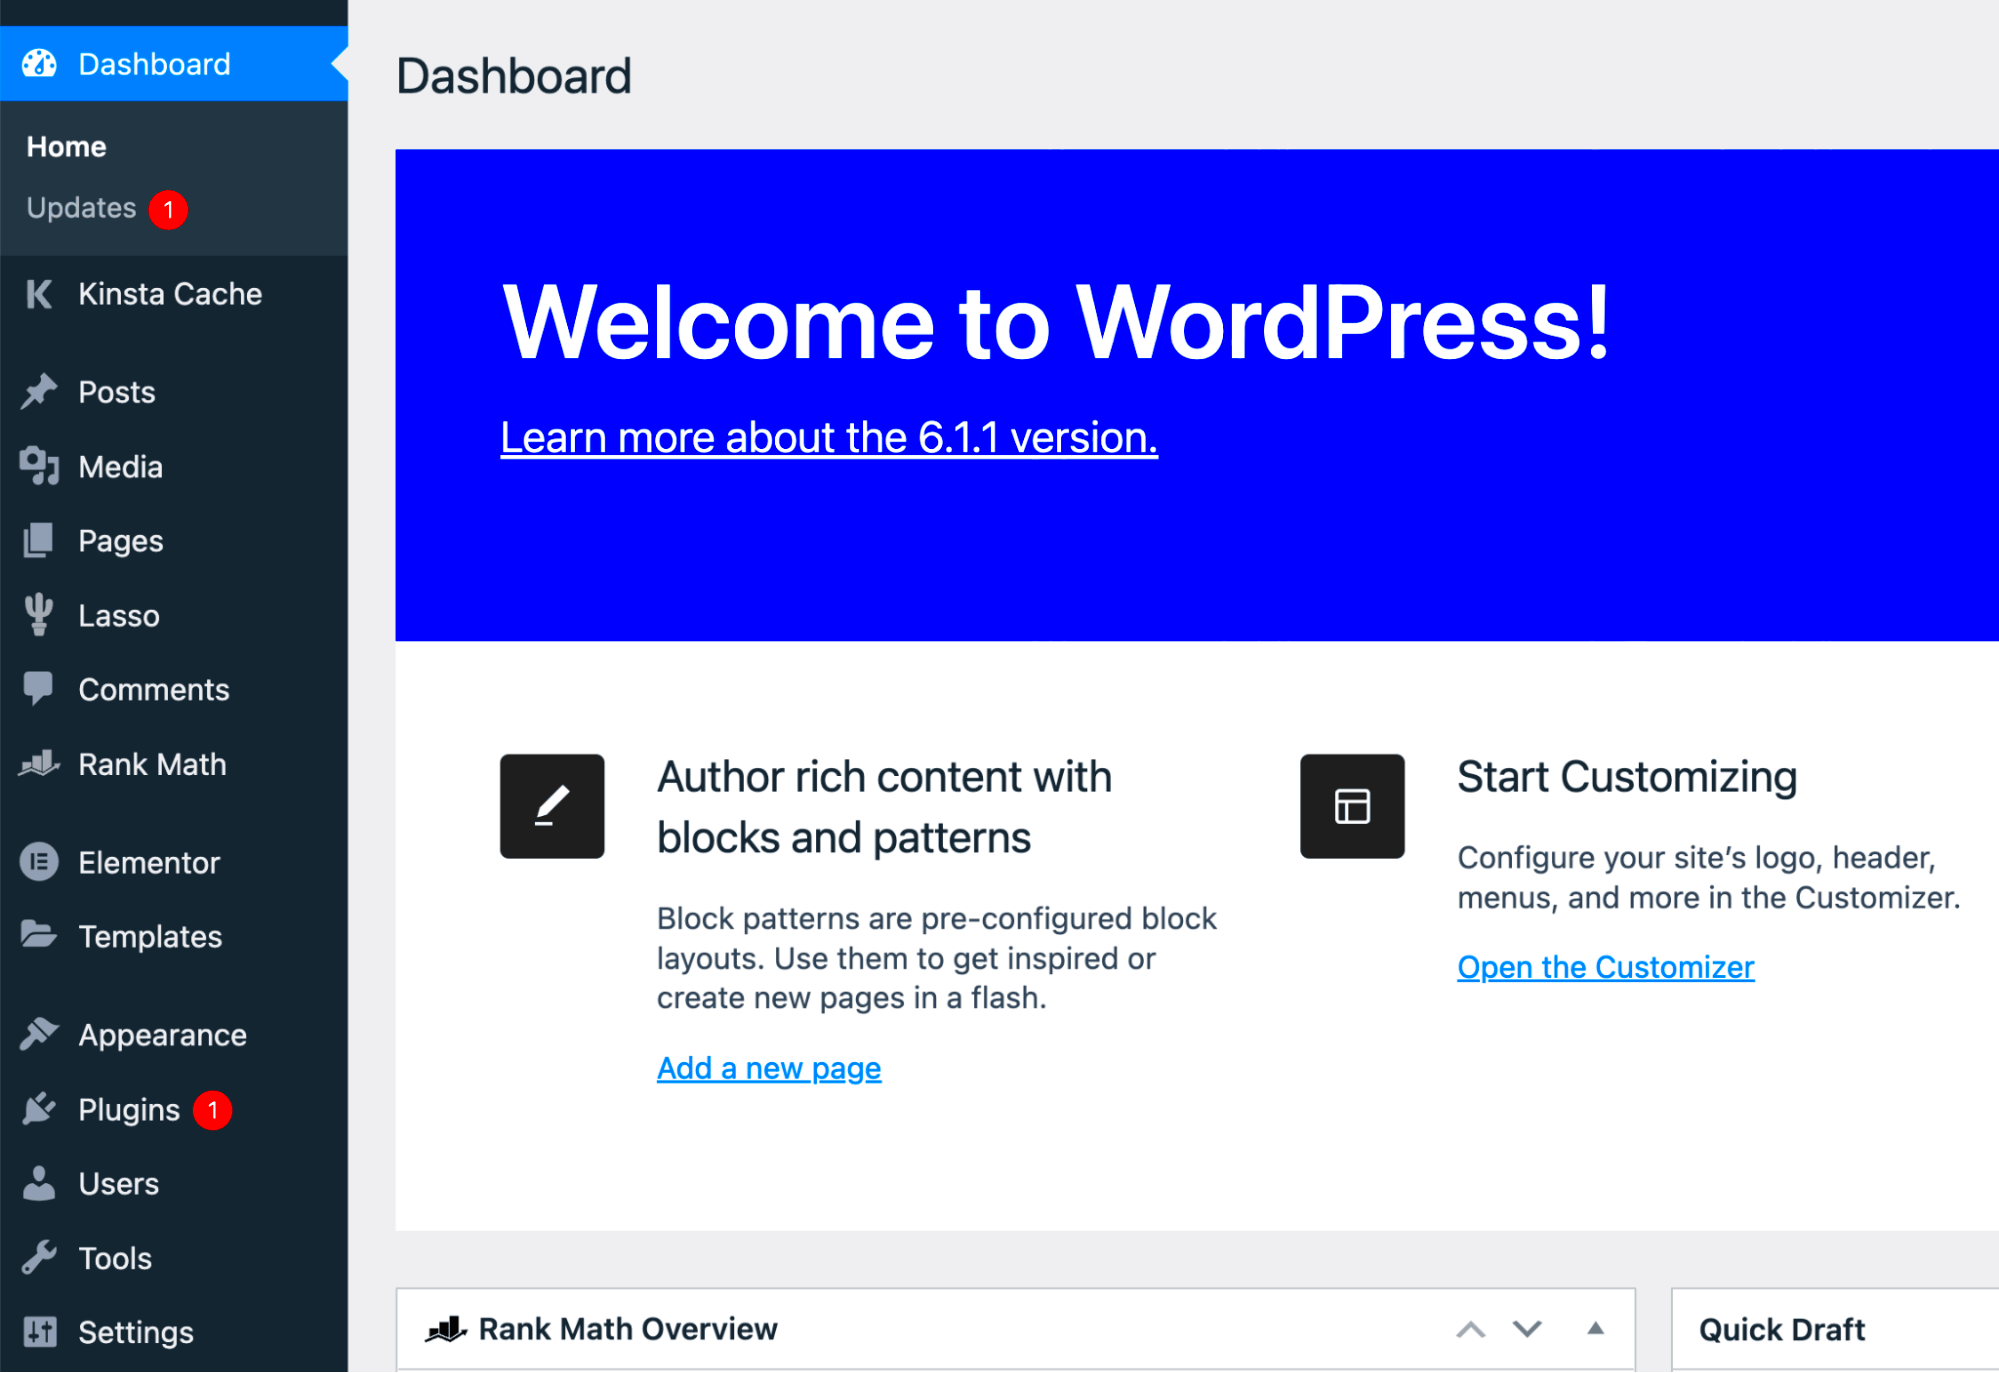
Welcome to your command center—the WordPress Dashboard! This is where all the magic happens. It may look a bit overwhelming at first, but don’t fret! Once you get used to it, you’ll feel right at home.
Upon logging in, you’ll see the dashboard, which provides a snapshot of your website. Here’s a breakdown of the main sections:
- Posts: All your blog posts are managed here. You can edit, delete, or create new posts with ease.
- Media: This is where you store all your images, videos, and documents. You can upload files and organize them into folders.
- Pages: Similar to posts, but for static content. You can manage all your website’s pages here.
- Comments: Keep track of user comments on your posts and pages. You can moderate or reply to comments directly from here.
- Appearance: Customize the look of your site! Change themes, menus, and widgets to make your site uniquely yours.
- Plugins: Add additional features to your site with plugins. From SEO tools to security plugins, there’s a lot to choose from.
- Users: Manage users who have access to your site. You can add new users or adjust roles and permissions.
Now let’s talk about settings. Here’s where you can configure crucial aspects of your site:
| Setting | Description |
|---|---|
| General | Set your site title, tagline, timezone, and more. |
| Writing | Configure default settings for your posts, such as the format and categories. |
| Reading | Choose what people see when they visit your site, like your homepage display. |
| Discussion | Manage settings related to comments and notifications. |
| Media | Set up how large your images will be and how they will be organized. |
| Permalinks | Select how your URLs look—make them clean and easy to read! |
Understanding the dashboard and settings is your first step toward mastering WordPress. The more familiar you get, the more comfortable you’ll feel navigating your new site!
9. SEO Basics: Optimizing Your WordPress Site
When it comes to creating a website, understanding the basics of Search Engine Optimization (SEO) is crucial. SEO helps your website become visible to search engines like Google, which can result in more visitors. So, how do you optimize your WordPress site for SEO? Let’s break it down.
First things first, let’s talk about keywords. These are the terms your potential visitors are searching for. Make sure to:
- Research keywords: Use tools like Google Keyword Planner or Ubersuggest to find relevant keywords.
- Incorporate keywords: Use your primary keywords in your headline, subheadings, and throughout your content, but avoid stuffing them.
Next, consider your website’s loading speed. A slow site can drive visitors away. Here’s how you can enhance your speed:
- Choose a reliable host: The right hosting provider can make a world of difference.
- Optimize images: Use tools like TinyPNG to compress images without losing quality.
- Use caching plugins: Plugins like W3 Total Cache can significantly speed up your site.
Don’t forget about mobile optimization! Most people browse on their phones nowadays. Make sure your theme is responsive and looks great on all devices. Finally, enhancing your site structure and using internal linking can elevate user experience and encourage visitors to stay longer.
To summarize, focus on:
| SEO Element | Action |
|---|---|
| Keywords | Research and use strategically |
| Speed | Optimize images and use caching |
| Mobile-friendly | Ensure responsive design |
| Site Structure | Use internal linking effectively |
With these SEO basics, your WordPress site will be on the right track to attracting visitors!
10. Maintaining Your WordPress Site: Updates and Backup
So you’ve set up your WordPress site. That’s fantastic! But remember, setting it up is just the beginning. Regular maintenance is key to keeping your website running smoothly and securely. Let’s delve into the essentials of updates and backups.
Updates are vital. WordPress regularly releases updates for themes and plugins, which often include important security patches and new features. Here’s what you should do:
- Check for updates regularly: Visit the dashboard to see available updates and apply them to keep your site secure.
- Update plugins and themes: Always run the latest versions to ensure compatibility and security.
- Backup your site before updates: This ensures you can restore your site in case anything goes wrong during the update.
Next, let’s discuss backups because, well, you never know when disaster might strike! Having a backup means you can recover your site if it gets hacked or if data somehow gets lost. Here’s a simple checklist:
- Use a reliable backup plugin: Options like UpdraftPlus or BackupBuddy can automate this process for you.
- Choose backup frequency wisely: Daily backups are great for active sites, while weekly may suffice for less active ones.
- Store backups securely: Consider cloud services like Google Drive or Dropbox for added safety.
To sum it up, regular maintenance, including updates and backups, is essential for the longevity and security of your WordPress site. Make it a habit, and you’ll thank yourself later!
11. Resources for Learning More About WordPress
Getting started with WordPress is exciting, but the journey doesn’t end once you’ve set up your site. Fortunately, there are numerous resources available to help you deepen your understanding and improve your skills. Below, I’ve compiled a list of amazing resources that cater to everyone, from beginners to advanced users.
1. Official WordPress.org Documentation
The official documentation is one of the best places to start. It covers everything from installation to plugin development. The explanations are clear, and you can easily find specific topics.
2. Online Courses
- Udemy: Offers a variety of courses focused on WordPress, including site building, SEO optimization, and e-commerce setups.
- Coursera: Provides structured learning paths with courses taught by experts from reputable universities.
- LinkedIn Learning: Features many courses on WordPress that come with certificates to showcase your skills.
3. YouTube Channels
YouTube is a treasure trove of tutorials. Some popular channels include:
- WPBeginner: Ideal for newbies, with easy-to-follow videos.
- WPCrafter: Great for visual learners, focusing on practical applications.
4. Blogs and Forums
- WPExplorer: Offers tips, themes, and plugin recommendations.
- WordPress Stack Exchange: A community where you can ask questions and share knowledge.
5. Books
Don’t underestimate the power of traditional reading! Here are a couple of great books:
- “WordPress for Dummies” by Lisa Sabin-Wilson
- “Professional WordPress: Design and Development” by Brad Williams, David Damstra, and Hal Stern
By utilizing these resources, you’ll be well on your way to mastering WordPress and unleashing the full potential of your website!
12. Conclusion: Taking the Next Steps in Your WordPress Journey
Embarking on your WordPress journey is an exciting venture, full of potential and opportunities. As you’ve learned throughout this blog post, WordPress is not only a powerful content management system but also a platform that allows you to build anything from simple blogs to full-scale e-commerce sites.
Now that you have the basic knowledge, it’s time to think about your next steps:
- Experiment: Don’t be afraid to explore various themes and plugins. Set up a test site if you want to try something new without affecting your main website.
- Set Goals: Define what you want your website to achieve. Is it to share your expertise? Sell products? Build a community? Knowing your goals will guide your decisions.
- Engage with the Community: Join forums, attend local meetups, or participate in online groups. Networking with other WordPress users can be incredibly beneficial.
- Continuous Learning: The world of WordPress is always evolving with new updates, techniques, and features. Consider dedicating some time each week to learn something new!
Remember, every expert was once a beginner. Take your time, don’t rush the process, and most importantly, enjoy the journey. Your website is an extension of you, your ideas, and your passion. So roll up your sleeves, dive deeper, and make it truly yours!

