Thinking about moving your WordPress website to a new host or platform? You’re not alone! WordPress migration is a common step for website owners looking for better speed, security, or just a fresh start. But let’s be honest—migrating a website can feel overwhelming. The good news? With the right tools, it becomes much easier and less stressful. Successfully migrating your site ensures your visitors don’t experience downtime, your SEO rankings stay intact, and your data remains safe. So, understanding what
Factors to Consider When Choosing a WordPress Migration Tool
Picking the right migration tool isn’t just about convenience; it’s about making sure your website stays safe, functional, and optimized during the move. Here are some key factors to keep in mind:
- Ease of Use: Look for tools with intuitive interfaces. You don’t want to spend hours figuring out complicated processes. A user-friendly tool saves time and reduces errors.
- Support for Large Websites: If your site has a lot of content, images, or complex data, choose a tool that can handle large sites efficiently without crashing or slowing down.
- Backup and Restore Features: Ensure the tool offers reliable backup options before migration. This way, you can restore your site if anything goes wrong.
- Compatibility: Check if the migration tool works seamlessly with your current hosting environment, WordPress version, and plugins.
- Speed and Performance: Fast migration reduces downtime. Opt for tools known for quick and efficient transfers.
- Security: Data privacy is critical. Make sure the tool encrypts your data during transfer and doesn’t compromise your site’s security.
- Customer Support and Documentation: Reliable support and comprehensive guides can be lifesavers if you encounter issues during migration.
By considering these factors, you’ll be better equipped to choose a migration tool that fits your specific needs, making your website move as smooth as possible. Remember, the right tool can save you time, reduce stress, and ensure your website remains secure and functional throughout the process.
3. Top WordPress Migration Tools for 2024
Looking to move your WordPress website to a new host or domain? The good news is, there are some fantastic migration tools out there that make the process smooth and stress-free. Whether you’re a beginner or a seasoned developer, these tools can help you avoid headaches and ensure your site stays intact during the move.
Let’s take a look at some of the top WordPress migration tools for 2024:
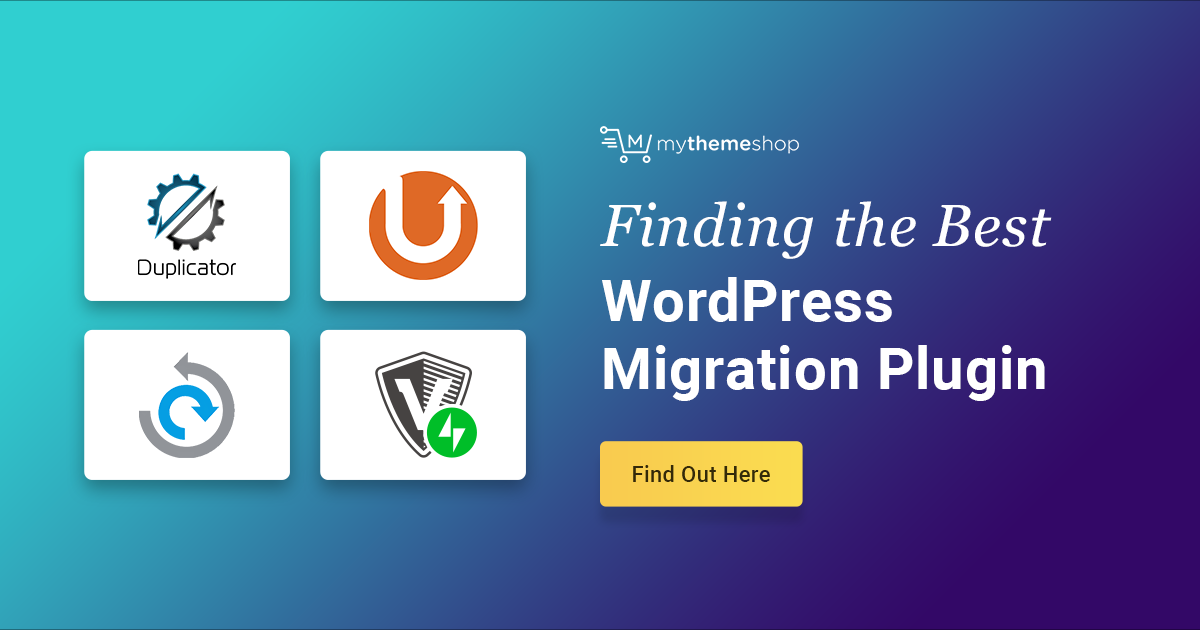
- Migrator Pro: Known for its user-friendly interface, Migrator Pro offers one-click migration options, making it ideal for those who want simplicity. It handles databases, files, and even serialized data without breaking a sweat.
- All-in-One WP Migration: This plugin is a favorite among WordPress users. Its drag-and-drop interface makes it super easy to export and import your entire site, including media files. Plus, it has cloud storage integrations if you need to back up or restore from services like Google Drive or Dropbox.
- UpdraftPlus: While primarily a backup plugin, UpdraftPlus also offers migration capabilities. It’s perfect if you’re already familiar with it and want a combined solution for backups and site moves.
- WP Migrate DB: This tool is especially popular among developers because it focuses on migrating your database efficiently. It’s great for complex sites where you need more control over the migration process.
- Duplicator: Duplicator is a versatile plugin that creates a package of your entire site. You can then move this package to a new server or domain with minimal fuss. It’s particularly handy for staging sites or creating backups for migration.
Each of these tools has its own strengths, so your choice depends on your comfort level, specific needs, and the complexity of your website. Whatever you pick, make sure to back up your site first and test the migration on a staging environment if possible. That way, you can catch any issues before your live site goes live on the new host.
4. Comparative Features of the Best Migration Plugins
Choosing the right migration plugin isn’t just about ease of use—it’s also about features, compatibility, and support. Here’s a quick comparison of some of the top WordPress migration tools to help you make an informed decision:
| Feature | All-in-One WP Migration | Duplicator | Migrator Pro | UpdraftPlus | WP Migrate DB |
|---|---|---|---|---|---|
| Ease of Use | Very user-friendly with drag-and-drop interface | Simple, but requires some technical knowledge for large sites | Intuitive, especially for beginners | Easy if you’re familiar with backup plugins | More technical; suited for developers |
| Migration Scope | Complete website (files + database) | Entire site package including media | Full site including database and files | Backup and restore, includes migration | Database-focused migration |
| File Size Limit | Depends on hosting/server limits | Large sites supported | Supports large sites with extensions | Limited by server and PHP settings | Dependent on server resources |
| Cloud Support | Yes, via extensions | No native support, manual upload needed | Limited, requires manual move | Yes, integrates with cloud services | No, relies on local database |
| Pricing | Free version available; premium adds features | Basic free version; pro version for larger sites | Free with premium extensions | Free with premium options for advanced features | Free; pro version offers additional tools |
| Support & Updates | Regular updates, active support | Active community, premium support available | Regular updates, good support | Active support, frequent updates | Developer-focused, good support for pro users |
In summary, if you want a straightforward, all-in-one solution, All-in-One WP Migration or Duplicator are excellent choices. For developers needing more control, WP Migrate DB might be the way to go. And if you already use UpdraftPlus for backups, adding its migration feature could streamline your workflow. Consider your site size, technical comfort, and specific needs when choosing the best plugin for your migration in 2024.
5. Step-by-Step Guide to Migrating Your WordPress Site Using These Tools
So, you’ve chosen the perfect WordPress migration tool — great! Now, let’s walk through the process step-by-step to make sure your website moves smoothly from one host to another without hiccups. Don’t worry, I’ll keep it simple and straightforward.
Step 1: Backup Your Current Website
Before doing anything, always create a full backup of your website. Most migration tools either include backup features or recommend using plugins like UpdraftPlus or Duplicator. This ensures that if anything goes wrong, you can restore your site to its original state.
Step 2: Install and Set Up the Migration Tool
Download and install the migration plugin or tool of your choice. For example, if you’re using Duplicator, install it from the WordPress plugin repository. Follow the setup wizard to prepare your site for migration — this usually involves creating a package or export file.
Step 3: Export Your Website Data
Using the tool, generate an export file that contains all your website data — files, database, themes, plugins, and settings. This is often a one-click process, but double-check that the export is complete and includes everything.
Step 4: Prepare the Destination Server
Make sure your new hosting environment is ready. Create a new database, note down the credentials, and upload the migration files or package you generated. Some tools automate this process, while others require manual upload via cPanel or FTP.
Step 5: Import and Install the Website on the New Host
Follow the tool’s instructions to import your website data into the new environment. This might involve running an installer script or restoring from the backup file. Once completed, check that all files and database entries are correctly imported.
Step 6: Update DNS and Test Your Site
Point your domain’s DNS to the new server’s IP address. It might take a few hours for DNS changes to propagate. While waiting, test your website on the new host by using temporary URL or hosts file modification to ensure everything works perfectly — check links, forms, images, and overall functionality.
Step 7: Final Checks and Cleanup
After confirming your site functions correctly on the new host, delete any temporary files or installation scripts left behind. Also, clear your cache, and if needed, update your site’s URL settings in WordPress. That’s it — your migration is complete!
6. Tips to Ensure a Smooth and Secure Website Migration
Migrating a website can seem daunting, but with a few tips up your sleeve, you can make the process smooth, safe, and stress-free. Here are some recommendations to keep in mind:
- Plan Ahead: Schedule your migration during low-traffic hours to minimize disruption. Notify your users if necessary and set expectations.
- Use a Reliable Migration Tool: Stick with well-reviewed, trusted migration plugins or services. They’re designed to handle complex site structures and reduce errors.
- Keep Backups Handy: Always have recent backups of both your old and new sites. This way, you can quickly revert if something unexpected happens.
- Test Before DNS Switch: Don’t change your DNS immediately. Test the new site on a temporary URL or local environment first to catch issues early.
- Update Permalinks and Settings: After migration, go to Settings > Permalinks and re-save your permalink structure. Also, review site settings for consistency.
- Secure Your Site During and After Migration:
- Use HTTPS — ensure SSL certificates are installed on the new server.
- Update all URLs to HTTPS if needed.
- Remove any leftover installation files or scripts that could pose security risks.
- Update passwords for hosting accounts, databases, and WordPress admin accounts.
- Monitor Your Website Post-Migration: Keep an eye on site performance, error logs, and user feedback. Tools like Google Analytics and Search Console can help you spot issues early.
- Communicate with Your Audience: Let your visitors know about the migration if it might impact their experience. Clear communication builds trust!
By following these tips, you’ll reduce the chances of unexpected setbacks and ensure your website remains secure and accessible throughout the migration process. Remember, patience and thorough testing are key — a little extra effort upfront pays off with a seamless transition!
Conclusion and Final Recommendations for WordPress Migration Tools
Choosing the right WordPress migration tool is crucial for ensuring a smooth and error-free website transfer. The best tools offer features such as automated backups, easy cloning, and minimal downtime, which are essential for a seamless migration process. When selecting a tool, consider factors like compatibility with your hosting environment, ease of use, and whether it provides comprehensive support and documentation.
Here are some final recommendations:
- Backup First: Always create a complete backup of your site before starting the migration to prevent data loss.
- Test the Migration: If possible, perform a staging or test migration to identify potential issues without affecting your live site.
- Check Compatibility: Ensure the tool supports your current WordPress version and hosting platform.
- Monitor the Process: Keep an eye on the migration progress and verify that all components, including plugins and media, are transferred correctly.
- Post-Migration Verification: After migration, thoroughly check your website for broken links, missing images, or functionality issues.
In conclusion, selecting a reliable WordPress migration tool tailored to your specific needs can save time, reduce stress, and help maintain your website’s integrity throughout the transition. Prioritize tools that offer user-friendly interfaces, robust support, and proven track records to ensure a successful migration experience.