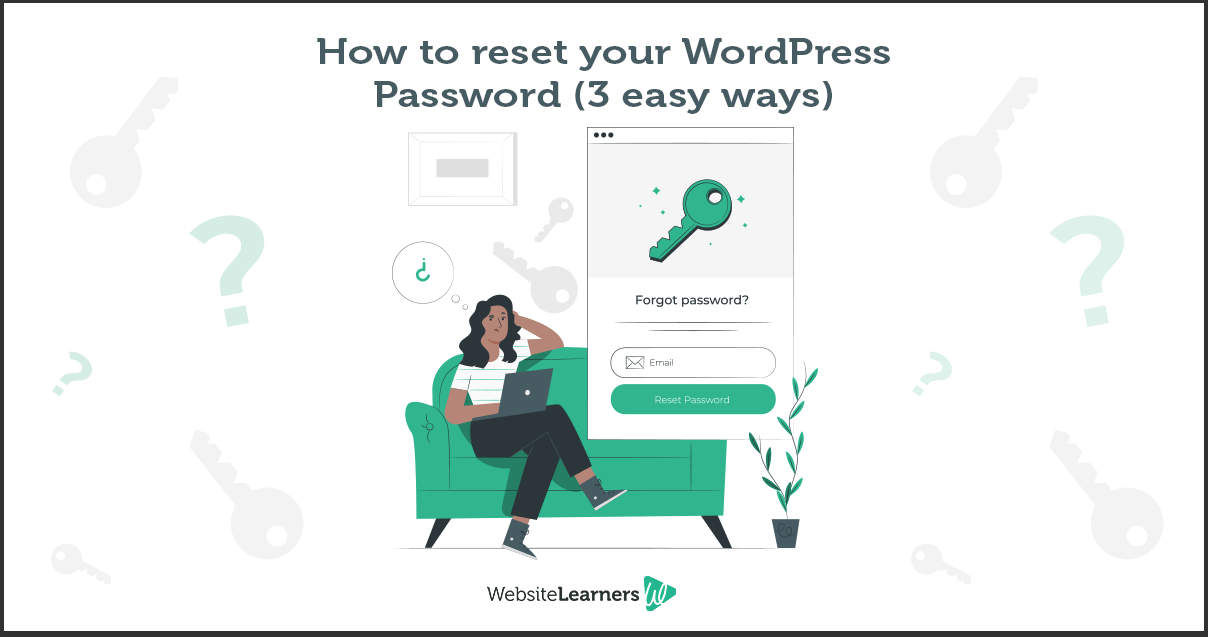
When it comes to managing your WordPress website, the password reset page might seem like a small detail, but it plays a big role in user experience and branding. Customizing this page allows you to create a seamless, professional look that matches your site’s style and makes users feel confident in the process. Whether you want to add your logo, personalize the messaging, or enhance security, tweaking the default password reset page can make a noticeable difference. In this guide, we’ll walk through why customization matters and how to do it easily and effectively.
Reasons to Customize Your Password Reset Page
There are several compelling reasons to give your WordPress password reset page a personalized touch:
- Enhance Brand Consistency: By customizing the password reset page, you reinforce your brand identity. Using your logo, colors, and fonts helps users feel like they’re still on your site, even during recovery processes.
- Improve User Experience: A well-designed page that’s easy to understand reduces confusion and frustration. Clear instructions, friendly language, and a clean layout make the process smoother for your visitors.
- Increase Security Perception: Custom messages can reassure users that your site is secure. You can include tips or warnings that help prevent phishing attempts or suspicious activity.
- Reduce Support Requests: When your reset page is clear and helpful, users are less likely to reach out for help. You can include links to FAQs or support channels directly on the page.
- Stand Out from the Crowd: Many websites use the default WordPress pages, which look generic. Customizing yours helps differentiate your site and adds a professional touch.
In short, tailoring your password reset page isn’t just about aesthetics — it’s about creating a consistent, trustworthy, and user-friendly experience that aligns with your overall website goals. Now, let’s explore how you can achieve this customization easily and effectively.
3. Preparing to Customize Your Password Reset Page
Before diving into customizing your WordPress password reset page, it’s essential to get everything in order. Think of this step like laying a solid foundation before building a house — it makes the whole process smoother and less stressful.
First, ensure you have a recent backup of your website. Customizing core pages can sometimes lead to unexpected issues, so having a backup means you can always restore your site if something doesn’t go as planned. You can use popular plugins like UpdraftPlus or BackWPup for this purpose.
Next, familiarize yourself with the tools you’ll be using. Most customizations involve editing PHP files, CSS, or using hooks and filters. Basic knowledge of these areas is helpful, but don’t worry—there are plenty of tutorials out there if you’re new.
It’s also a good idea to set up a staging site or a local environment. This is a safe space where you can test your changes without affecting your live site. Many hosting providers offer staging environments with just a few clicks. If not, tools like Local by Flywheel or MAMP can help you create a local setup.
Finally, decide on your customization goals. Do you want to simply change the look with CSS? Or are you planning to add new features or messages? Having a clear plan will save you time and help you choose the right approach.
Once you’ve prepared your environment and know what you want to achieve, you’re ready to move on to the actual customization process. Remember, patience and a little bit of experimentation are your friends here!
4. Step-by-Step Guide to Customizing the Password Reset Page
Now that you’re prepared, let’s walk through the steps to customize your WordPress password reset page. This process involves editing theme files or using plugins — whichever approach suits your comfort level.
Step 1: Choose Your Customization Method
- Using a Plugin: Ideal for beginners. Plugins like Theme My Login or WPForms allow you to customize pages with drag-and-drop builders and settings.
- Manual Code Edits: More flexible but requires some coding knowledge. You’ll modify PHP templates, hook into WordPress filters, or override template files.
Step 2: Locate the Password Reset Template
If you’re editing code directly, you need to find the template responsible for the password reset page. Typically, this is wp-login.php or handled via functions in your theme or plugin. For a cleaner approach, consider creating a custom page using a shortcode or a custom template.
Step 3: Create a Custom Password Reset Page
In WordPress, you can create a dedicated page and embed the password reset form using shortcodes or custom functions. For example, some plugins provide shortcodes like [reset_password] which you can add to your page.
Step 4: Customize the Appearance with CSS
Use your child theme’s stylesheet or a custom CSS plugin to style the reset page. You might want to change colors, fonts, or layout to match your branding. Here’s a simple example:
Step 5: Add Custom Messages or Branding
Personalize the user experience by editing the messages users see. You can do this by overriding default translation strings or using plugin settings. For example, changing the “Password reset email sent” message to something more friendly or branded.
Step 6: Test Your Customization
Once everything is set up, go to your password reset page and test it thoroughly. Make sure the form looks good on desktop and mobile, and that the reset process works smoothly. Testing saves you from surprises when your visitors start using it.
Final Tips:
- Keep your customizations simple initially — you can always enhance later.
- Document your changes, especially if editing code, so you can easily revert if needed.
- Always test on a staging site first to avoid disrupting your live site.
Customizing your password reset page can seem intimidating at first, but with patience and these steps, you’ll create a seamless, branded experience for your users. Happy customizing!
5. Using Plugins to Customize the Password Reset Page
When it comes to customizing your WordPress password reset page, plugins are your best friends. They make the process super straightforward, even if you’re not a coding wizard. Whether you want to add a splash of your branding, tweak the layout, or enhance user experience, there’s likely a plugin that fits your needs.
One popular option is Theme My Login. This plugin allows you to customize login, registration, and password reset pages to match your site’s style. You can easily change colors, add your logo, and even modify the layout, all without touching a single line of code.
Another great tool is WP Custom Login & Register. It offers drag-and-drop customization for your login and reset pages. Plus, it supports custom redirects after password resets, so you can guide users to the right page seamlessly.
If you want more control and flexibility, consider plugins like LoginPress or Custom Login Page Customizer. These plugins let you design your login and password reset pages visually, adding background images, custom fields, and branding elements.
Here’s a quick overview of steps to customize using plugins:
- Install and activate your chosen plugin via the WordPress plugin repository.
- Navigate to the plugin’s settings page in your WordPress dashboard.
- Use the provided tools to customize the appearance, layout, and messages.
- Preview changes and save your settings.
Remember, always back up your site before installing new plugins, just in case something doesn’t work as expected. With the right plugin, you can turn a plain, default password reset page into a branded, user-friendly experience that aligns with your website’s look and feel.
6. Adding Custom Branding and Design Elements
Want your password reset page to feel like a natural extension of your website? Adding custom branding and design elements is a fantastic way to do that. It not only creates a cohesive user experience but also boosts trust and professionalism.
Start with your logo. Placing your logo prominently on the reset page instantly communicates that the page belongs to your brand. You can do this by editing the page’s HTML or using a plugin that allows easy logo uploads.
Next, think about your color scheme. Consistent colors across your site make everything look polished. You can customize the background, buttons, and text colors to match your branding palette. If you’re using a page builder or a plugin with visual editors, this process becomes even simpler.
Adding custom images or illustrations can make the page more inviting. For example, a friendly illustration related to security or unlocking accounts can make users feel more comfortable during the reset process.
Typography also plays a role. Use fonts that match your brand’s style—whether it’s a clean modern look or something more playful. Custom fonts can be added via CSS or through plugins that support font customization.
Here’s a quick checklist to enhance your password reset page:
- Logo: Upload your logo and position it where it’s visible.
- Colors: Match the background, buttons, and text with your brand palette.
- Images & Icons: Incorporate relevant visuals to make the page friendly and trustworthy.
- Fonts: Use consistent typography that aligns with your site’s style.
- Custom Messages: Add branded instructions or reassurance messages to guide users effectively.
To implement these elements, you can edit your theme’s CSS, use a page builder, or leverage a plugin’s customization options. The key is to keep the design simple, clear, and aligned with your overall branding. A well-branded password reset page not only looks professional but also reassures users that they’re in the right place to securely regain access to their accounts.
7. Modifying the Password Reset Email Templates
When it comes to user experience, the emails your website sends out play a huge role. The default WordPress password reset email is functional, but it might not match your site’s branding or feel as personal as you’d like. Luckily, customizing these email templates is pretty straightforward and can make your communication feel more professional and aligned with your brand.
To get started, you’ll need to hook into WordPress’s email system. The key function here is wp_mail(), but for customizing email content, many folks turn to plugins or add custom filters. One popular method is to use a plugin like WP Mail SMTP or Email Templates, which allows you to easily tweak email content without digging into code. If you’re comfortable with code, you can also add filters to your theme’s functions.php file.
Using a Plugin for Email Customization
- Install and activate a plugin like Email Templates or WP Mail SMTP.
- Navigate to the plugin’s settings panel.
- Look for options to customize the password reset email content.
- Design your email with your branding—add your logo, change colors, and personalize the message.
- Save your changes and test by requesting a password reset from your site.
Custom Coding Approach
If you’re comfortable adding code, you can use the retrieve_password_message filter to customize the email message. Here’s a simple example:
function custom_password_reset_email( $message, $key, $user_login, $user_data ) { $reset_link = network_site_url() . "wp-login.php?action=rp&key=$key&login=" . rawurlencode( $user_login ); $custom_message = "Hi " . $user_login . ",

"; $custom_message .= "We've received a request to reset your password. Click the link below to set a new password:
"; $custom_message .= "Reset Your Password

"; $custom_message .= "If you didn't request this, please ignore this email."; return $custom_message;}add_filter( 'retrieve_password_message', 'custom_password_reset_email', 10, 4 );
This code replaces the default email with a more personalized message. You can further style it with HTML/CSS to match your branding. Remember to back up your site before making changes to your theme files.
Best Practices for Email Templates
- Keep it clear and concise: Make sure your instructions are straightforward.
- Brand it: Include your logo and brand colors for consistency.
- Include support info: Add contact details if users need help.
- Test thoroughly: Send test emails to verify everything looks good on different devices.
By customizing your password reset emails, you not only improve user experience but also reinforce your brand’s professionalism. Whether you choose a plugin or code your own templates, a little effort here can go a long way!
8. Testing Your Customized Password Reset Page
Once you’ve made all your tweaks—whether to the design, the email templates, or the reset process—you’ll want to ensure everything works smoothly. Testing is the final, crucial step to catch any issues before your users do. A seamless password reset experience can significantly boost user confidence and reduce frustration.
Steps for Effective Testing
- Use different browsers and devices: Test on Chrome, Firefox, Safari, and mobile devices to ensure responsiveness and compatibility.
- Test with different user accounts: If you have multiple user roles (admin, subscriber, etc.), verify that the reset process works for each.
- Simulate common scenarios: Request password resets with correct and incorrect email addresses. Ensure error messages are clear and helpful.
- Check email delivery: Make sure the customized emails arrive promptly and look as intended. Use email testing tools like Mailtrap or SendGrid for more thorough testing.
- Verify reset link functionality: Click the link in the email to confirm it leads to the password reset form, and that it works correctly.
- Test timeout and security: Try expired links or invalid tokens to see if your site handles them gracefully.
Additional Tips for Testing
- Enable debugging: Turn on WP_DEBUG in your wp-config.php file to identify errors during testing.
- Use staging environment: Perform tests on a staging site rather than your live site to avoid disrupting real users.
- Gather feedback: Ask colleagues or trusted users to test the process and provide feedback on usability and clarity.
Final Checks
Before going live, ensure that:
- Your email templates look professional and match your branding.
- The reset process is smooth with minimal clicks required.
- You have clear instructions and support options if users encounter issues.
- All links work correctly and are secure (use HTTPS).
Thorough testing saves you headaches down the line and ensures your users have a positive experience when resetting their passwords. Remember, a little extra effort now can make your site more trustworthy and user-friendly in the long run!
9. Best Practices for Secure and User-Friendly Password Reset Pages
When it comes to the password reset page, striking the right balance between security and usability is crucial. You want your users to feel confident that their information is safe, but also that they can easily navigate the process without frustration. Let’s explore some best practices to achieve this balance.
Prioritize Security Without Sacrificing Usability
First and foremost, ensure that your password reset process is secure. Use HTTPS to encrypt data transmitted between your server and users’ browsers—this is non-negotiable. Additionally, implement rate limiting to prevent brute-force attacks where malicious actors try multiple password reset requests rapidly.
Another key point is to verify user identity effectively. Instead of just asking for an email address, consider adding multi-factor authentication (MFA) options or security questions, especially for higher-stakes accounts. But remember, overly complicated steps can deter genuine users, so strike a balance.
Design a Clear and Simple Interface
Your password reset page should be straightforward and clutter-free. Use clear headings like “Reset Your Password” so users immediately understand the purpose. Keep instructions concise and to the point, avoiding technical jargon.
Also, include helpful guidance, such as:
- What to do if they don’t receive the email
- Estimated time for the reset process
- Contact information for support
Feedback and Confirmation
Once a user requests a password reset, provide immediate feedback. For example, display a message like “If an account with that email exists, you’ll receive a reset link shortly.” This way, you don’t reveal whether the email is registered, which is good for security.
After they submit the reset form, confirm the request with a friendly message and clear instructions on checking their email. When they successfully reset their password, show a confirmation message like “Your password has been reset successfully.” to reassure them.
Keep the Reset Link Secure and Time-Limited
Ensure that reset tokens are strong, unique, and expire after a reasonable period—say, 1-2 hours. This minimizes the risk if someone intercepts the link. Also, avoid including sensitive information in the URL to prevent exposure.
Accessibility Matters
Make your reset page accessible to everyone. Use proper semantic HTML, ensure sufficient contrast ratios, and enable keyboard navigation. These steps help users with disabilities complete the reset process comfortably.
10. Additional Tips for Enhancing User Experience During Password Reset
Beyond security fundamentals, small touches can make the password reset experience more pleasant and less stressful for your users. Here are some practical tips to enhance that journey:
Use Friendly, Reassuring Language
Language matters! Instead of cold or technical phrases, opt for warm and encouraging messages. For example, instead of “Invalid email”, say “We couldn’t find an account with that email. Please try again.”. This approach reduces user frustration and confusion.
Provide Clear Instructions and Support Options
Guide users step-by-step. Clearly tell them what to do, what to expect next, and how long the process should take. Include links to FAQs or support contact info if they encounter issues. A helpful tip or two can prevent unnecessary support requests.
Optimize for Mobile Devices
Many users will access your reset page from their phones. Make sure the design is mobile-responsive—buttons are easy to tap, text is readable without zooming, and forms are simple to fill out on small screens.
Minimize Required Inputs
Ask only for essential information. Usually, just the email address is enough to initiate the reset. Too many fields can discourage users or cause errors. Once the email is entered, handle the rest behind the scenes.
Implement Clear Call-to-Actions (CTAs)
Use prominent, descriptive buttons like “Send Reset Link” or “Reset Password”. Ensure they’re visually distinct and logically placed. A good CTA guides the user smoothly through the process.
Add Visual Cues and Feedback
Visual cues like icons or progress indicators can reassure users that their request is being processed. For example, a spinning icon or a success checkmark after clicking the button can be very helpful.
Test and Collect Feedback
Finally, regularly test your password reset flow on different devices and browsers. Gather user feedback to identify pain points or confusing steps. Small tweaks based on real user input can significantly improve the overall experience.
By keeping security tight and making the process as friendly as possible, you’ll help your visitors regain access quickly and confidently. Remember, a well-designed password reset page isn’t just about security—it’s about building trust and providing a seamless experience.
Conclusion and Final Thoughts on Customizing Your WordPress Password Reset Page
Customizing your WordPress password reset page is a vital step in enhancing both the security and user experience of your website. A well-designed reset page not only helps users regain access effortlessly but also reinforces your site’s branding and professionalism. Throughout this guide, we’ve explored various methods to tailor the appearance and functionality of the reset page, including using plugins, custom code, and theme modifications.
Key takeaways include:
- Security should always be a priority, so avoid revealing too much information during the reset process.
- Brand consistency can be maintained by customizing the reset page to match your website’s theme and style.
- Ease of use is essential; ensure the reset process is straightforward and accessible across devices.
Remember, a customized password reset page not only improves user satisfaction but can also reduce support requests related to login issues. Whether you opt for a plugin solution or custom coding, always test thoroughly to ensure functionality and security are intact before deploying changes live. By investing time in this customization, you create a more cohesive and professional experience for your visitors, strengthening their trust in your website.
Ultimately, a tailored password reset page reflects your commitment to user security and usability, making it a worthwhile enhancement for any WordPress site.