If you’ve been using WordPress for a while, you’ve probably come across widget templates—those handy pieces of code that help customize how your widgets appear on your site. Managing these templates can be a bit tricky, especially if you’re not familiar with how they function behind the scenes. Whether you’re looking to update your site’s look, troubleshoot issues, or just keep things tidy, understanding how to handle widget templates is essential. In this guide, we’ll walk through the basics of managing your widget templates, including how to identify, edit, and delete them when necessary. Let’s dive in and make your website cleaner and more efficient!
Why You Might Need to Delete Widget Templates
Over time, your website’s widget templates can become cluttered or outdated. Maybe you installed a plugin that added custom templates, or perhaps you experimented with different layouts and forgot to remove the ones you no longer need. Here are some common reasons why deleting widget templates can be a smart move:
- Reducing Clutter: Extra templates can slow down your site’s performance or make it harder to find the templates you actually use.
- Cleaning Up Old Configurations: Outdated templates from previous design changes can cause conflicts or display issues.
- Improving Security: Unused or forgotten templates might pose security risks if they contain vulnerabilities or outdated code.
- Streamlining Maintenance: Fewer templates mean easier updates and less confusion when customizing your site.
- Enhancing Performance: Removing unnecessary code can help your website load faster, providing a better experience for visitors.
Before deleting any templates, it’s a good idea to back up your website. That way, if you accidentally remove something important, you can easily restore it. Deleting widget templates isn’t always complex, but it requires some caution to ensure you don’t disrupt your site’s layout. In the next sections, we’ll explore how to safely delete those templates and keep your WordPress site running smoothly.
3. Step-by-Step Guide to Deleting Widget Templates in WordPress
Alright, so you’ve decided it’s time to tidy up your website by removing some widget templates. Maybe they’re outdated, no longer relevant, or just cluttering your site. No worries—it’s a straightforward process once you know the steps. Let’s walk through it together, shall we?
Step 1: Log into Your WordPress Dashboard
Start by signing into your WordPress admin area. This is where all the magic happens. Head over to yourwebsite.com/wp-admin and enter your credentials.
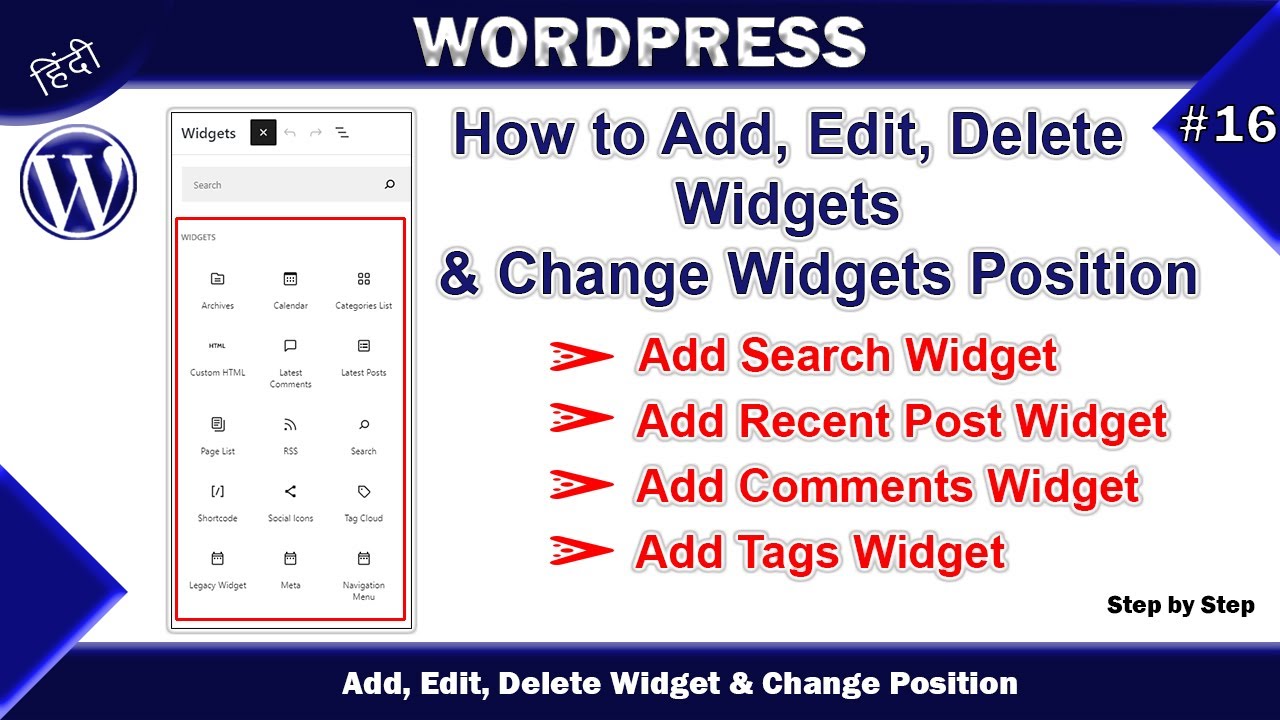
Step 2: Navigate to the Widgets Section
Once logged in, look for the menu on the left side. Hover over Appearance and then click on Widgets. This page displays all your active widget areas and the widgets assigned to them.
Step 3: Identify the Widget Template You Want to Delete
Scroll through your widget areas to find the specific widget template you wish to remove. These might be custom widgets, plugin-added widgets, or default ones. Take a moment to verify you’re selecting the correct one to avoid accidental deletions.
Step 4: Remove the Widget
Click on the widget to expand its options. Inside, you’ll see a Delete link at the bottom. Click it, and the widget will be removed from that area.
- Note: Deleting a widget from the widget area doesn’t delete any associated templates directly. If the widget is a custom template or part of a plugin, you might need to delete files or templates elsewhere.
Step 5: Check for Custom Widget Templates in Theme Files
If your widget template was created as part of your theme (like a PHP file in your theme folder), you’ll want to remove it from your server. To do this:
- Access your website via an FTP client or your hosting file manager.
- Navigate to /wp-content/themes/your-theme/.
- Look for the template file, which might be named something like widget-custom.php.
- Delete or rename the file to prevent it from loading.
Step 6: Clear Cache and Verify
After making these changes, clear your website cache and browser cache to ensure the deletions are reflected immediately. Visit your site and navigate to the widget areas to confirm that the widget template has been successfully removed.
4. Best Practices for Cleaning Up Your WordPress Site After Deletion
Great job on deleting those widget templates! Now, let’s talk about how to keep your site in tip-top shape after cleanup. A little maintenance goes a long way in ensuring your website runs smoothly and stays clutter-free.
1. Backup Your Website
Before making any significant changes, always create a full backup. This way, if something unexpected happens, you can restore your site to its previous state. Use reliable plugins like UpdraftPlus or BackupBuddy for a hassle-free backup process.
2. Review and Remove Unused Widgets and Plugins
After deleting widget templates, check if there are any unused widgets lingering in your widget areas. Removing unnecessary plugins also helps improve site speed and security. Regularly review your plugins and deactivate or delete those you no longer need.
3. Clean Up Database and Files
Over time, your database accumulates overhead from revisions, transients, and old data. Use a plugin like WP-Optimize or Advanced Database Cleaner to safely tidy up your database. Additionally, delete unused media files and plugin files from your server to free up space.
4. Check for Broken Links and Errors
Use tools like Broken Link Checker or Google Search Console to identify broken links or errors that might have resulted from deleted templates. Fix or remove these links to improve user experience and SEO.
5. Update Your Theme and Plugins
Keep everything up to date to ensure compatibility and security. Sometimes, outdated themes or plugins can cause conflicts or security vulnerabilities, especially after removing templates or files.
6. Optimize Site Performance
After cleanup, consider implementing performance enhancements like caching, minification, and CDN integration. These steps help your site load faster and provide a better experience for your visitors.
Summary Table of Post-Deletion Cleanup Steps
| Step | Action |
|---|---|
| Backup | Create a full backup of your site before making changes. |
| Remove unused widgets/plugins | Deactivate and delete unnecessary widgets and plugins. |
| Clean database and files | Optimize your database and delete obsolete files. |
| Fix errors and broken links | Use tools to identify and repair issues. |
| Update software | Keep themes, plugins, and WordPress core updated. |
| Improve site speed | Implement caching and performance optimization techniques. |
By following these best practices, you’ll ensure that your website remains clean, fast, and secure after removing those widget templates. Remember, regular maintenance is key to a healthy website that visitors love to browse!
5. Tools and Plugins to Help Manage Widget Templates Effectively
Managing widget templates in WordPress can sometimes feel overwhelming, especially if you have a busy website with lots of custom layouts. Luckily, there are several tools and plugins designed to make this process much smoother and more efficient. These tools help you identify, edit, and delete widget templates without the fuss of digging through code or manually searching your files.
One popular plugin is Widget Importer & Exporter. This plugin allows you to export your widget configurations and import them into other sites or restore previous setups. While it doesn’t directly delete templates, it provides a safety net, so you can experiment with your widget layouts without fear of losing everything.
Another great option is Custom Widget Areas. This plugin enables you to create, manage, and delete widget areas easily from the WordPress admin dashboard. It’s especially handy if you’re working with theme builders or page builders that support custom widget areas, giving you more control over your site’s layout.
If you’re comfortable working with code or want a more advanced approach, consider using Developer Tools like Query Monitor or Debug Bar. These tools can help you identify which widget templates are being used on specific pages and troubleshoot issues that might arise from leftover or conflicting templates.
For those who prefer a visual approach, page builder plugins like Elementor or Beaver Builder often come with their own widget management features. They let you see all your widget zones at a glance, disable or delete unnecessary ones, and even save templates for later reuse. This can drastically reduce clutter and make your site easier to manage.
Ultimately, the key is choosing tools that match your level of technical comfort. Whether you’re a beginner or a seasoned developer, these plugins can streamline your workflow, help you clean up unused widget templates, and keep your website running smoothly. Remember, always back up your site before making major changes—it’s the safest way to prevent accidental data loss!
6. Common Issues and Troubleshooting Tips
Dealing with widget templates and their cleanup can sometimes lead to a few common hiccups. Don’t worry—most issues are straightforward to resolve once you know what to look out for. Here are some typical problems and practical troubleshooting tips to keep your website in top shape.
Issue 1: Widgets Not Showing Up as Expected
If you’ve deleted or cleaned up widget templates but notice that certain widgets aren’t appearing where they should, it might be because of cached data or lingering settings. To fix this:
- Clear your browser cache and refresh the page.
- Clear your site’s cache if you’re using caching plugins.
- Check the widget areas in the WordPress Customizer or Widgets menu to ensure the widget is assigned correctly.
Issue 2: Broken Layouts or Missing Content
This can happen if a widget template was deleted but the layout still references it. To troubleshoot:
- Revisit your page builder or theme settings to verify widget zone configurations.
- Use debugging tools like Query Monitor to see which widget templates are being loaded.
- Restore a previous backup if the issue persists and you’re unsure what caused the problem.
Issue 3: Error Messages or White Screen
If you encounter PHP errors or a blank screen after deleting widget templates, it’s likely due to code conflicts or missing files. Here’s what to do:
- Enable WordPress debugging by adding
define('WP_DEBUG', true);to your wp-config.php file. This will show errors helping pinpoint the problem. - Restore the deleted templates from your backup or undo recent changes.
- If you’re comfortable with code, review your theme or plugin files for references to the deleted templates and remove or update them accordingly.
Remember, before making any major changes, always back up your site. This way, if something goes wrong, you can easily revert to a stable version. Also, don’t hesitate to reach out to support forums or your theme/plugin developers—they can often provide tailored guidance for tricky issues.
Cleaning up widget templates is a valuable step toward a streamlined, faster website. With a little patience and the right troubleshooting tips, you’ll keep your site running smoothly and looking great for your visitors!
Conclusion and Additional Resources for WordPress Site Optimization
In conclusion, effectively managing and deleting widget templates is crucial for maintaining a clean, efficient, and fast-loading WordPress website. Regularly reviewing your widgets helps prevent clutter, reduces potential security vulnerabilities, and ensures your site remains user-friendly. Remember, always back up your site before making significant changes to avoid accidental data loss.
For further enhancement of your WordPress site’s performance and optimization, consider exploring the following resources:
- Official WordPress Documentation: Comprehensive guides on widget management and theme customization.
- WPBeginner: Tutorials on cleaning up your site and best practices for optimization.
- Google PageSpeed Insights: Tool to analyze your website’s loading speed and receive actionable suggestions.
- WP Rocket or W3 Total Cache: Plugins that improve site speed through caching and other optimization techniques.
- Security Plugins: Such as Wordfence, to enhance your website’s security while managing widgets and templates.
By staying informed and utilizing these resources, you can ensure your WordPress website remains optimized, secure, and user-friendly, providing the best experience for your visitors.