If you’ve ever felt overwhelmed by the idea of managing your website’s SEO, you’re not alone. One powerful but often overlooked tool is the noindex tag. Think of it as a way to tell search engines, “Hey, don’t include this page in search results.” This can be super helpful for pages that are useful for visitors but might hurt your SEO — like thank you pages, login screens, or duplicate content. Using noindex tags wisely can improve your site’s overall search performance, ensuring search engines focus on your most important pages. Let’s dive into what noindex tags are and why they matter so much.
Understanding the Role of Noindex Tags in WordPress and Elementor

When you’re building a website with WordPress and Elementor, you have a lot of control over what gets shown to search engines. The noindex tag is a simple but crucial part of that control. It tells search engines, like Google, not to include specific pages in their search results. This is especially useful if you have pages that don’t add value to searchers or could even harm your SEO if indexed. For example, you might want to prevent indexing of pages like:
- Login and registration pages
- Shopping cart and checkout pages
- Duplicate content or staging sites
- Thank you or confirmation pages
In WordPress, you can add noindex tags using various methods—plugins, custom code, or SEO tools. When you’re using Elementor, it gets even easier because many SEO plugins integrate seamlessly, allowing you to set noindex options directly within your page settings. Understanding how to correctly implement noindex tags ensures that your website remains optimized, focusing search engine attention on your most valuable content. It’s all about making your SEO efforts more effective and your site more user-friendly.
3. Step-by-Step Guide to Adding Noindex Tags in WordPress Using Elementor
So, you’re ready to tell search engines which pages to ignore? Using noindex tags can be a game-changer for your SEO strategy, especially if you want to keep certain pages like thank-you pages, login pages, or duplicate content out of search results. Here’s a simple, step-by-step way to add noindex tags in WordPress with Elementor:
Step 1: Install an SEO Plugin with Noindex Capabilities
The first thing you’ll need is an SEO plugin that allows you to control meta tags easily. Popular options include Yoast SEO, All in One SEO Pack, or Rank Math. For this guide, let’s assume you’re using Yoast SEO since it’s widely used and user-friendly.
Step 2: Open the Page with Elementor
Navigate to your WordPress dashboard, find the page you want to add a noindex tag to, and click Edit with Elementor. This opens the page in Elementor’s visual editor, giving you full control over the content and layout.
Step 3: Access the Yoast SEO Meta Box
Scroll down the page editor until you see the Yoast SEO meta box (usually below the main content area). If you don’t see it, ensure that the plugin is active and properly configured. You’ll find options like Focus Keyphrase, Snippet Preview, and more.
Step 4: Set the Page to Noindex
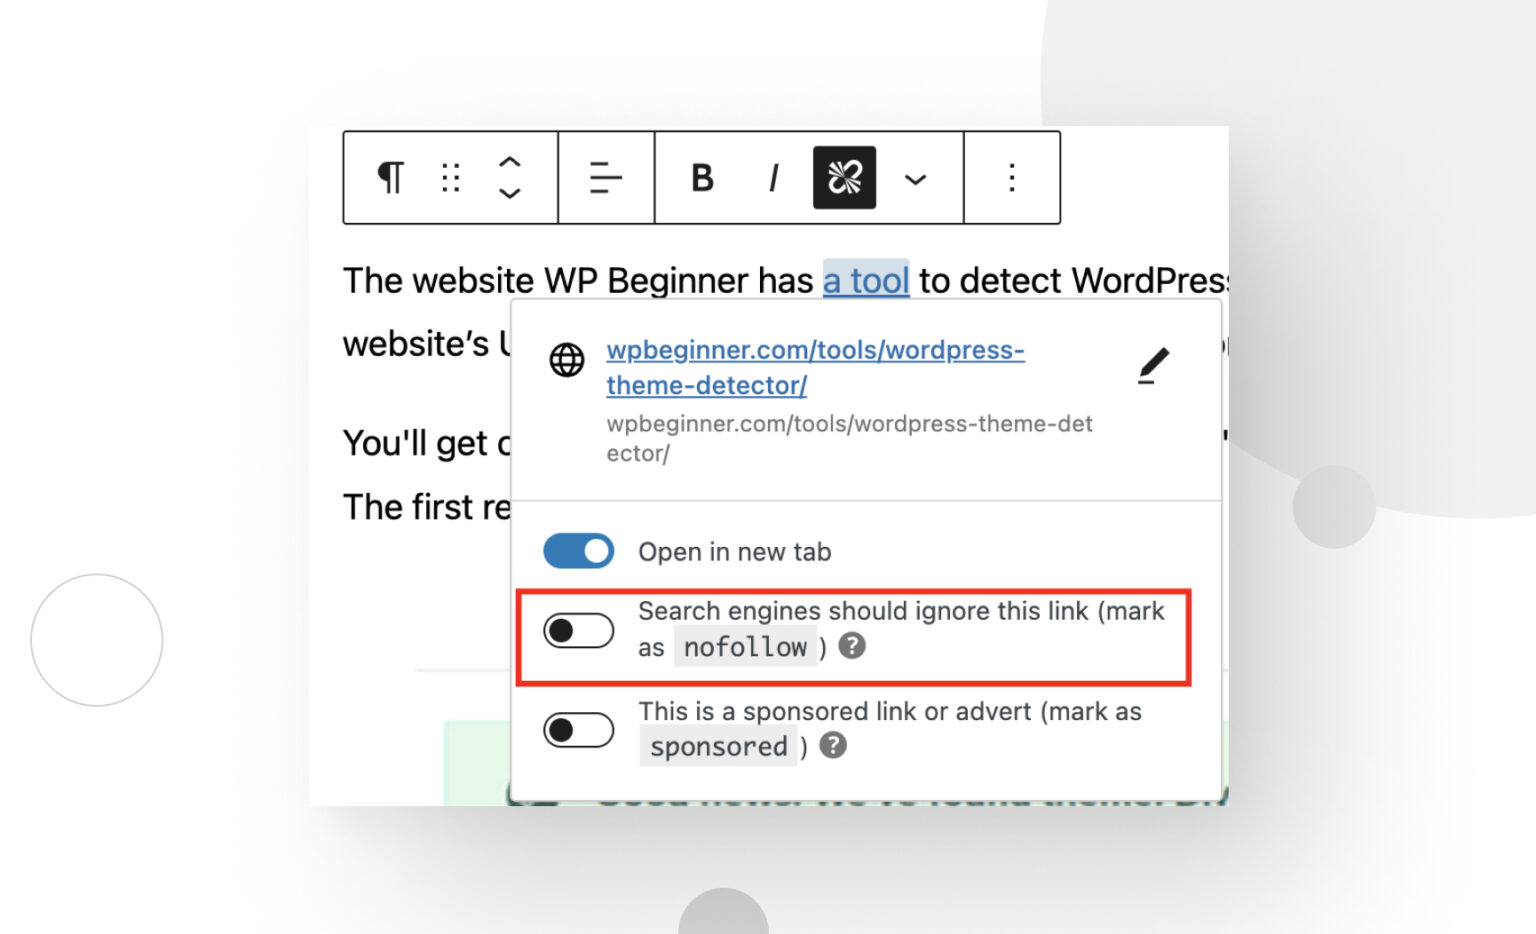
Within the Yoast SEO box, click on the Advanced tab (or the gear icon). Here, you’ll see options for:
- Allow search engines to show this page in search results? – set to No
- Should search engines follow links on this page? – optional, based on your preference
Toggle the first setting to No. This action adds a noindex directive to the page’s meta tags.
Step 5: Save Your Changes
Click Update or Publish to save your changes. Now, search engines will recognize that this page should not be indexed, helping you keep unwanted pages out of search results.
Extra Tip:
If you need to add noindex tags to multiple pages quickly, consider using the bulk SEO settings or page templates, or even customizing your theme’s header.php file with conditional logic. But for most users, using the SEO plugin as described works perfectly!
4. Best Practices for Implementing Noindex Tags on Your Website

Adding noindex tags isn’t something you do haphazardly. It’s a strategic move that can significantly impact your SEO health. Here are some best practices to keep in mind:
1. Use Noindex for Low-Value or Duplicate Content
Pages like login pages, cart pages, search results, and duplicate content should typically be noindexed. This prevents search engines from wasting crawl budget on pages that don’t add value to your site’s search presence.
2. Be Careful with Important Pages
While it’s tempting to noindex pages that seem unnecessary, make sure you don’t accidentally hide pages that could boost your SEO. Review your site architecture regularly to ensure you’re not blocking valuable content.
3. Combine Noindex with Robots.txt and canonical tags
Use a comprehensive approach: implement noindex tags, customize your robots.txt file to block certain directories, and use canonical URLs to specify the preferred version of duplicate pages. This layered strategy helps search engines understand your site structure better.
4. Regularly Audit Your Noindex Implementation
Periodically review which pages are set to noindex. Use tools like Google Search Console to see how your pages are being crawled and indexed. Adjust your noindex tags as your website evolves.
5. Avoid Overusing Noindex Tags
While noindex is useful, overusing it can harm your SEO by hiding too much content. Use it sparingly and intentionally to optimize your site’s visibility.
6. Communicate Changes to Your Team
If you work with a team, document your noindex strategy so everyone understands which pages should be hidden and why. Consistency is key to maintaining a healthy SEO profile.
7. Keep User Experience in Mind
Remember, some pages you hide from search engines might still be useful for your visitors. Use noindex thoughtfully to improve both your SEO and user experience.
By following these best practices, you can leverage noindex tags effectively to fine-tune your website’s visibility and ensure search engines focus on your most valuable content. Happy optimizing!
5. Common Mistakes to Avoid When Using Noindex Tags
Using noindex tags might sound straightforward, but there are some common pitfalls that can inadvertently harm your SEO efforts if you’re not careful. Let’s go over a few mistakes to watch out for so you can use noindex tags effectively.
1. Noindexing Important Pages
One of the biggest blunders is accidentally applying noindex to pages that should be visible to search engines, like your homepage, about page, or key product pages. This can block important content from appearing in search results, hurting your site’s visibility.
Tip: Double-check the pages you’re applying noindex to and ask yourself, “Should this page really be hidden from search engines?”
2. Forgetting to Remove Noindex When Necessary
Sometimes, you might set a noindex tag during a site overhaul or while fixing issues, but forget to remove it afterward. This leaves your pages hidden long after the problem is resolved, which can severely impact your traffic.
Solution: Regularly audit your indexed pages and ensure noindex tags are only on pages meant to be hidden.
3. Using Noindex on Duplicate Content
Applying noindex to duplicate pages can be helpful, but overdoing it might hide valuable content. Instead, consider canonical tags to consolidate duplicate pages rather than hiding them altogether.
Remember: Noindex is useful for preventing duplicate content issues, but it shouldn’t be your only tool. Use it judiciously.
4. Ignoring the Impact on Internal Linking
If you noindex a page that’s heavily linked internally, it can cause broken link paths or reduce the overall SEO value transfer. Be cautious about noindexing pages that are central to your site structure.
Pro tip: Use internal linking strategically, and if a page is noindexed, consider removing or updating links pointing to it.
5. Not Testing Changes Before Going Live
Implementing noindex tags without testing can lead to unintended consequences. Always preview your changes, use tools like Google Search Console, and verify how pages are crawled and indexed.
Bottom line: Take your time, test thoroughly, and monitor your site’s performance after applying noindex tags to ensure everything works as intended.
6. Tools and Plugins to Help Manage Noindex Tags Effectively
Managing noindex tags manually can be tedious, especially if your website is large or frequently updated. Fortunately, there are several tools and plugins that make this process much easier and more reliable.
Popular WordPress Plugins for Managing Noindex Tags
- Yoast SEO: One of the most popular SEO plugins, Yoast allows you to easily set noindex directives on individual pages, posts, or taxonomy archives. Its user-friendly interface makes it simple to control indexing without touching code.
- All in One SEO Pack: Similar to Yoast, this plugin offers options to set noindex tags on specific content types and even bulk-edit multiple pages at once.
- Rank Math: Another powerful SEO plugin that provides advanced options for noindexing pages, categories, tags, and more. It also offers schema markup and other SEO tools.
Browser-Based and Online Tools
- Google Search Console: Not a plugin, but an essential tool to monitor how Google indexes your site. Use the URL Inspection tool to see if pages are indexed or noindexed, and submit requests for reindexing after changes.
- Screaming Frog SEO Spider: A desktop tool that crawls your website and shows which pages have noindex tags, helping you audit your site efficiently.
Best Practices When Using Tools and Plugins
- Keep plugins updated: Always run the latest version to benefit from security and feature improvements.
- Use bulk editing features: Save time by applying noindex tags to multiple pages or posts simultaneously.
- Test changes: After applying noindex tags, use Google Search Console or crawlers to verify that the tags are in place and working correctly.
In summary, leveraging the right tools and plugins not only simplifies managing noindex tags but also helps prevent mistakes that could harm your SEO. Take advantage of these resources to keep your site optimized and search-engine-friendly!
Conclusion and Tips for Optimizing Your SEO Strategy with Noindex Tags
Implementing noindex tags effectively can significantly enhance your SEO strategy by preventing search engines from indexing low-quality or duplicate pages. This allows you to focus your site’s authority on your most valuable content, improving overall search engine rankings. However, misuse or overuse of noindex tags can hinder your site’s visibility, so it’s essential to apply them thoughtfully.
Here are some valuable tips to optimize your SEO strategy with noindex tags:
- Identify pages to exclude: Use noindex on pages such as admin pages, login screens, duplicate content, or thank you pages to prevent them from cluttering search results.
- Leverage plugin settings: Many SEO plugins, including those compatible with Elementor, allow easy implementation of noindex tags without editing code directly.
- Combine with canonical tags: Use canonical URLs to specify the preferred version of duplicate content, further strengthening your SEO efforts.
- Monitor your site: Regularly review your indexed pages using tools like Google Search Console to ensure noimportant pages are unintentionally excluded.
- Use strategic noindexing: For example, consider noindexing category pages or archive pages that do not add unique value, to improve crawl efficiency.
In summary, when used correctly, noindex tags are powerful tools to refine your website’s SEO. By carefully selecting which pages to exclude and regularly monitoring your site’s indexing status, you can boost your search engine rankings and provide a better experience for your visitors.