Looking to give your WordPress website a fresh, modern look? The Sugo Display Font might just be what you need! This bold, eye-catching typeface is perfect for headlines, banners, and any area where you want to grab visitors’ attention. Not only does it add a stylish flair to your site, but it also helps convey your brand’s personality more effectively. Whether you’re a blogger, business owner, or creative professional, integrating Sugo Display can elevate your site’s visual appeal. Let’s explore what makes this font special and how it can benefit your online presence.
Step-by-Step Guide to Installing Sugo Display Font on WordPress
Ready to add Sugo Display to your WordPress site? Don’t worry—it’s easier than you might think! Here’s a simple step-by-step guide to get you started:
- Download the Font Files: First, obtain the Sugo Display font files. You can find them on reputable font websites or the official source if available. Ensure you download the appropriate formats (like .woff or .woff2) for web use.
- Upload Font Files to Your Website: Using an FTP client or your hosting file manager, upload the font files to your WordPress theme’s directory, typically inside a folder like fonts.
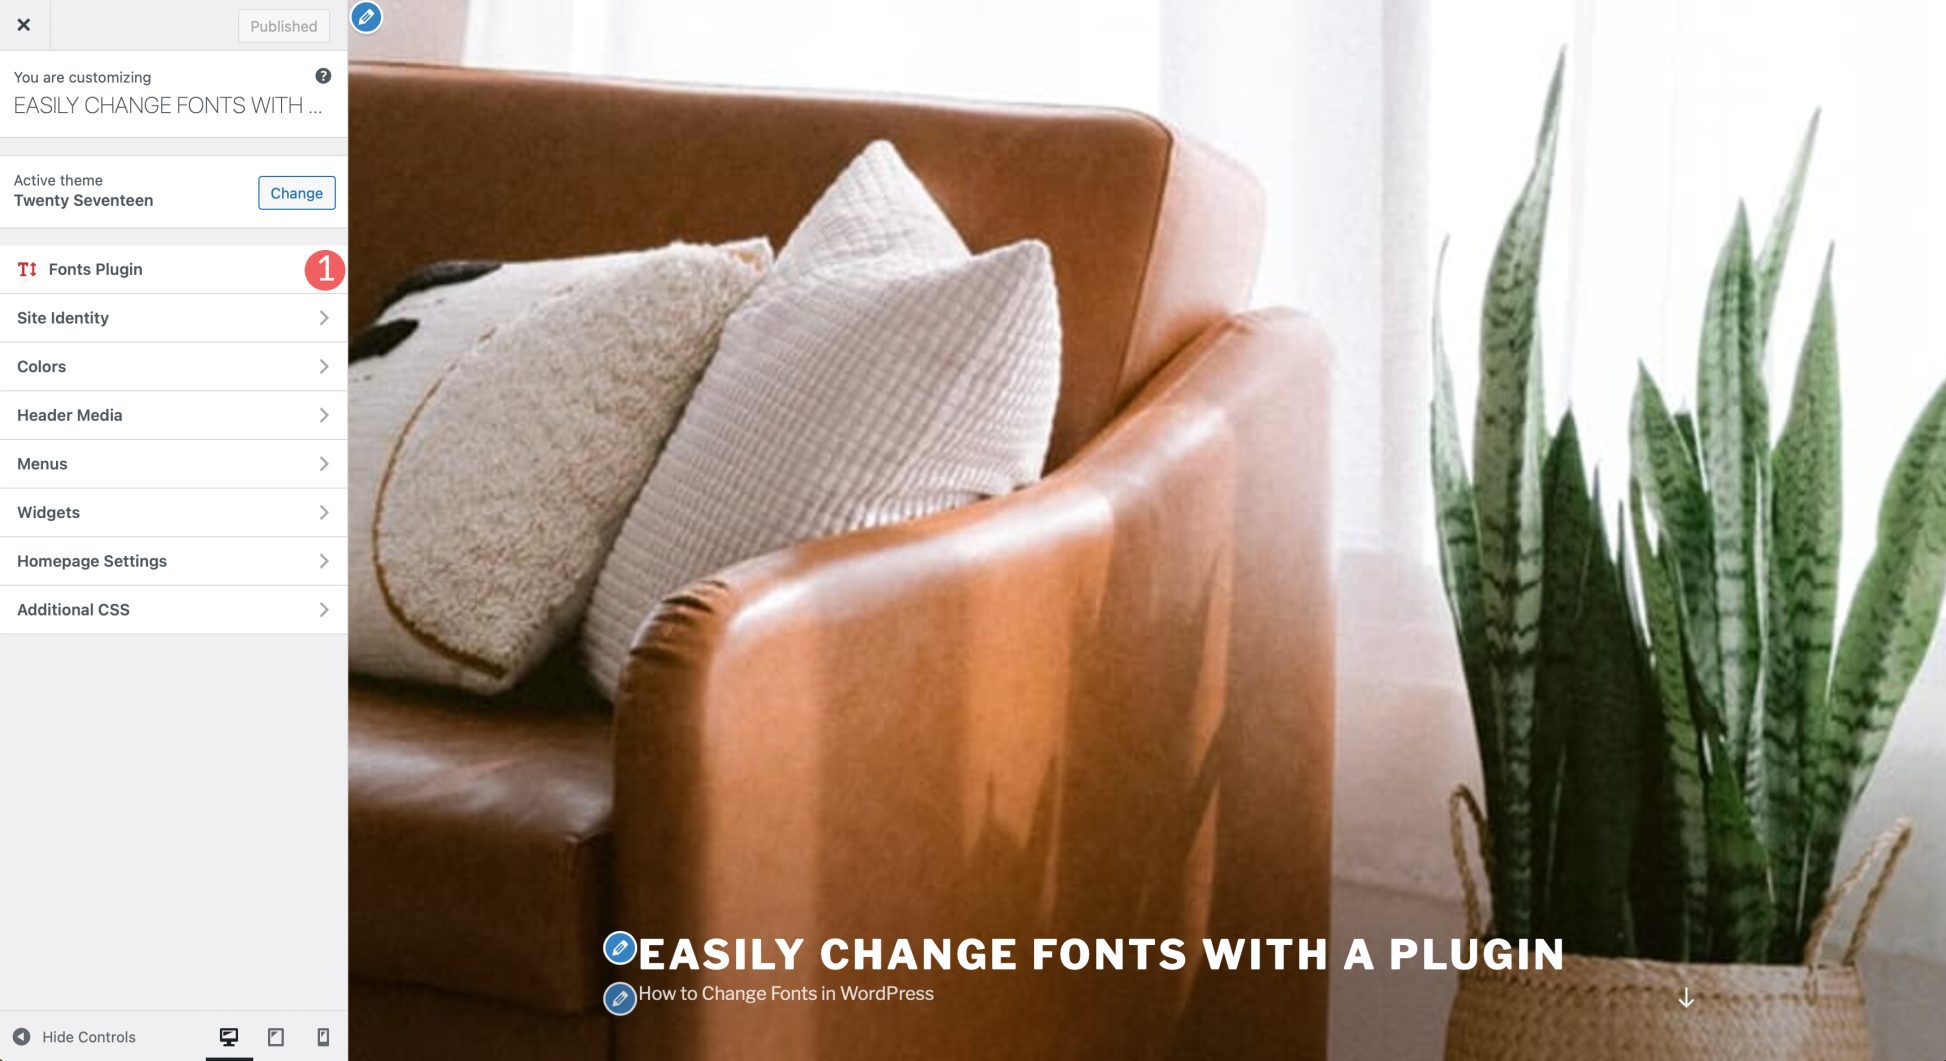
- Create a Custom CSS File or Use the Customizer: To apply the font, you’ll need to add some CSS. You can do this by editing your theme’s stylesheet (style.css) or through the WordPress Customizer under Appearance > Customize > Additional CSS.
- Define the Font in CSS: Add the @font-face rule to your CSS, specifying the font name and path to the uploaded files. For example:
@font-face { font-family: 'SugoDisplay'; src: url('/wp-content/themes/your-theme/fonts/SugoDisplay.woff2') format('woff2'), url('/wp-content/themes/your-theme/fonts/SugoDisplay.woff') format('woff'); font-weight: normal; font-style: normal;} - Apply the Font to Your Site: Now, target the elements you want to style with Sugo Display. For example, to change all headings:
- Save and Preview: Save your changes and refresh your website. You should see the Sugo Display font applied! Adjust as needed for the perfect look.
h1, h2, h3 { font-family: 'SugoDisplay', sans-serif;}
And that’s it! With these straightforward steps, you can easily install and customize the Sugo Display font on your WordPress site, giving it a distinctive, professional appearance that resonates with your brand’s style.
3. Customizing Sugo Display Font for a Unique Website Look
Once you’ve got Sugo Display Font installed on your WordPress site, the fun really begins—making it your own! Customizing the font allows you to create a look that truly matches your brand personality and makes your website stand out. Luckily, tweaking Sugo Display isn’t complicated, and you have several options to get creative.
First off, consider where and how you’re using the font. Sugo Display works beautifully for headlines, menu items, or even special callouts. To customize it effectively, you’ll want to target specific elements with CSS. If you’re comfortable with code, adding custom CSS can give you precise control. For example, you might change the font size, letter spacing, or even add some color effects to make your headings pop.
Here’s a quick tip: use your browser’s developer tools to identify the CSS selectors for the elements you want to style. Then, add custom CSS like this:
/ Example Custom CSS /h1, h2, h3 { font-family: 'Sugo Display', sans-serif; font-size: 3em; / Adjust size / letter-spacing: 2px; / Add spacing for a more dynamic look / color: 333; / Change text color / text-transform: uppercase; / Make headings bold and eye-catching /}
Another way to customize Sugo Display is through your theme’s built-in options or a page builder. Many themes and plugins allow you to set fonts for different sections without touching code. Look for font settings in the customizer or page builder interface, and select Sugo Display for your headings or other elements. You can often set different styles for desktop and mobile views, ensuring your site looks great everywhere.
If you want to get really creative, consider combining Sugo Display with other fonts for a contrast effect—perhaps pairing it with a clean serif or a casual script for subheadings and body text. Just make sure to keep the overall style cohesive. Experiment with font weights, sizes, and colors until you find a look that feels authentic and engaging.
Finally, remember that less is often more. Over-customizing can sometimes make your site look cluttered or inconsistent. The goal is to make Sugo Display stand out in a way that enhances your content without overwhelming your visitors. Play around, preview your changes, and enjoy crafting a unique website aesthetic that reflects your brand’s personality.
4. Tips for Using Sugo Display Font Effectively in Your Content
Using Sugo Display Font effectively is all about balance and purpose. It’s a bold, attention-grabbing font perfect for headlines and titles, but applying it thoughtfully can really elevate your website’s readability and visual appeal. Here are some tips to help you make the most out of Sugo Display in your content:
- Use it for headings and titles: Sugo Display shines as a headline font. Keep your headings large and prominent to draw visitors’ eyes. This helps organize your content and makes it easier for readers to scan your pages.
- Limit its use in body text: While it’s tempting to use Sugo Display everywhere, it’s best reserved for standout elements. For body copy, opt for simpler, more readable fonts to ensure your readers stay engaged without strain.
- Maintain contrast: To make your headings pop, pair Sugo Display with a clean, neutral font for body text. This contrast makes your content easier to read and adds visual interest.
- Adjust size and weight thoughtfully: Bigger isn’t always better. Play with font sizes and weights to find the sweet spot where your headings are impactful but not overwhelming.
- Be consistent: Use Sugo Display consistently for similar elements across your site. For example, all main headings could use the same style, creating a cohesive look.
- Incorporate whitespace: Give your headings room to breathe. Adequate spacing around headings enhances readability and makes your content look cleaner.
- Test on different devices: Ensure your font looks great on desktops, tablets, and smartphones. Responsive design is key—adjust sizes if needed to keep your site looking great everywhere.
Remember, the goal of using Sugo Display is to grab attention and convey your message clearly. Overusing it or making it too busy can distract visitors. Instead, use it strategically to highlight your most important content, such as page titles, section headers, or promotional banners.
Finally, don’t forget to review your overall site design regularly. As your content evolves, your font choices might need tweaking. Keep experimenting and trust your eye—when used thoughtfully, Sugo Display can become a powerful tool in creating a memorable, visually appealing website.
5. Troubleshooting Common Issues When Installing and Customizing the Font
Hey there! If you’ve been trying to get the Sugo Display Font up and running on your WordPress site, you might run into a few hiccups along the way. Don’t worry—these issues are pretty common, and most have simple solutions. Let’s walk through some of the most frequent problems and how to fix them.
Problem 1: Font Not Displaying Correctly
If your font isn’t showing up or looks broken, double-check that you’ve uploaded the font files correctly and that your code references the right path. Sometimes, a typo or incorrect URL can cause the font not to load. Use your browser’s developer tools (F12 or right-click > Inspect) to see if there are any 404 errors for the font files.
Solution:
- Ensure the font files are uploaded to your server or media library.
- Verify that the URLs in your CSS or theme settings are correct and match where the files are stored.
- Clear your cache—browsers often cache fonts, so changes might not show immediately.
Problem 2: Customizer Not Saving Changes
If you’re trying to customize the font via the WordPress Customizer or theme options, but your changes aren’t saving or applying, it might be a plugin conflict or a caching issue.
Solution:
- Disable other plugins temporarily to identify if there’s a conflict.
- Clear your website cache and browser cache.
- Check for theme updates or compatibility issues.
Problem 3: Font Looks Different on Mobile Devices
Sometimes, fonts look perfect on desktop but appear poorly on mobile. This often happens because of specific CSS rules or media queries overriding your font settings.
Solution:
- Use media queries to specify font styles for mobile devices.
- Test your site on different devices or use browser tools to simulate mobile views.
- Ensure your font files are optimized for fast loading on mobile data connections.
Problem 4: Not Sure if the Font is Optimized
Using a web font is great, but if it’s heavy or not optimized, it can slow down your site. If you notice slow load times, consider using only the necessary font weights and styles.
Solution:
- Optimize font files by selecting only the styles you need.
- Use font subsets to reduce file size.
- Leverage caching and CDN services for faster delivery.
Remember, patience is key. Troubleshooting might take a little time, but with some persistence, you’ll have your Sugo Display Font looking and functioning just right on your WordPress site. If issues persist, reaching out to the theme or plugin support forums can also help — there’s often a community ready to assist!
6. Conclusion and Final Thoughts on Enhancing Your WordPress Site with Sugo Display Font
And there you have it! Incorporating the Sugo Display Font into your WordPress site is a fantastic way to elevate your website’s design and make your content truly stand out. Whether you’re aiming for a modern, bold look or a sleek, minimal aesthetic, this font offers versatility and style that can match your brand perfectly.
Getting started might involve a few steps—downloading the font, uploading it, customizing your CSS, and troubleshooting any issues—but once you get the hang of it, the process becomes straightforward. Remember, the key to a polished website is consistency and attention to detail, so take your time to fine-tune the font settings to match your overall design.
Here are some final tips to keep in mind:
- Backup your site before making major changes, just in case something goes awry.
- Test on multiple devices to ensure your font looks great everywhere.
- Keep your fonts optimized for fast loading times and better user experience.
- Stay updated with theme and plugin updates to avoid compatibility issues.
Ultimately, enhancing your WordPress site with a custom font like Sugo Display can make a big difference in branding and readability. With a little patience and experimentation, you’ll create a website that not only looks amazing but also engages your visitors more effectively. Happy customizing!